Start your week with achievable workout ideas, health tips and wellbeing advice in your inbox.
You are now subscribed
Your newsletter sign-up was successful
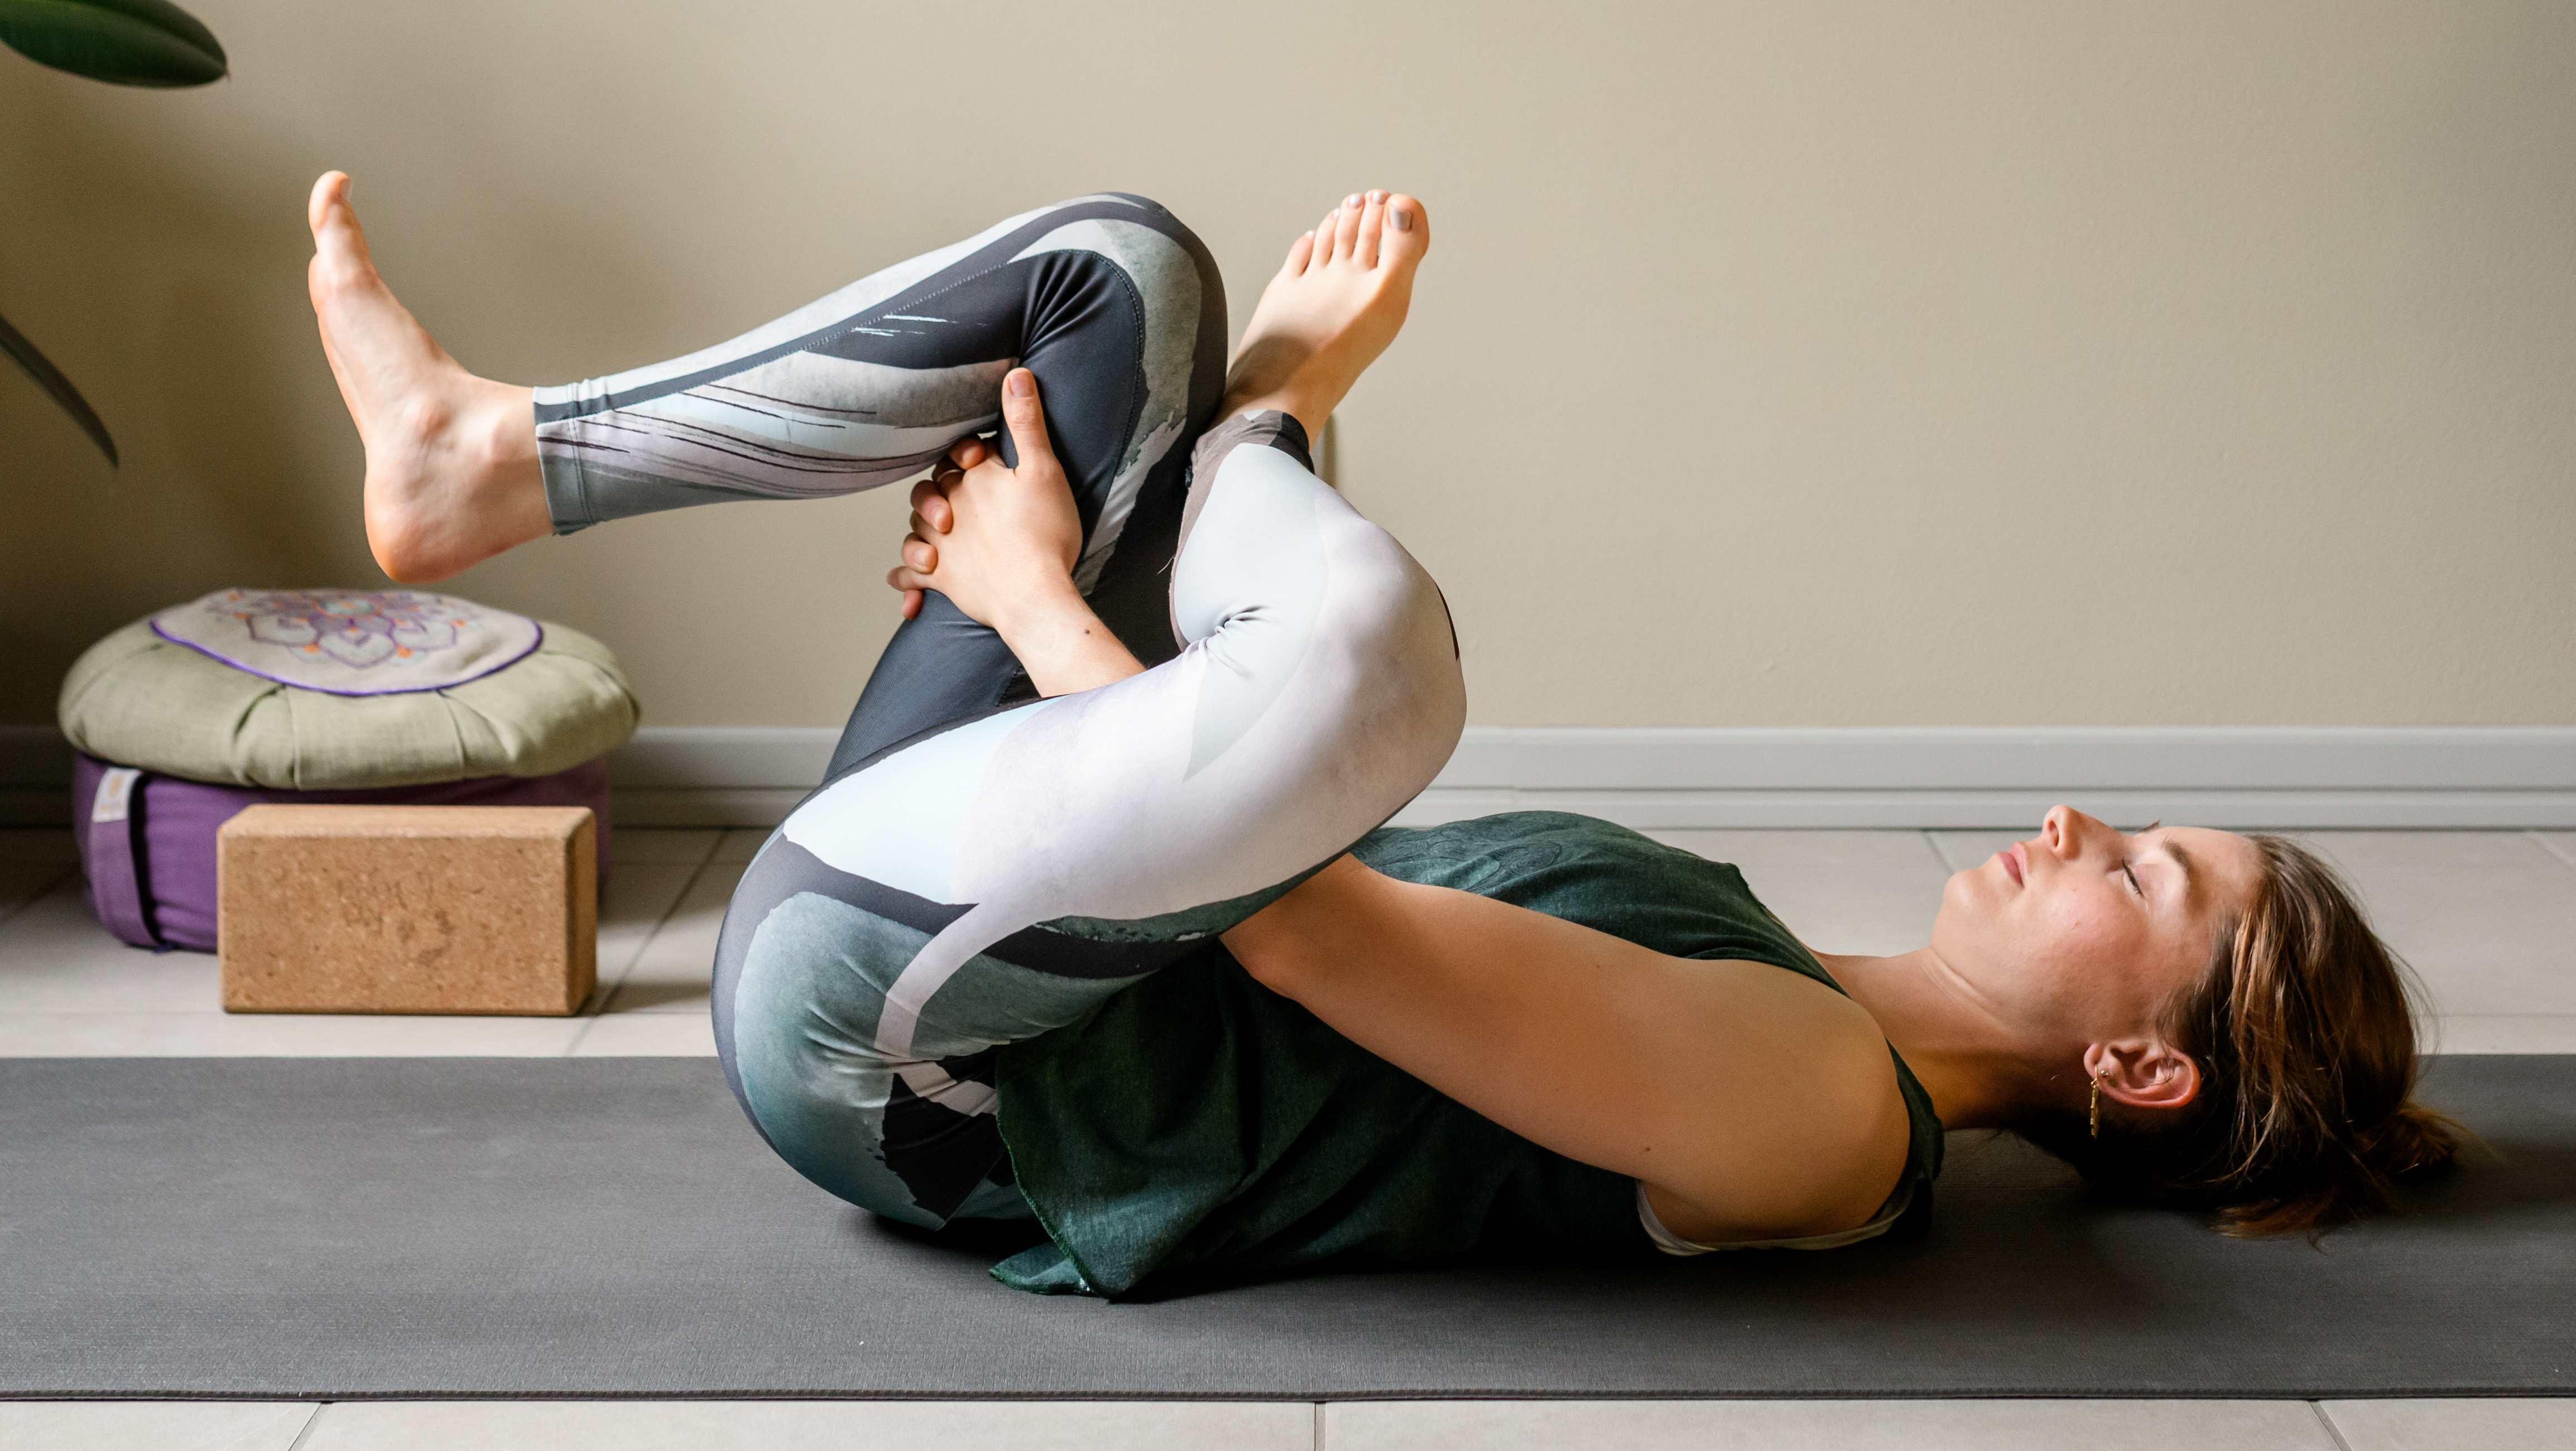
Spending too much time sitting down can cause your hip muscles to become shortened and stiff. You can counteract the effects of sitting with movement and stretching, but many of us don’t know where to start, so I asked a yoga teacher for advice.
“I recommend carving out just a few minutes at the end of your day to reconnect with your body through this gentle hip-opening sequence,” says yoga instructor Louise Bartlett.
“A consistent, mindful yoga practice doesn’t just increase range of motion,” says Bartlett. “It also creates space in the body for movement, space for emotional release and space for us to feel grounded in our own bodies.”
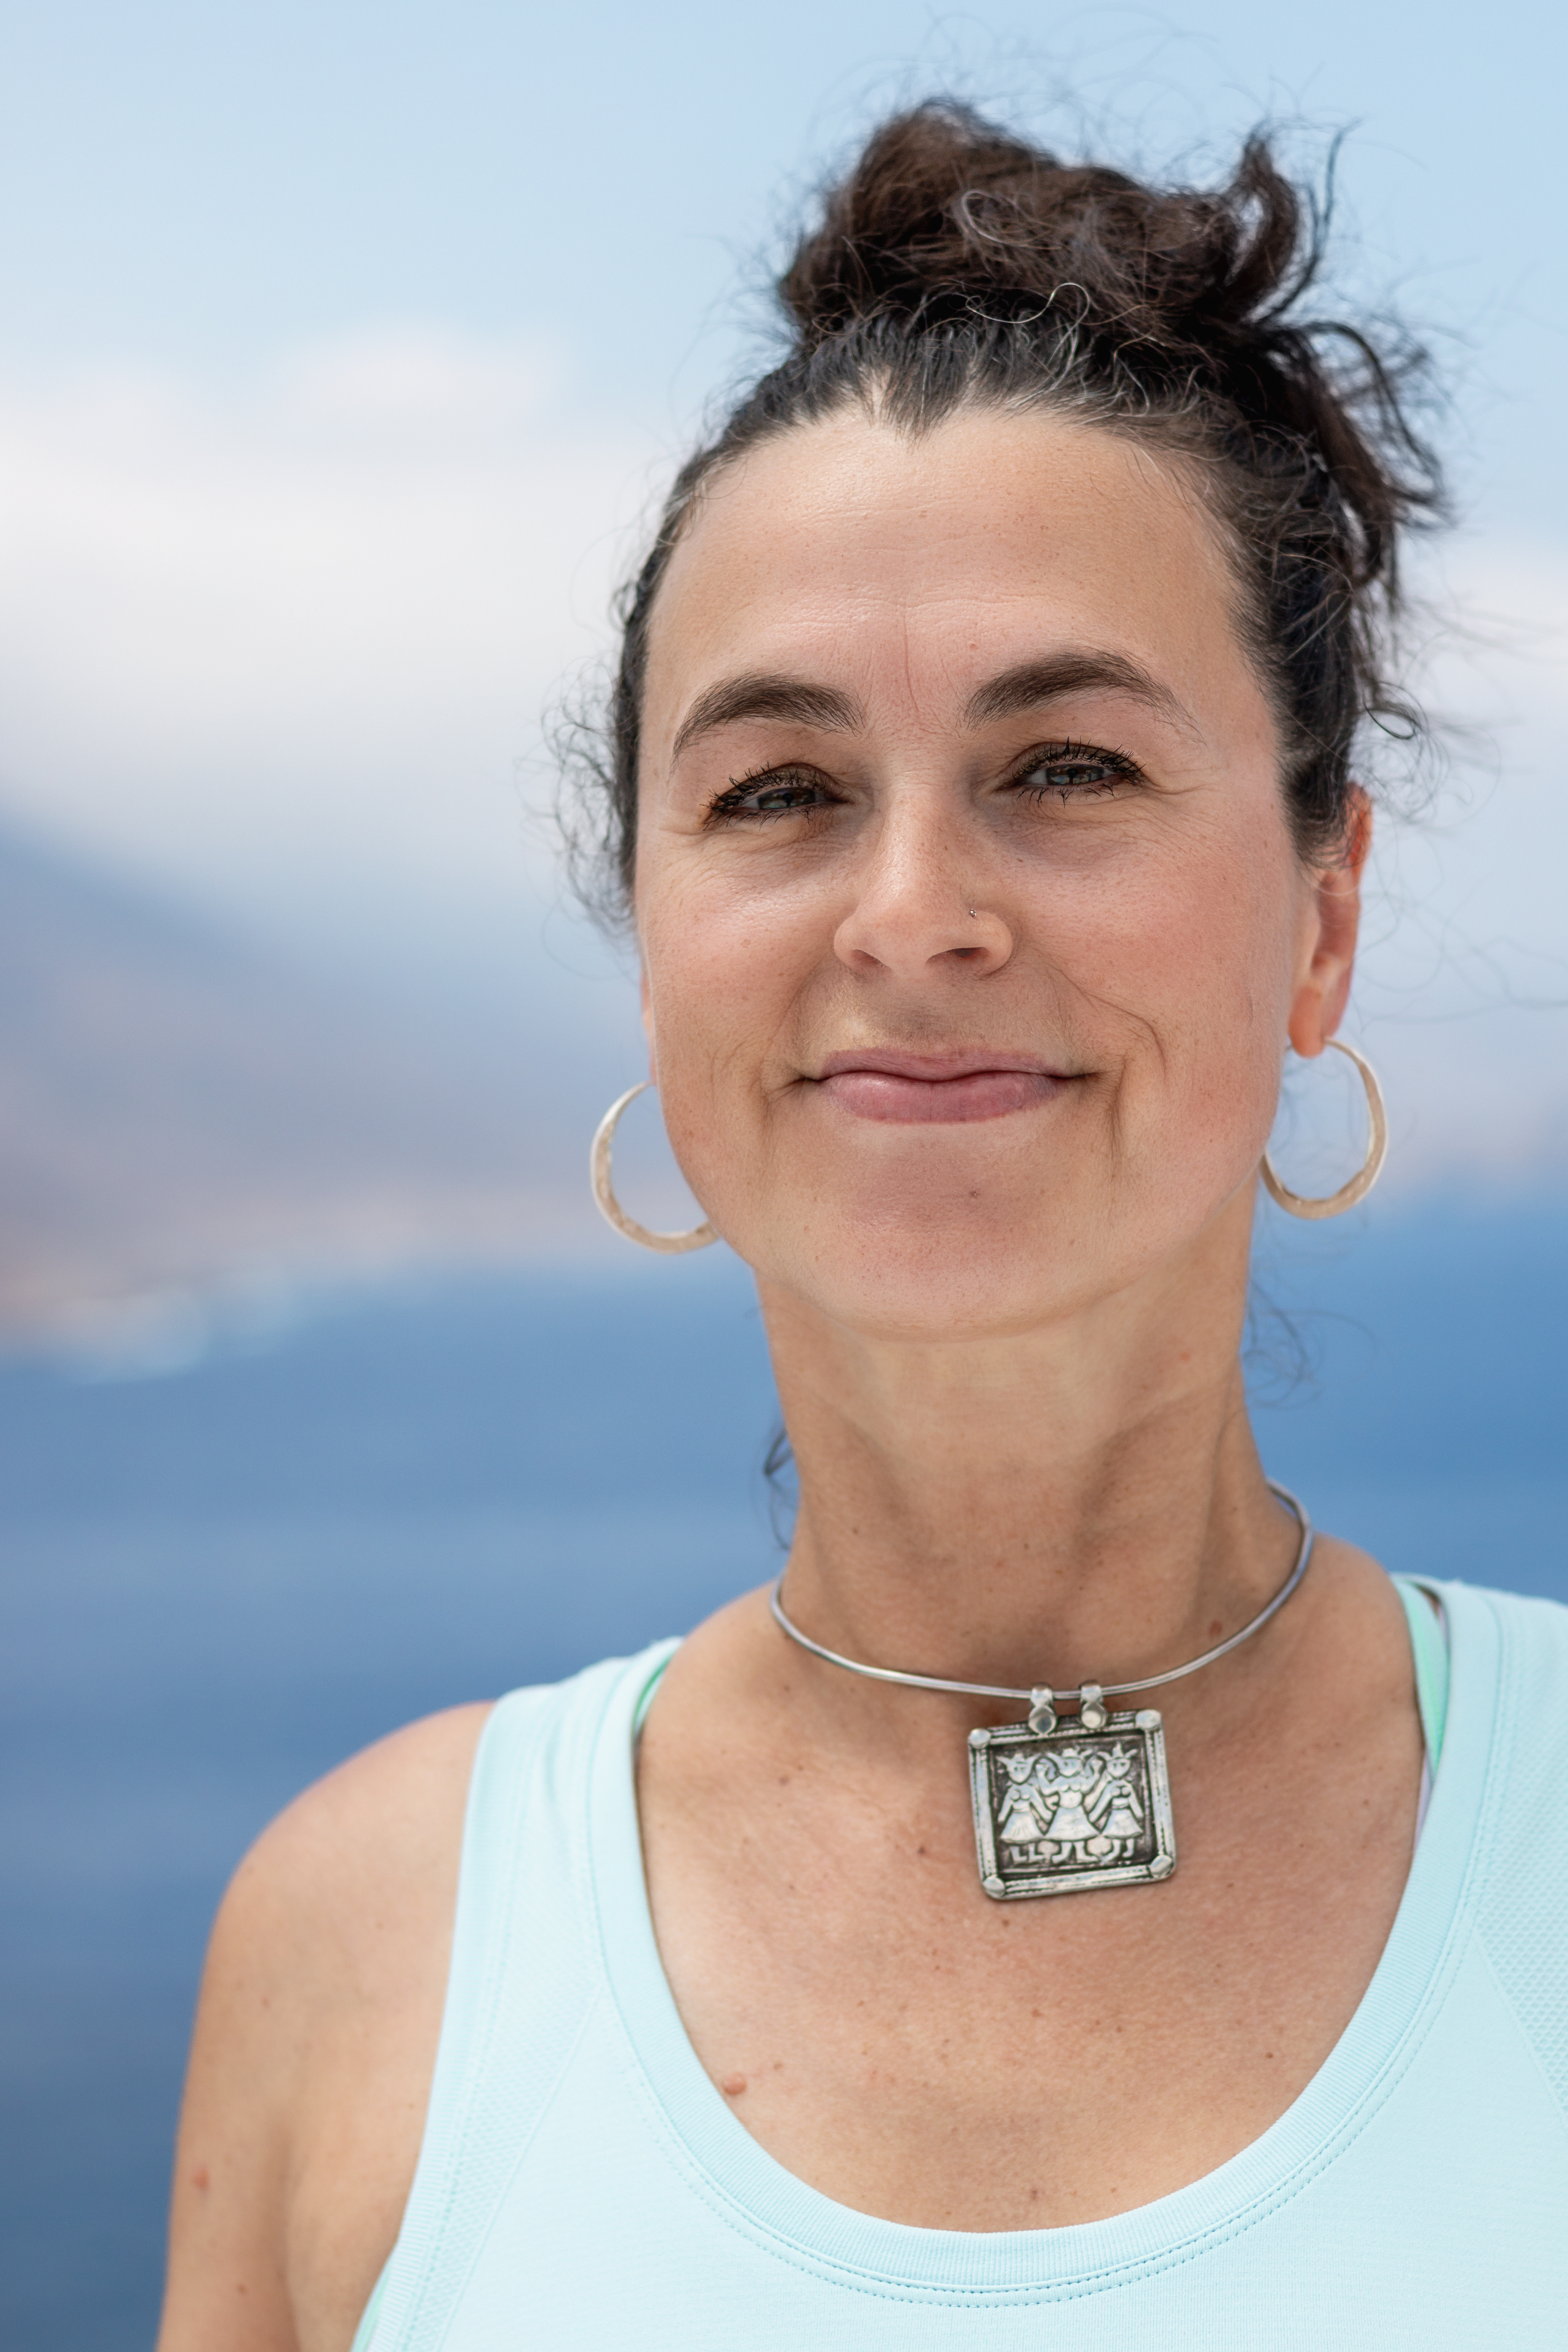
With 25 years of experience, Louise Bartlett is a dedicated yoga practitioner and teacher specialising in vinyasa flow, slow flow, and yoga for menopause. Bartlett’s teaching style embodies a modern approach to yoga, emphasising alignment, grace, and accessibility for practitioners of all levels. Through the exploration of breathwork and meditation, her classes guide students towards reconnecting with their authentic selves.
How to do it
Bartlett recommends spending one or two minutes in each pose, so the entire sequence can be completed in just under 10 minutes.
Your breathing should be slow and steady, and you should be able to hold each pose for five to eight breaths before releasing. If your breathing rate is faster than this, aim to slow down a little but not so much as to make yourself uncomfortable
“Consistency is more important than duration,” says Bartlett. “A few minutes daily can offer real transformation over time.”
Bartlett recommends caution if you're new to yoga or returning after a break. She suggests approaching the movements slowly and listening to your body.
Start your week with achievable workout ideas, health tips and wellbeing advice in your inbox.
“There should be no strain, sharpness, or pressure in any posture—only sensation that feels nourishing and sustainable,” she says.
She also suggests using props and modifications as needed, and to skip any pose that doesn’t feel right for you.
“If you have injuries, chronic conditions, or medical concerns, consult a healthcare professional before beginning any new movement practice,” she says.
1. Low lunge
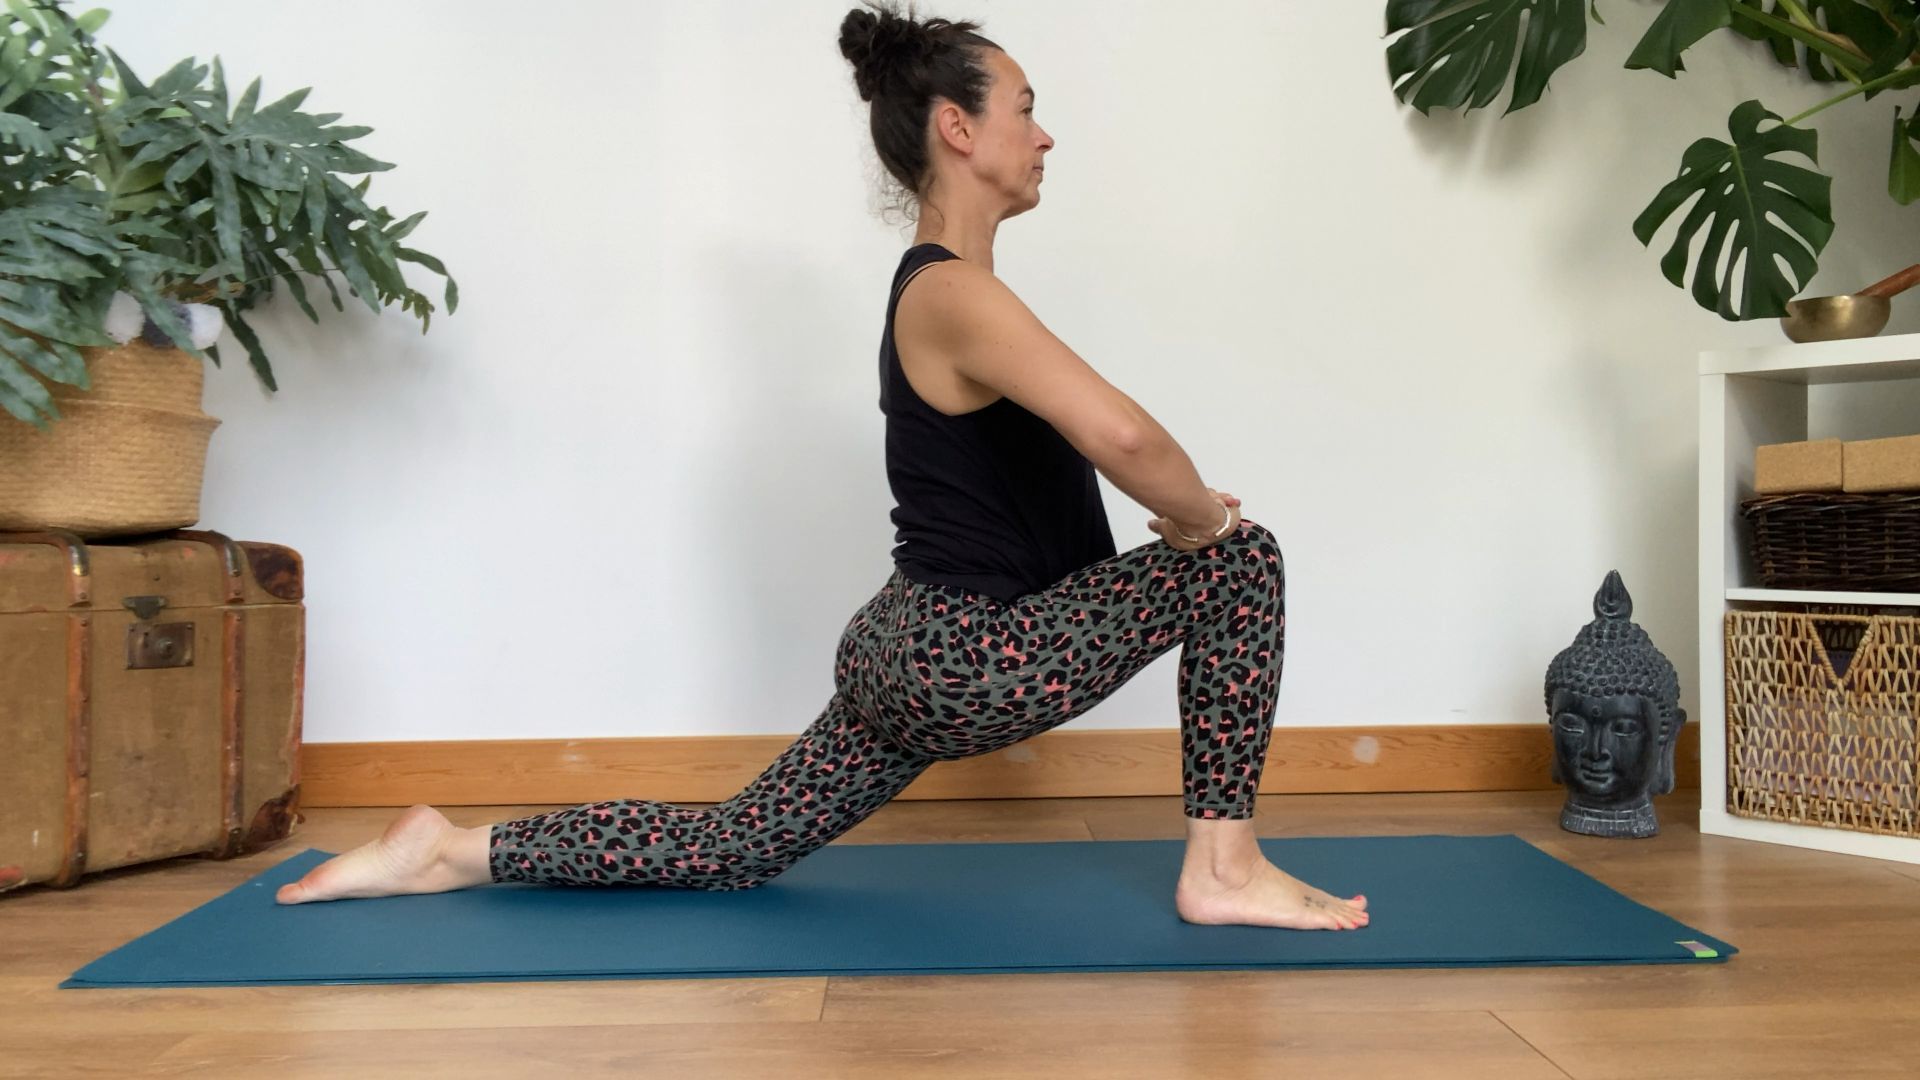
“This pose opens the hip flexors and psoas muscle to counteract tightness from sitting,” say Bartlett.
- Start in a tabletop position (on your hands and knees) and step your right foot forward between your hands so your knee is over your ankle.
- Slide your left knee back until you feel a gentle stretch in the front of the left hip. Engage your core slightly to support your lower back. Keep your chest lifted and shoulders relaxed down the back.
- Keep your hands on your front thigh (or blocks) for support. Take five to eight deep, intentional breaths.
- Bring both hands to the floor and step your right foot back so you go back into tabletop pose.
- Repeat on the left side.
Make it easier
- Use a folded blanket under your back knee for cushioning and support.
- Use blocks under your hands to keep the torso upright if balancing is a challenge.
2. Figure four
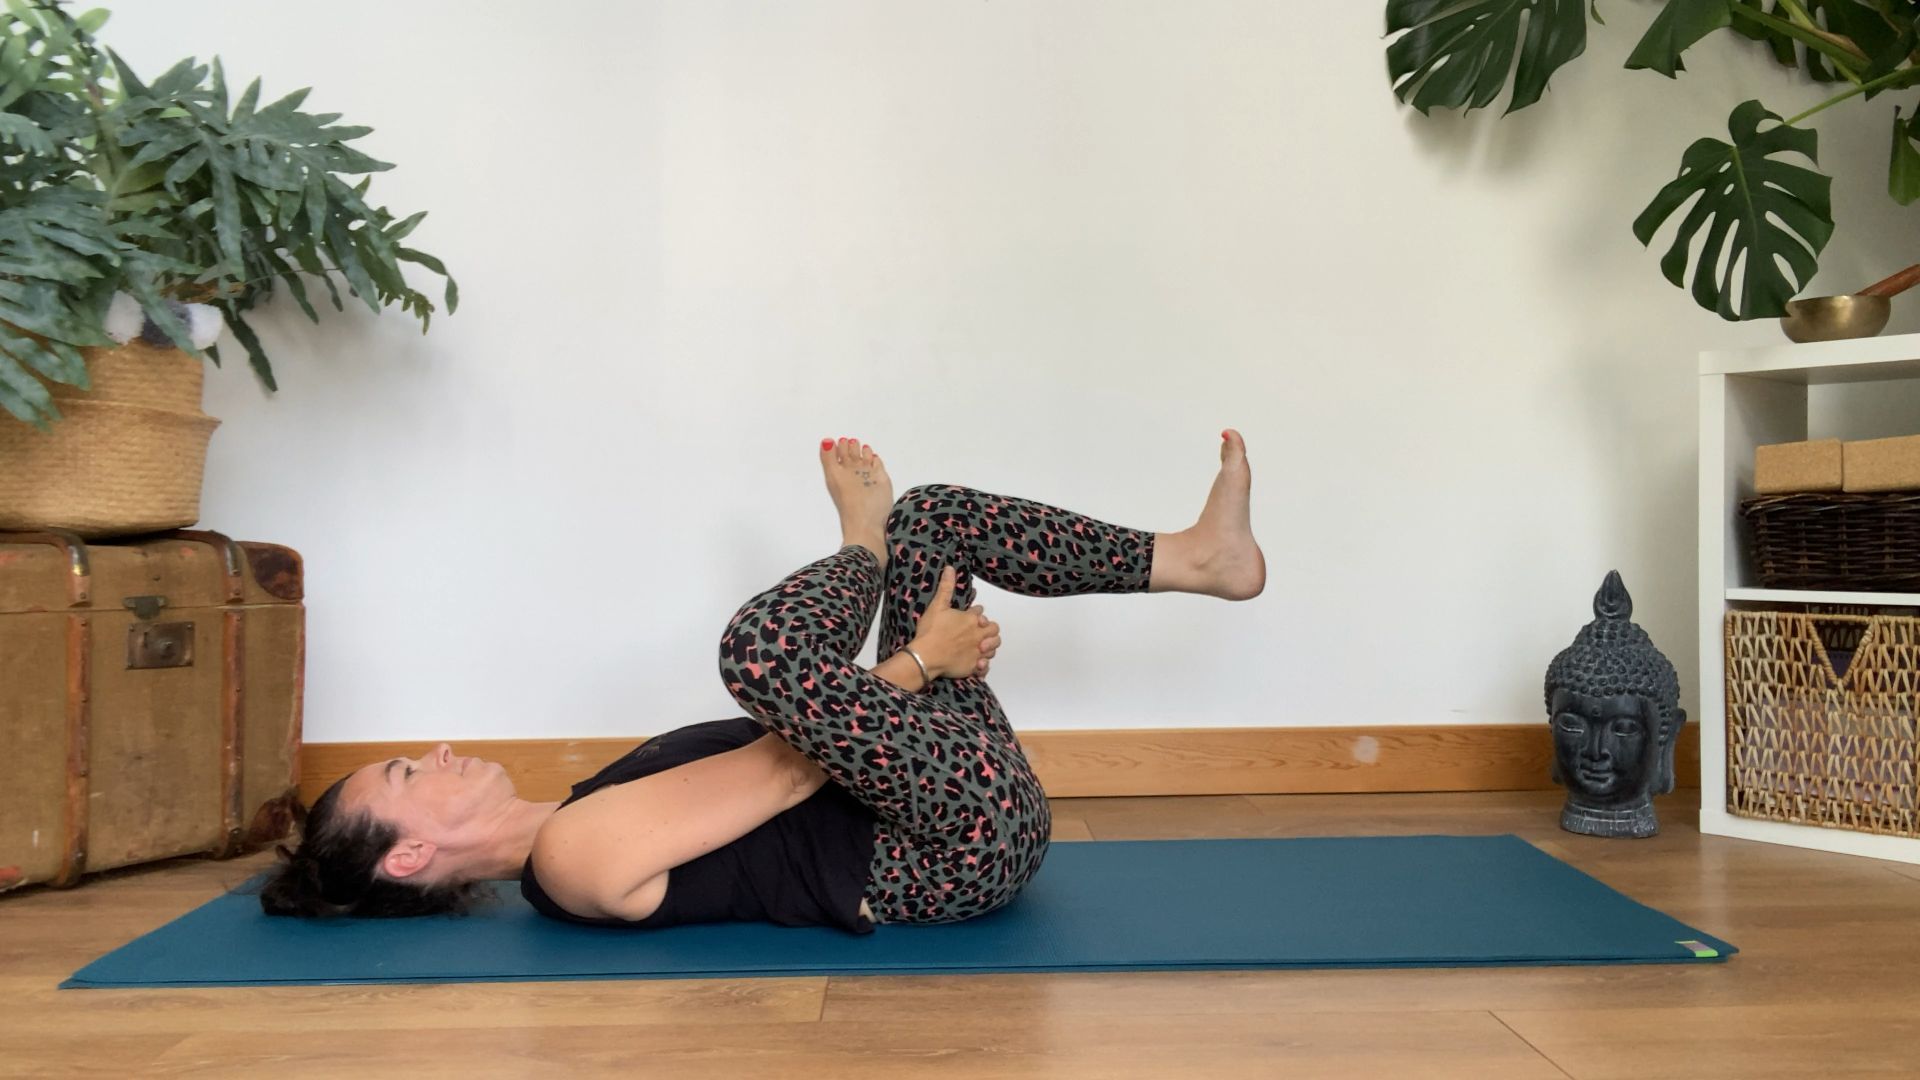
“This pose gently releases the outer hips and glutes without putting pressure on the knees,” says Bartlett.
- Lie on your back with your knees bent and your feet flat on the floor. Cross your right ankle over your left thigh, just above the knee, keeping your right foot flexed to protect the knee joint.
- You can either stay here with the left foot on the ground or thread your right arm through the space between your legs, then clasp your hands behind your left thigh to deepen the stretch. Breathe deeply and hold the pose for five to eight breaths.
- Release your hands and gently place both your feet back on the floor.
- Repeat on the left side.
Make it easier
- If clasping your thigh is difficult, use a strap or belt behind the left leg.
- Place the bottom foot on a block if your hips are very tight.
3. Squat
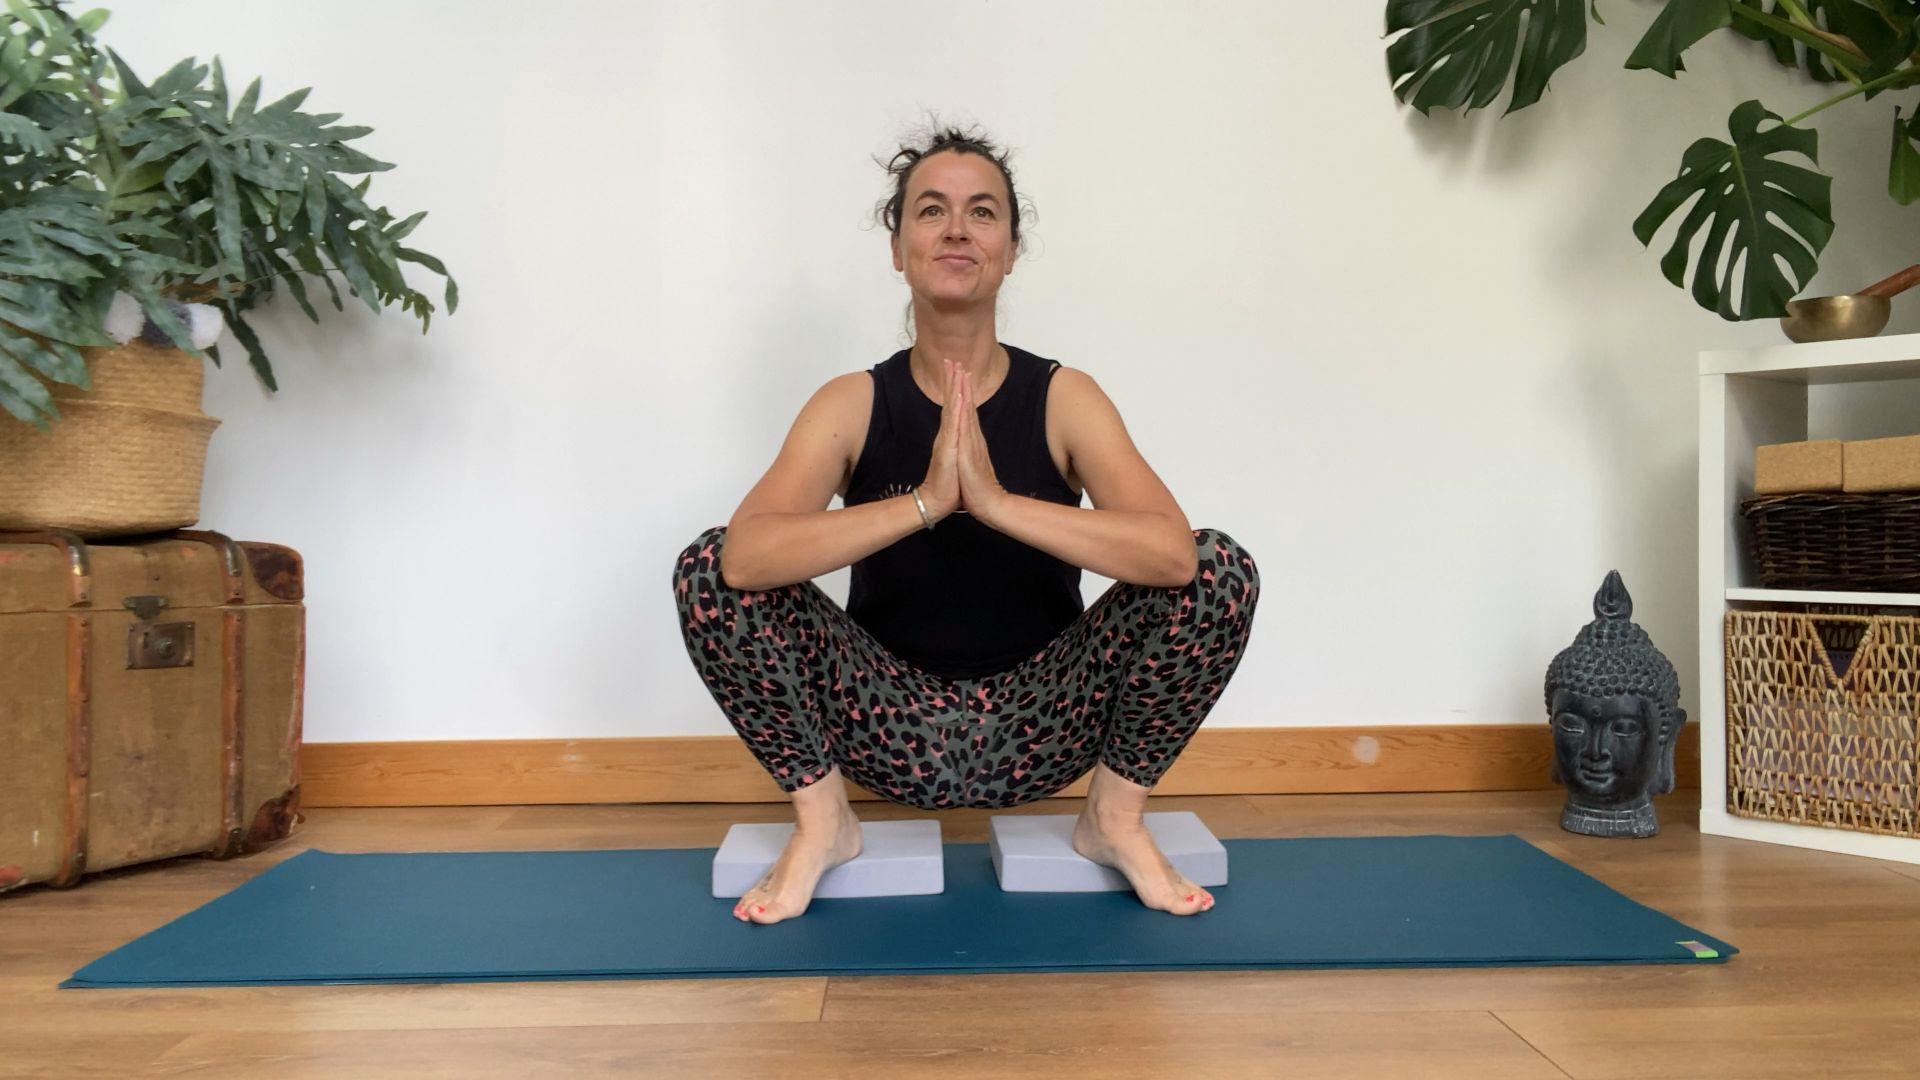
“This pose gently opens the hips and inner thighs, releases tension in the lower back and sacrum, and encourages a sense of playfulness in the body.”
- Stand with your feet slightly wider than hip-width apart, toes pointing out.
- Bend your knees and slowly lower your hips down into a squat, keeping your heels on the ground (or on blocks if needed).
- Bring your palms together at your heart and press your elbows into your inner knees to gently open your hips. Ensure you are keeping your spine straight and your chest lifted. Engage your core to support your lower back.
- Hold for five to eight deep breaths, then bring your hands to the floor and slowly lift your hips and straighten the legs into a forward fold. Roll up to standing.
Make it easier
- Place a rolled blanket or blocks under your heels if they don’t touch the ground.
- Sit on a block if the squat is too deep or uncomfortable.
- Use a wall or chair in front of you for balance support.
4. Happy baby
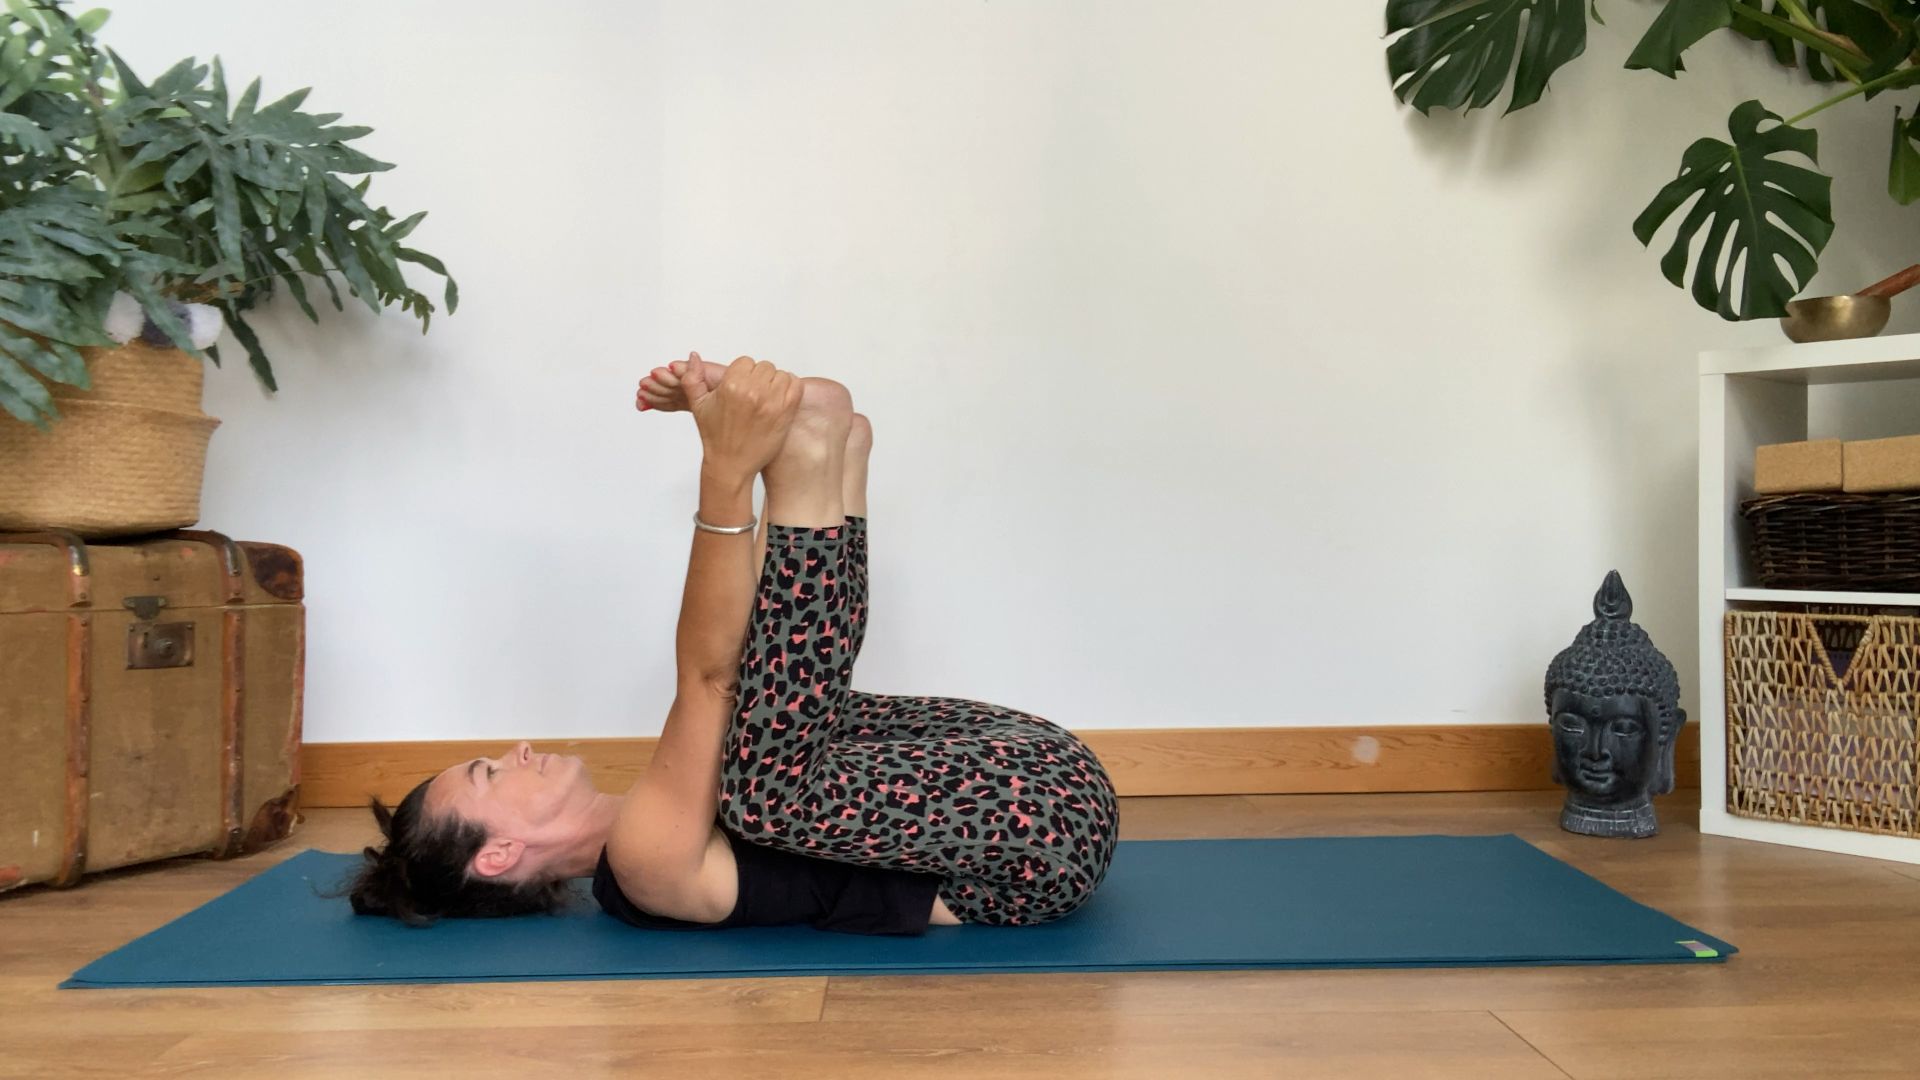
“This pose gently opens the hips and inner thighs, releases tension in the lower back and sacrum, and encourages a sense of playfulness in the body.”
- Lie flat on your back with your knees bent toward your chest.
- Open your knees wider than your torso and bring them toward your armpits. Reach up and grab the outer edges of your feet (or ankles/shins if that’s more accessible for you). Keep your ankles directly over your knees so your shins are perpendicular to the floor.
- Flex your feet and gently press them into your hands as you draw your knees down toward the floor. Relax your shoulders and jaw and allow your spine to stay neutral. You can gently rock from side to side to massage your lower back. Hold for five to eight deep breaths.
- Release your feet and hug your knees into your chest for a few breaths, then come up to sitting or roll to one side and gently press up to sitting, if this is easier.
Make it easier
- If you have tight hips or hamstrings, loop a yoga strap or belt around the soles of your feet instead of grabbing them directly.
- If you experience neck pain, place a folded blanket under the head or lower back for support.
- Hold your thighs behind the knees and gently pull them toward your armpits if you find it hard to reach your feet.
Lou Mudge is a Health Writer at Future Plc, working across Fit&Well and Coach. She previously worked for Live Science, and regularly writes for Space.com and Pet's Radar. Based in Bath, UK, she has a passion for food, nutrition and health and is eager to demystify diet culture in order to make health and fitness accessible to everybody.
Multiple diagnoses in her early twenties sparked an interest in the gut-brain axis and the impact that diet and exercise can have on both physical and mental health. She was put on the FODMAP elimination diet during this time and learned to adapt recipes to fit these parameters, while retaining core flavors and textures, and now enjoys cooking for gut health.
You must confirm your public display name before commenting
Please logout and then login again, you will then be prompted to enter your display name.
