Sore knees? Try yoga for knee pain to strengthen and stretch sore joints
Try these simple knee-friendly yoga poses to strengthen muscles and minimize pain in this complex joint

Start your week with achievable workout ideas, health tips and wellbeing advice in your inbox.
You are now subscribed
Your newsletter sign-up was successful
It's no secret that yoga can increase your flexibility, strength and balance while boosting mood and lowering stress. However, if you have sore knees then all of that bending might sound like a stretch too far.
The good news is that yoga can actually help with knee pain relief. Several bits of research — including this systematic review in Evidence-Based Complementary and Alternative Medicine — suggest that the gentle practice can actually reduce knee pain in people suffering from osteoarthritis.
So it’s worth rolling out your mat to try a knee-friendly flow. Just make sure you're geared up with one of the best yoga mats, which will offer plenty of cushioning, and get the thumbs-up from your doctor before you start a new exercise routine.
To help you get started with yoga for knee pain, Valerie Ugrinow, a senior master trainer at YogaSix, has designed a flow to reduce and prevent discomfort in this area. You might need some yoga blocks for the below poses, but most of them can either be done without blocks or performed with the support of a steady surface, like a bench.

Valerie Ugrinow is a yoga instructor based in Florida. She began teaching yoga in 2014 and is now a senior master trainer with the company Yoga Six.
How to do the routine
This is a short, low-impact routine that can easily be squeezed into a lunch break or done at the end of a workout, as it takes less than 15 minutes. It's a yoga flow, which means that you move seamlessly between the asanas (poses).
“I specifically chose yoga postures for this routine that support the muscle groups and joints around the knee to create greater strength and mobility,” says Ugrinow.
If you're struggling with other joint issues, you could also try this wrist-free yoga flow. Or master these 10 yoga stretches for beginners, which could improve your mobility.
Start your week with achievable workout ideas, health tips and wellbeing advice in your inbox.
1. Mountain pose
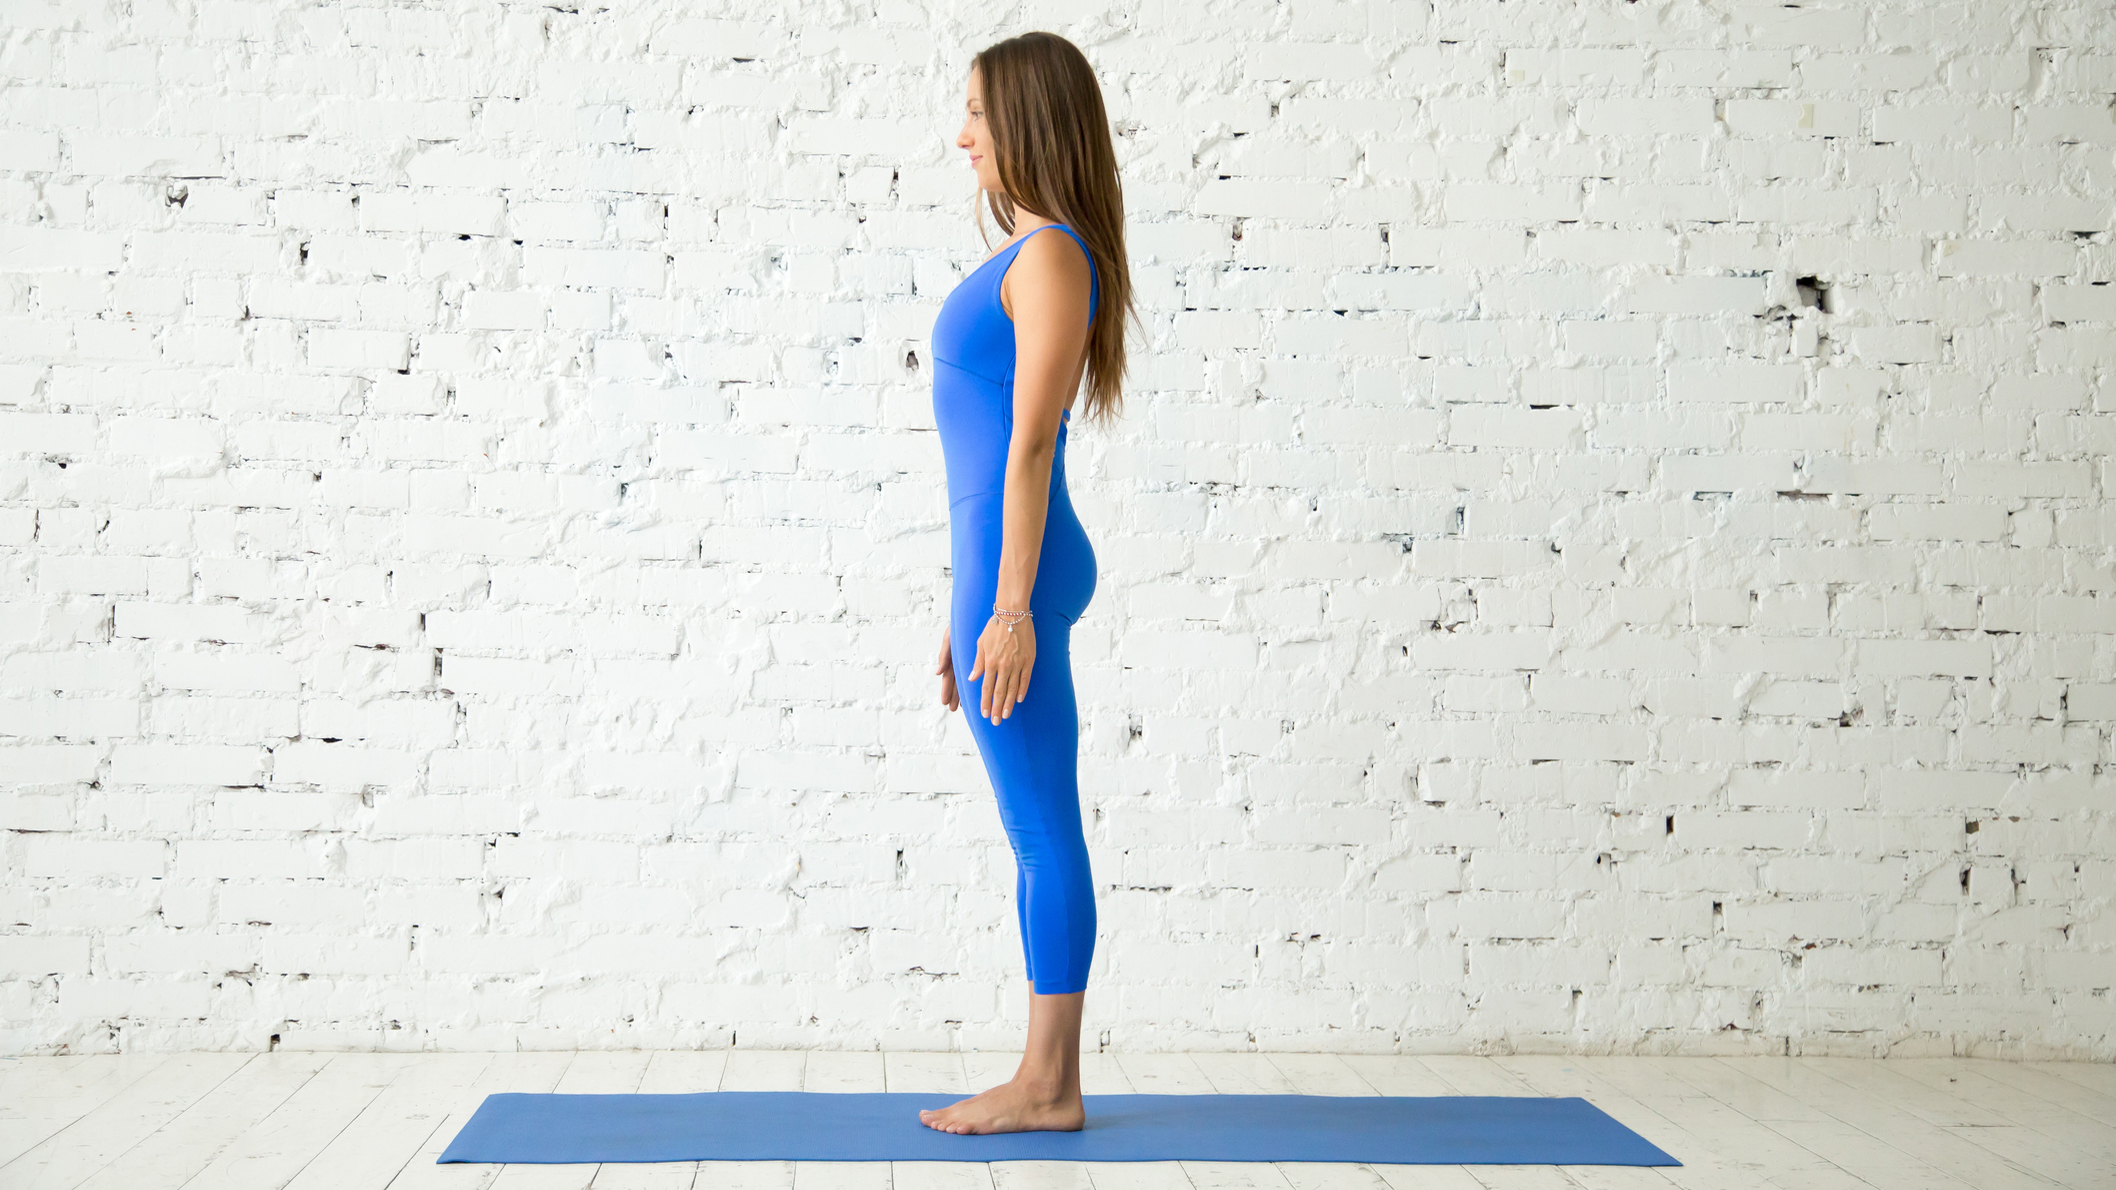
Mountain pose is an important posture in yoga flows, which trains proper musculoskeletal alignment and muscular integration. It builds strength in the quads, hamstrings, and glutes. Doing this pose with a block squeezed between your thighs will also help strengthen your adductors, which can contribute to knee pain when weak.
How to do it
Start in a standing position. Separate your feet hip width apart and slide a block between your thighs, just above your knees. Rock your weight front to back and side to side to feel into the corners of your feet (your big toe, little toe and heel). Ground down through those corners, then lift your toes and spread them out wide to engage the arches of your feet. Keeping your arches lifted, soften your toes back down to the earth.
Invite a micro bend into your knees and gently hug the block between your thighs to activate the muscles of your legs and support a neutral pelvis. Relax your arms by the side of your body and broaden across your collar bones; lift tall through the crown of your head.
2. Chair pose
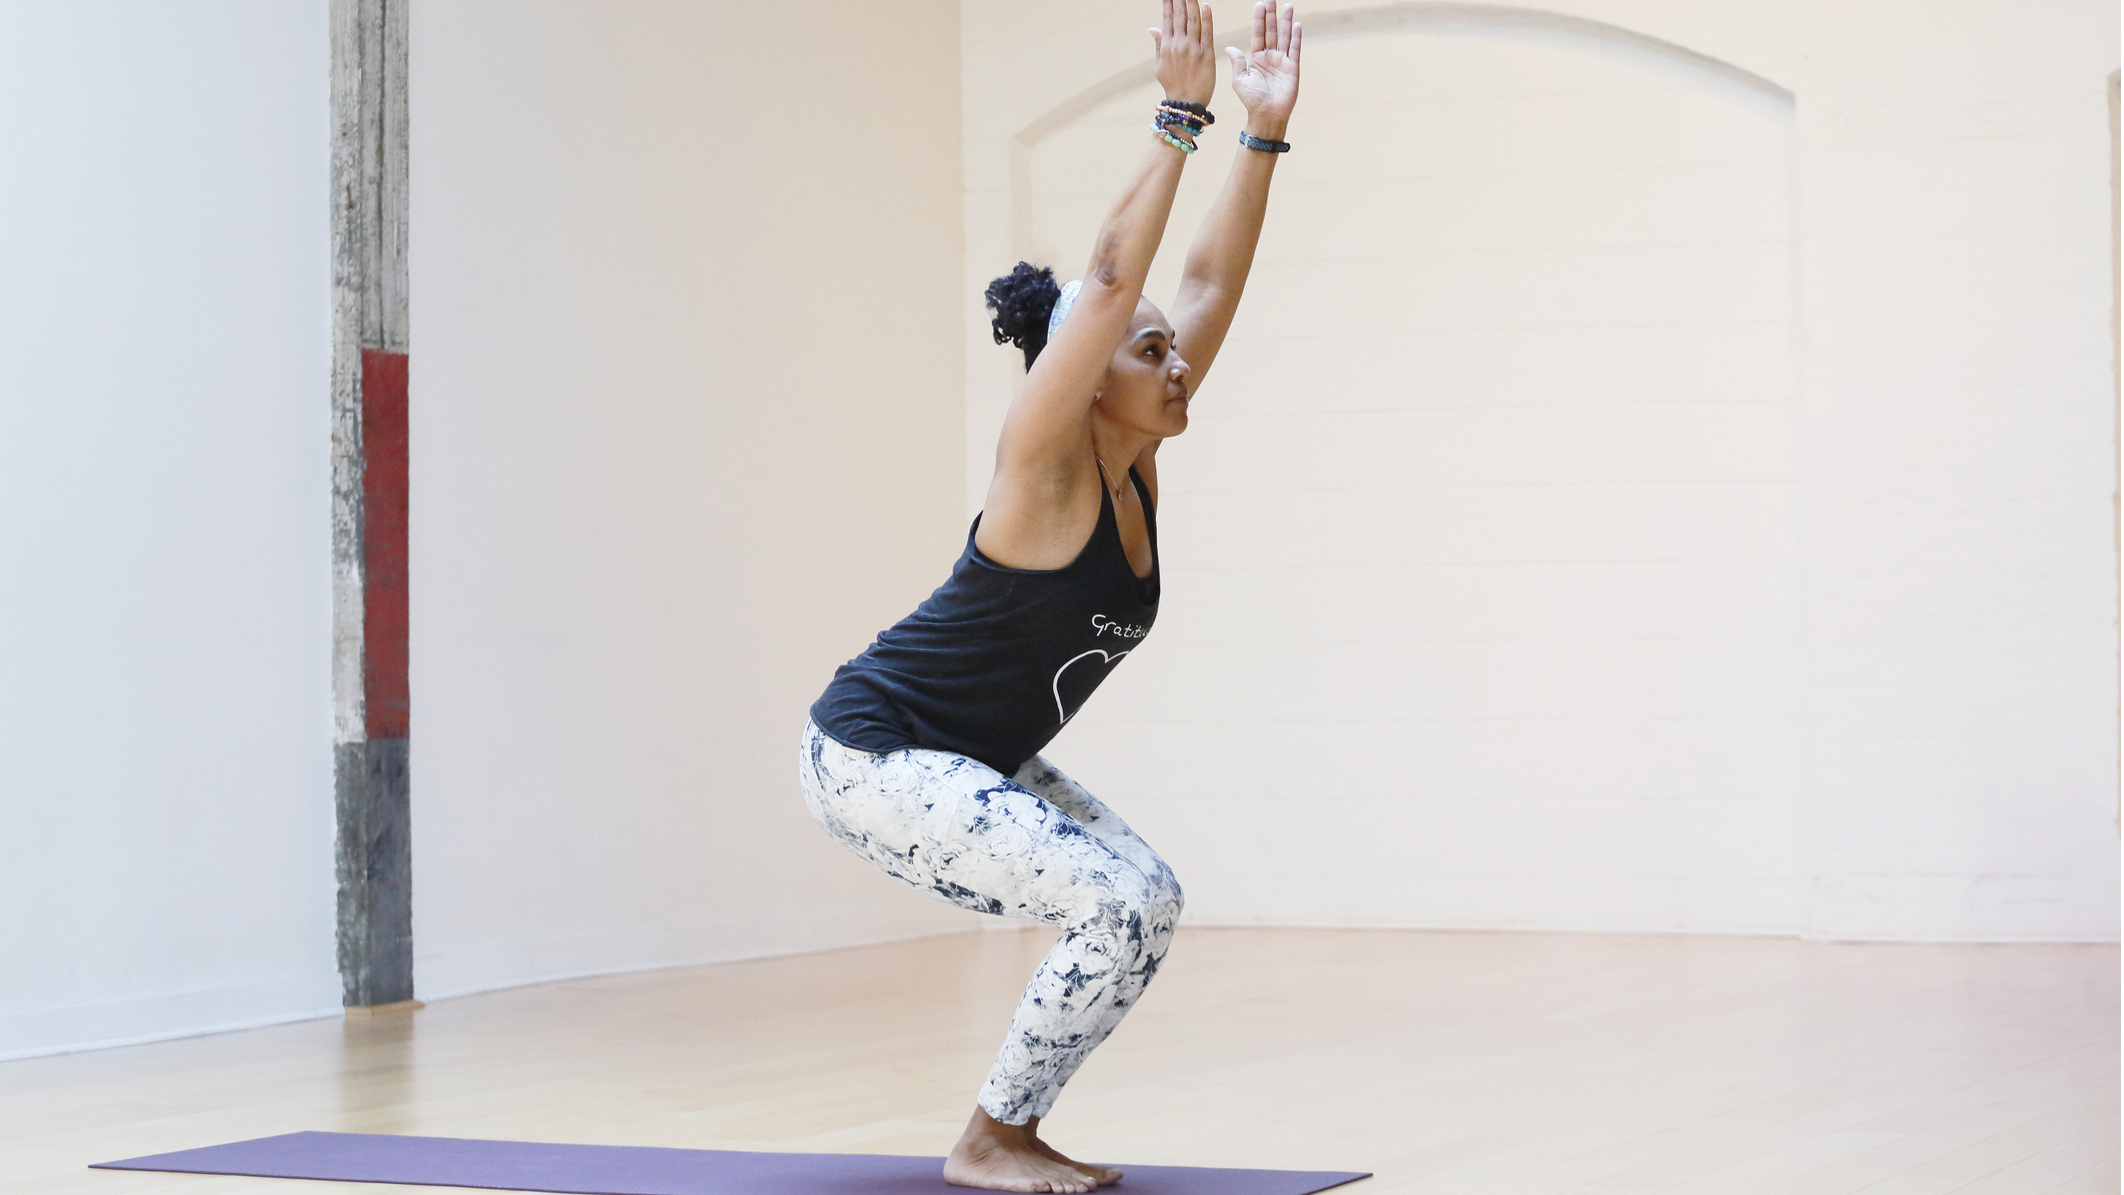
Chair pose is a heating pose that strengthens the lower body: the feet, legs (soleus, quadriceps, hamstrings, adductors) and glutes. This pose can also be done with a block between the thighs to increase strength in the adductors, minimize knee torque from collapsing inward and promote a neutral pelvis.
How to do it
To move into chair pose, inhale, and reach your arms forward parallel to the earth. Exhale, bend into your knees, and shift your hips back, bringing your arms upwards. If you have a block, squeeze it between your thighs, ground your heels down into the earth and energetically splay them apart to recruit the support of your glutes.
Take a peak over your knees. If you feel pressure in the front of your knees and cannot see your toes, shift your shins and hips further back, until you can see the toes.
3. High lunge
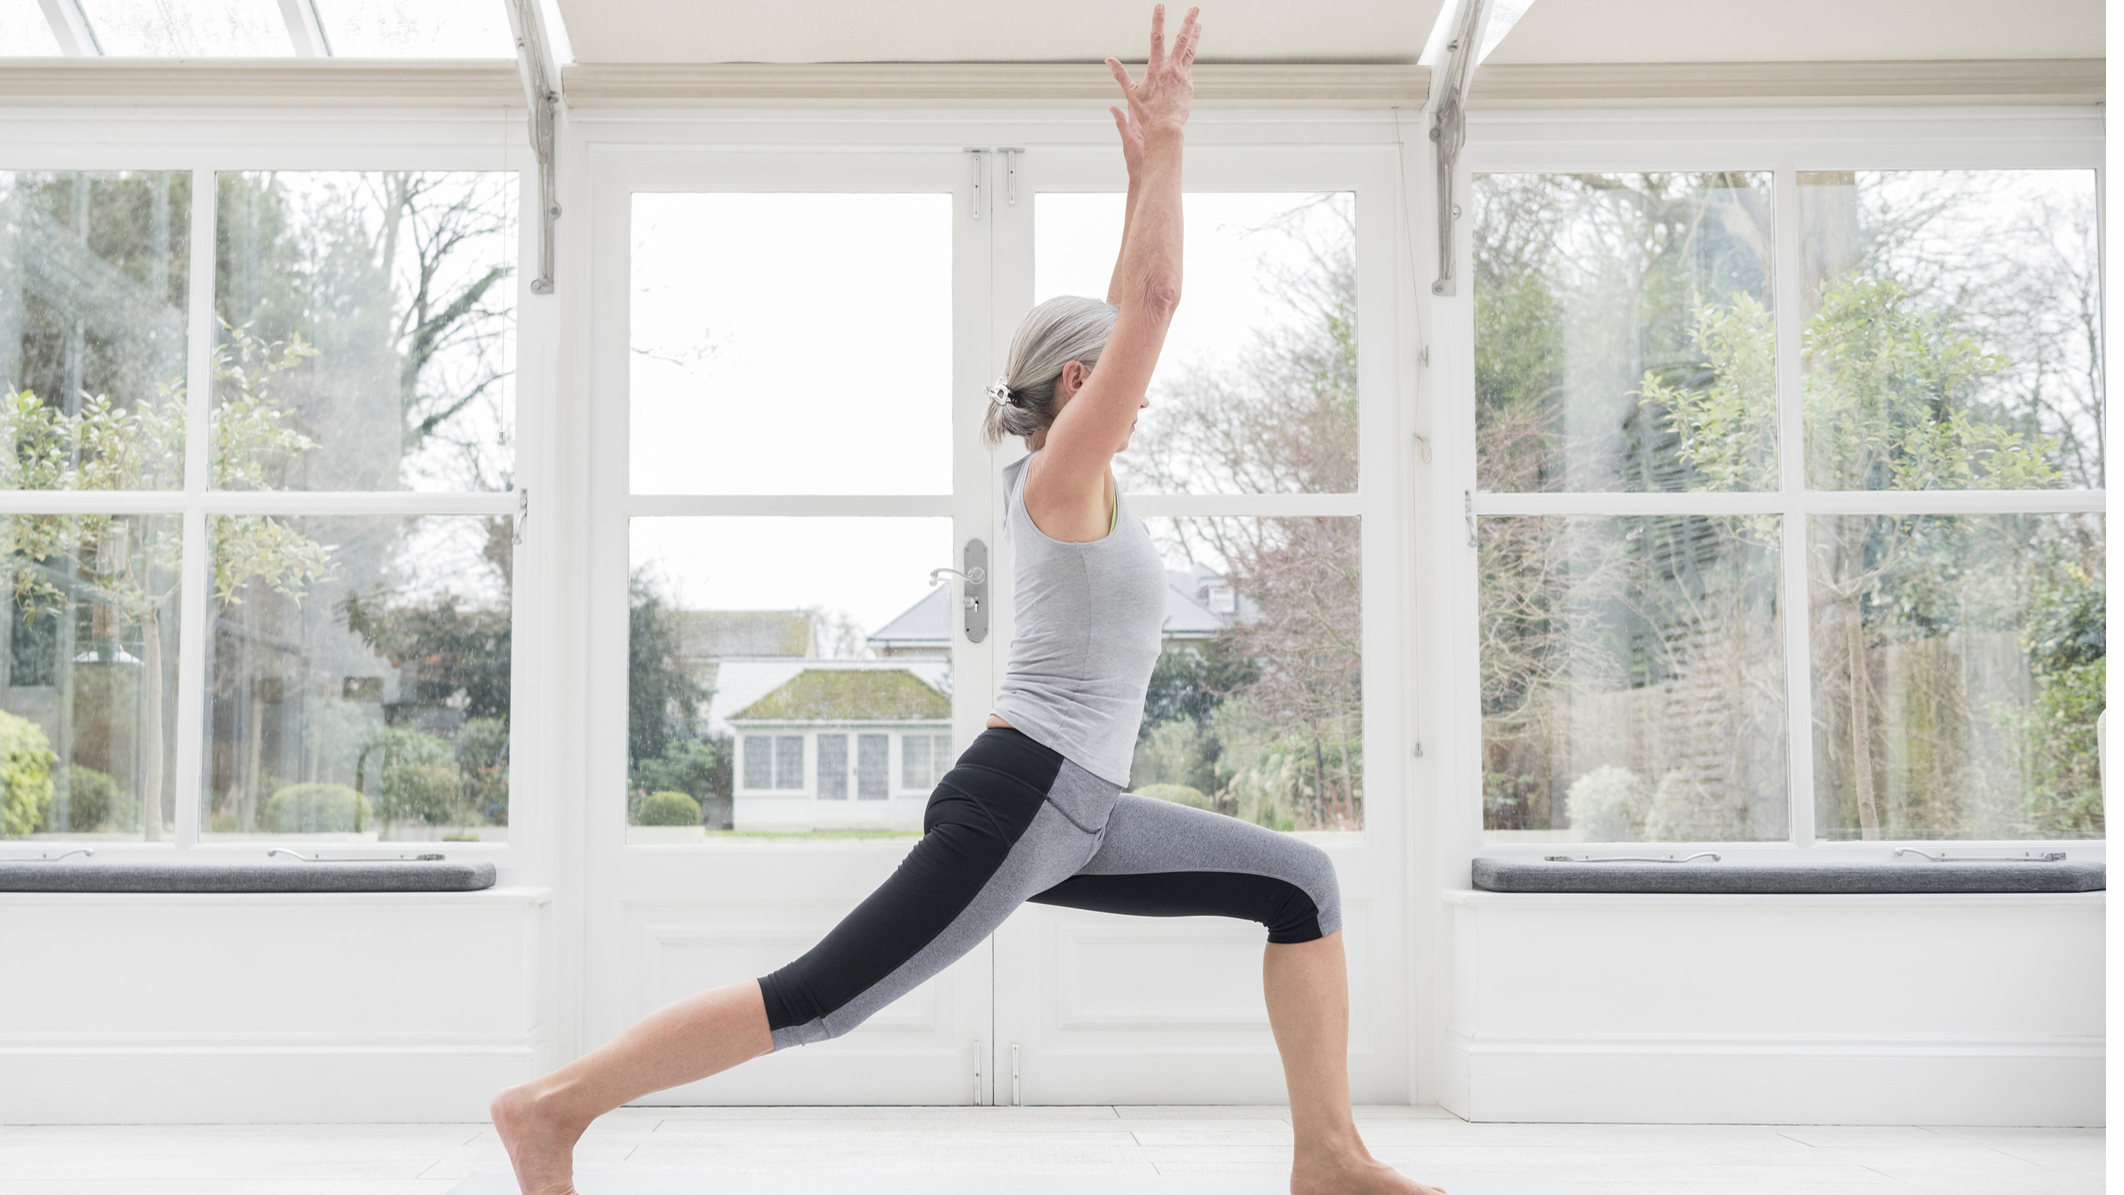
High lunge is another heating pose that offers an additional balance challenge, which can help to stabilize the ankle, knee and hip. It strengthens and stretches the feet, legs (quadriceps, hamstrings, psoas) and glutes.
How to do it
Before moving into high lunge, remove your block and place it at the top of your mat. With your hands on your hips, step your left foot back about 2ft-3ft. Find a soft bend in your left knee. Inhale, reach your arms to the sky. Exhale and bend deeper into your right knee.
Maintain a soft bend in your back knee to encourage a neutral pelvis. To build more strength in your legs, bend your back knee to a hover so it is barely skimming your yoga mat.
4. Pyramid pose
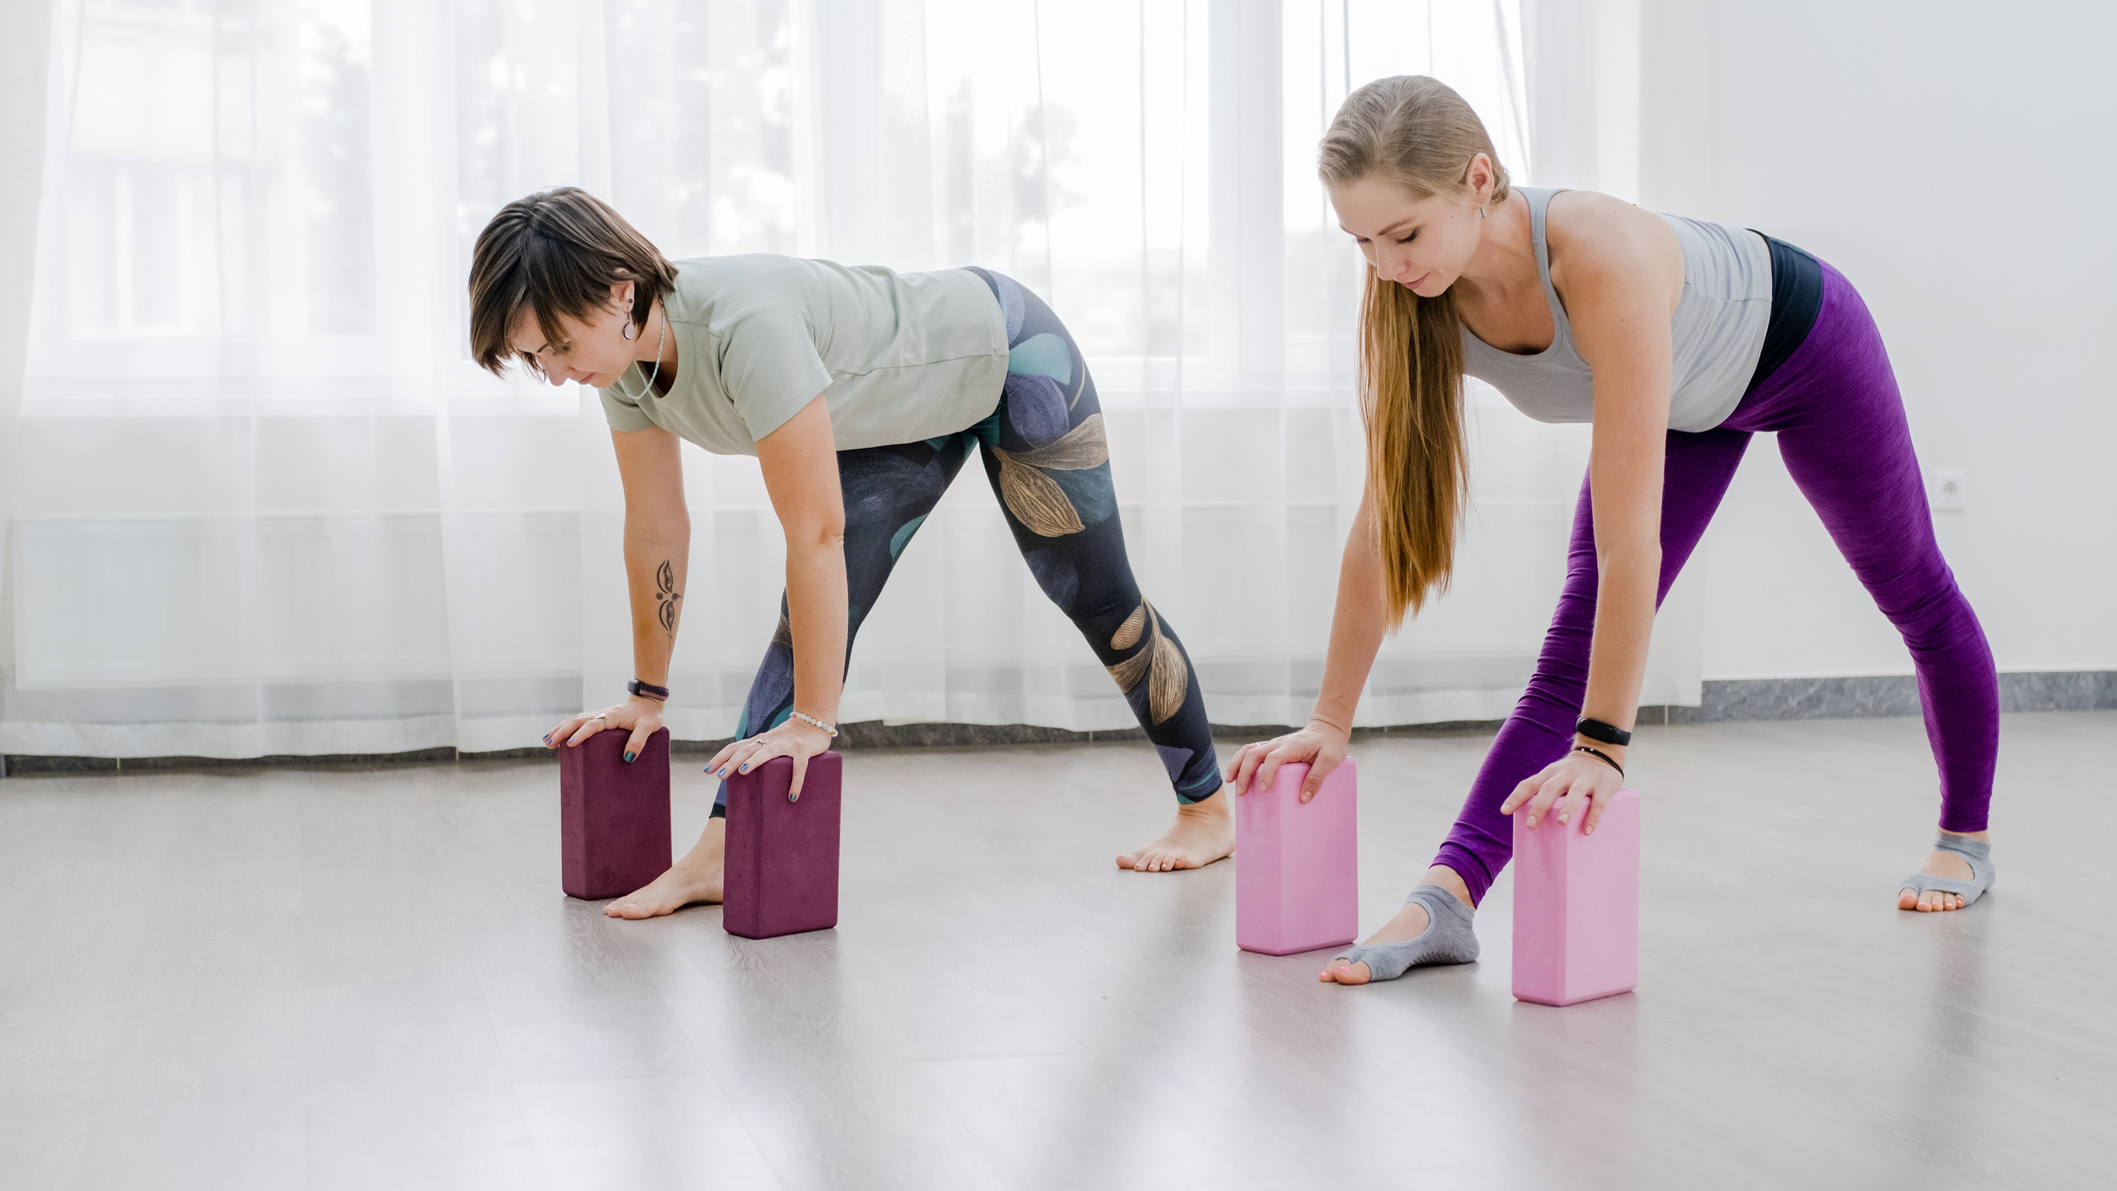
Pyramid pose challenges the muscles in your feet, as it requires them to be the main points of balance in an unstable, asymmetrical position. This pose is also an excellent option for stretching your soleus (calves), hamstrings and glutes, while strengthening your quadriceps.
How to do it
To move into pyramid pose, put your hands to your hips. If your legs are still in a wide lunge position, shorten your stance by stepping your back foot slightly forward. Point your left toes slightly outward to create an external rotation of your back leg. Inhale, stand up tall and lengthen your legs and spine. Exhale, hinge forward at the hips.
Pause halfway and use your hands at your hip creases to pull your front hip slightly back. Ground down through the knife edge of your back foot; shorten your stance if necessary. When you feel stable, release your hands to your blocks or the earth. Alternatively, wrap your hands around your front calf or ankle to add challenge and create greater strength.
5. Warrior 3 with blocks
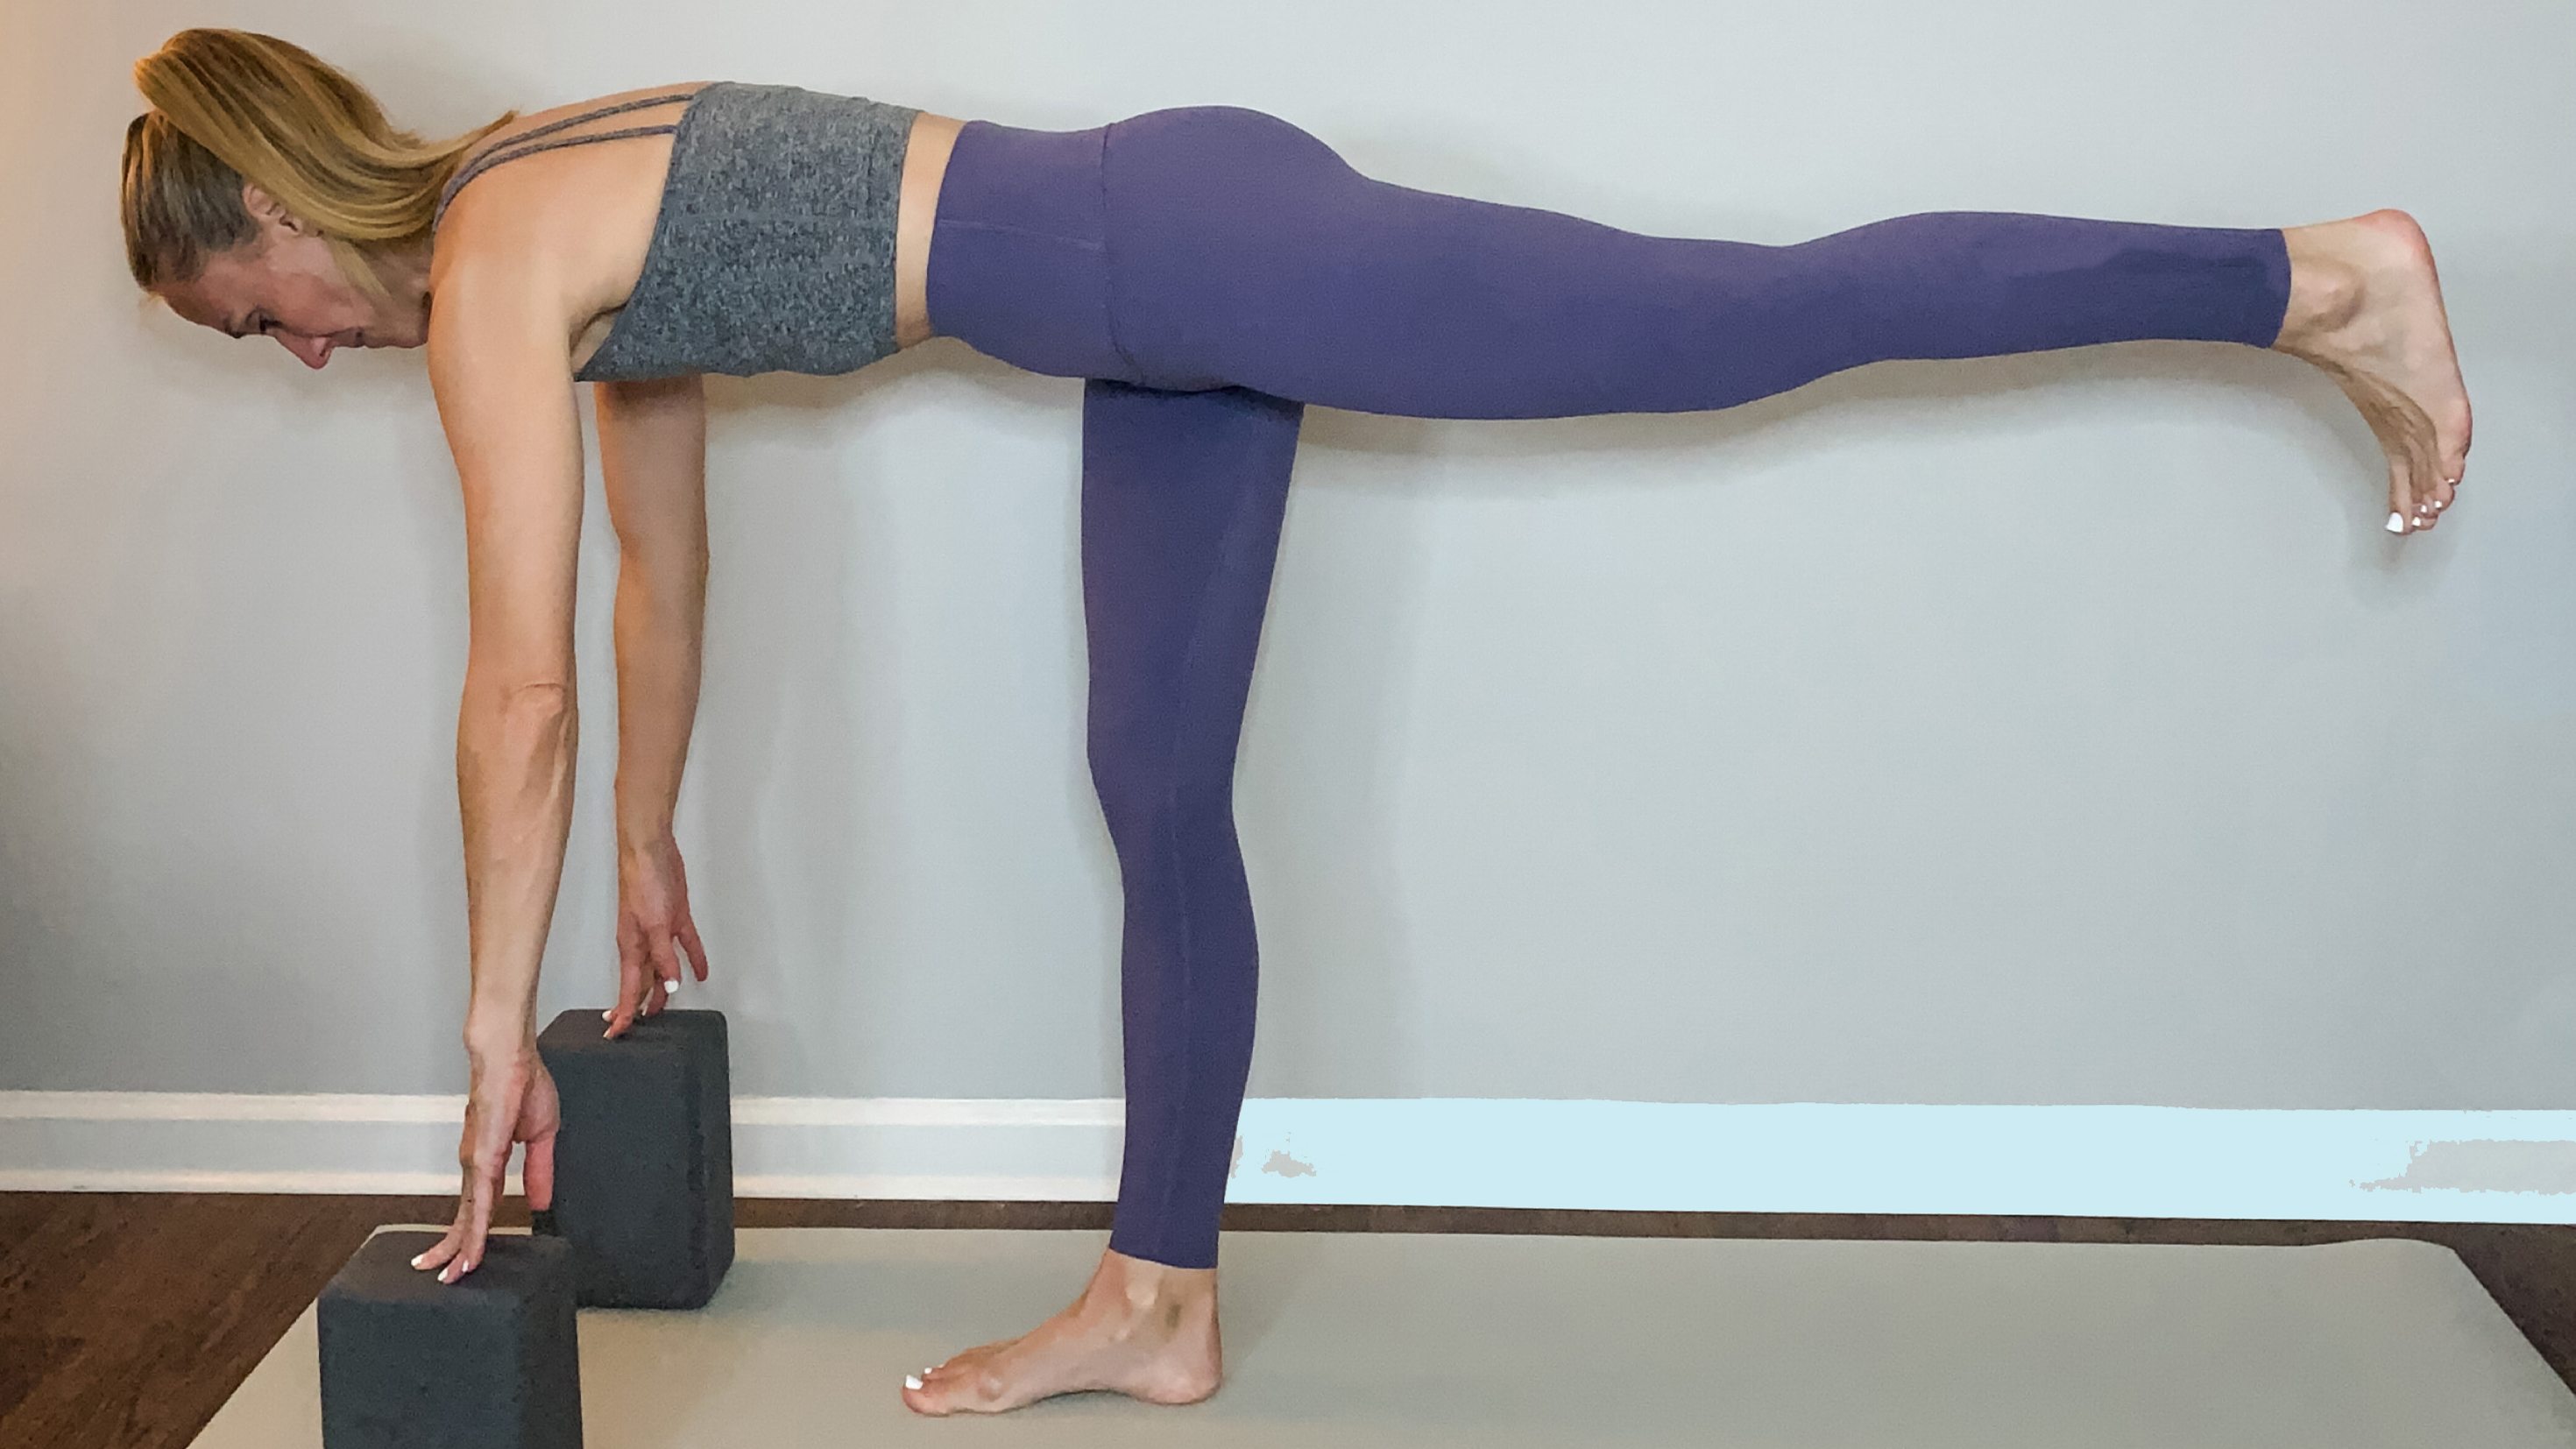
This Warrior 3 variation, with hands on blocks, is a supportive way to strengthen the muscles of the feet, ankles, legs and glutes. Using the blocks allows you to focus on engaging through your legs to maximize the pose's benefits.
How to do it
Place your hands to your blocks if they are not there already. If you're moving into this position from the above Pyramid pose, inhale and shift your weight into your forward leg, finding a soft bend in your front knee. Exhale, push off on your front foot and reach your back leg out towards the horizon. Take all of the weight out of your hands so that your standing leg is the main point of support.
Stay active through your lifted leg; imagine you’re pressing the sole of your raised foot against a wall. This pose can also be done with your lifted foot against a wall for additional support, allowing you to find more muscular engagement.
6. Forward fold
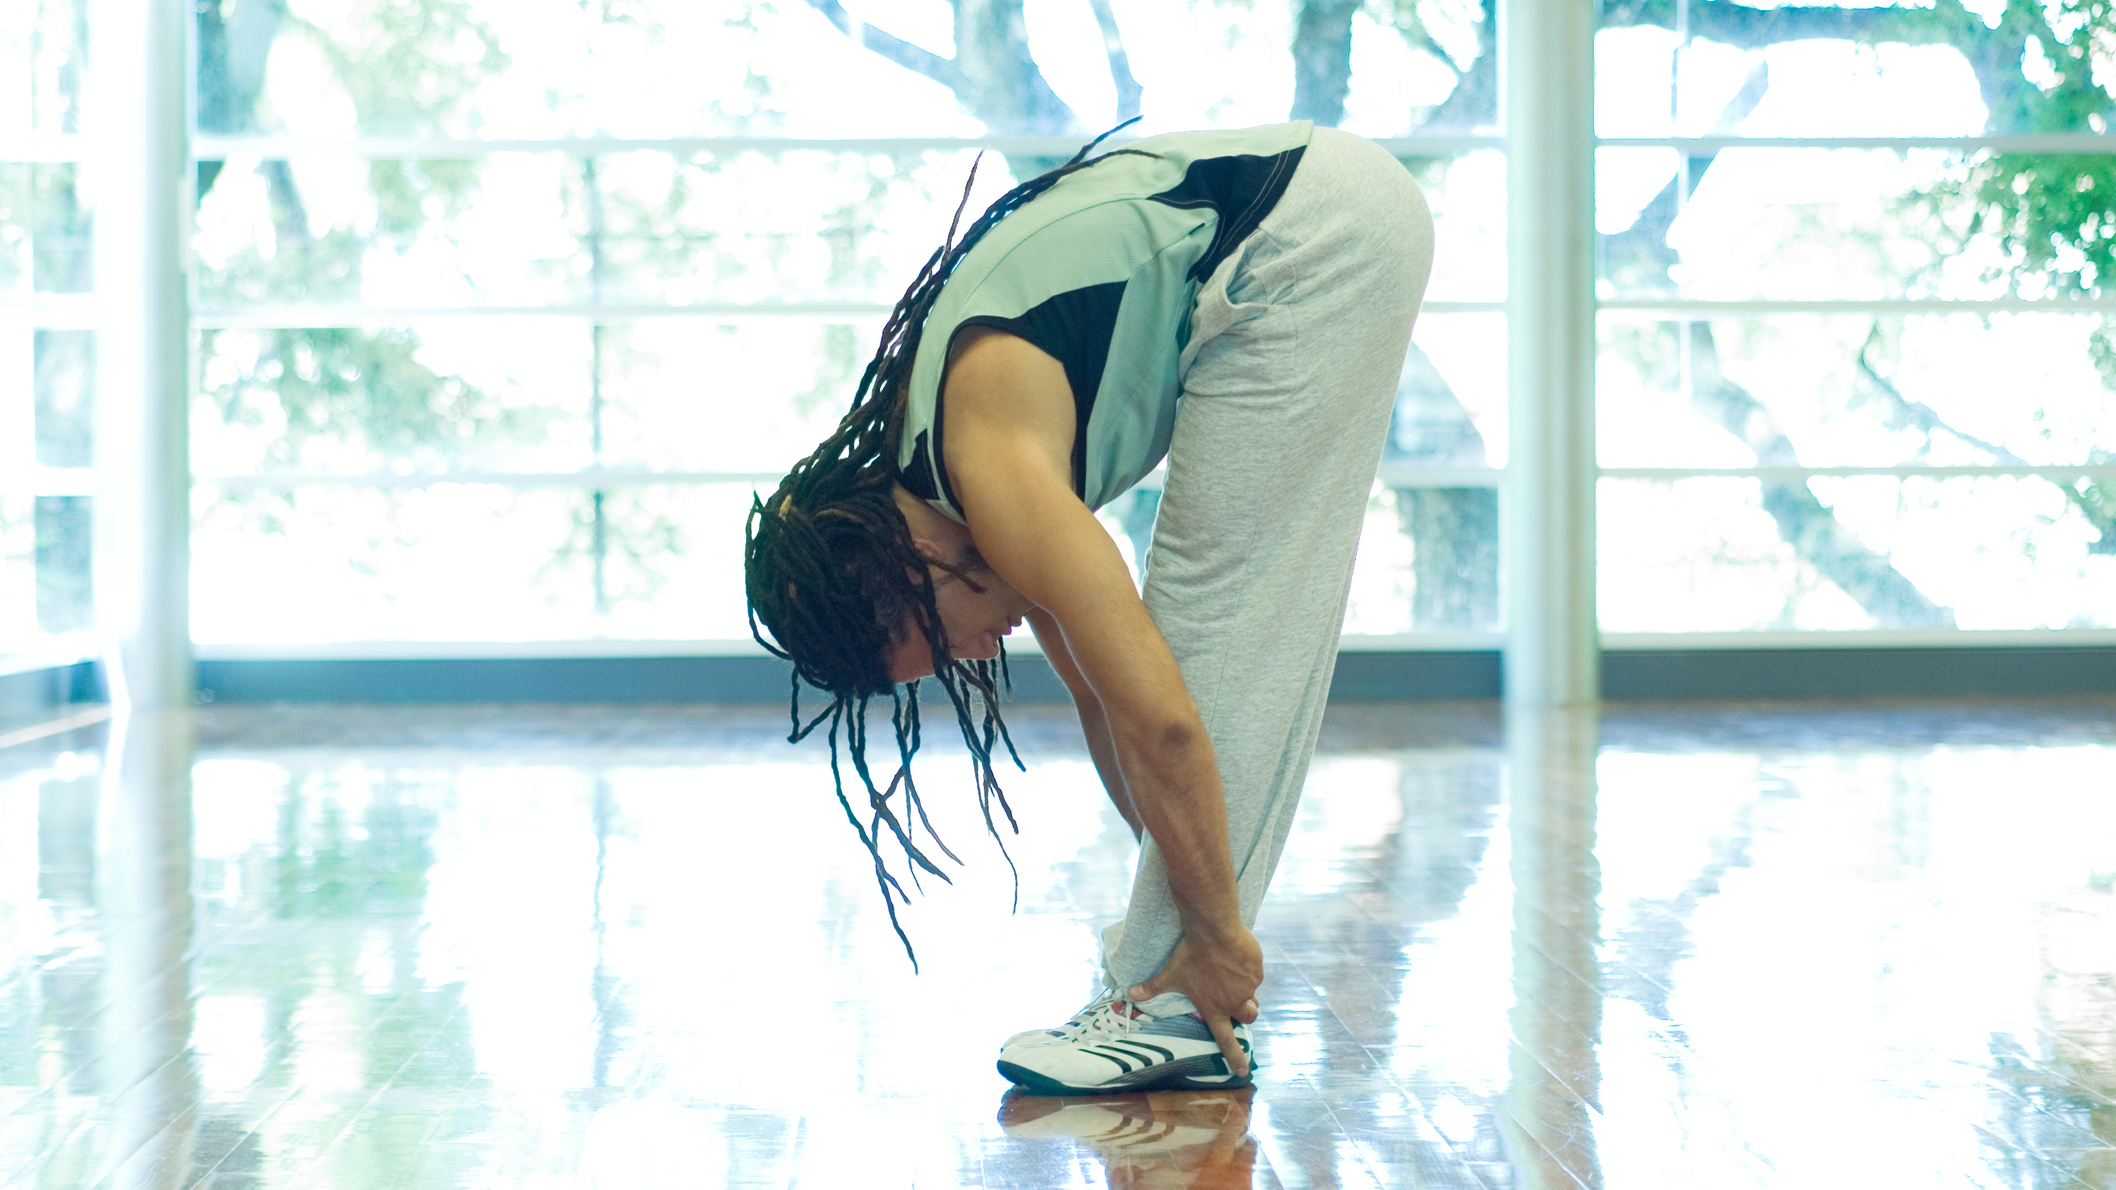
Forward fold is more of a cooling pose and offers a great stretch of the back line of your body. While the main emphasis is stretching, there will still be some strengthening of the feet, ankles and quadriceps, supporting healthy knees.
How to do it
Moving from the above Warrior pose, exhale and bring your lifted foot down to your mat, landing with your feet hip width apart. Shift your weight toward your toes and maintain a soft bend to your knees and allow your upper body to release, folding downwards.
From here, you can place a block back between your thighs to repeat chair pose through the Warrior 3 variation on the opposite side (moves 3-4). After releasing to forward fold, you can move on to the next pose, downward dog.
7. Downward dog
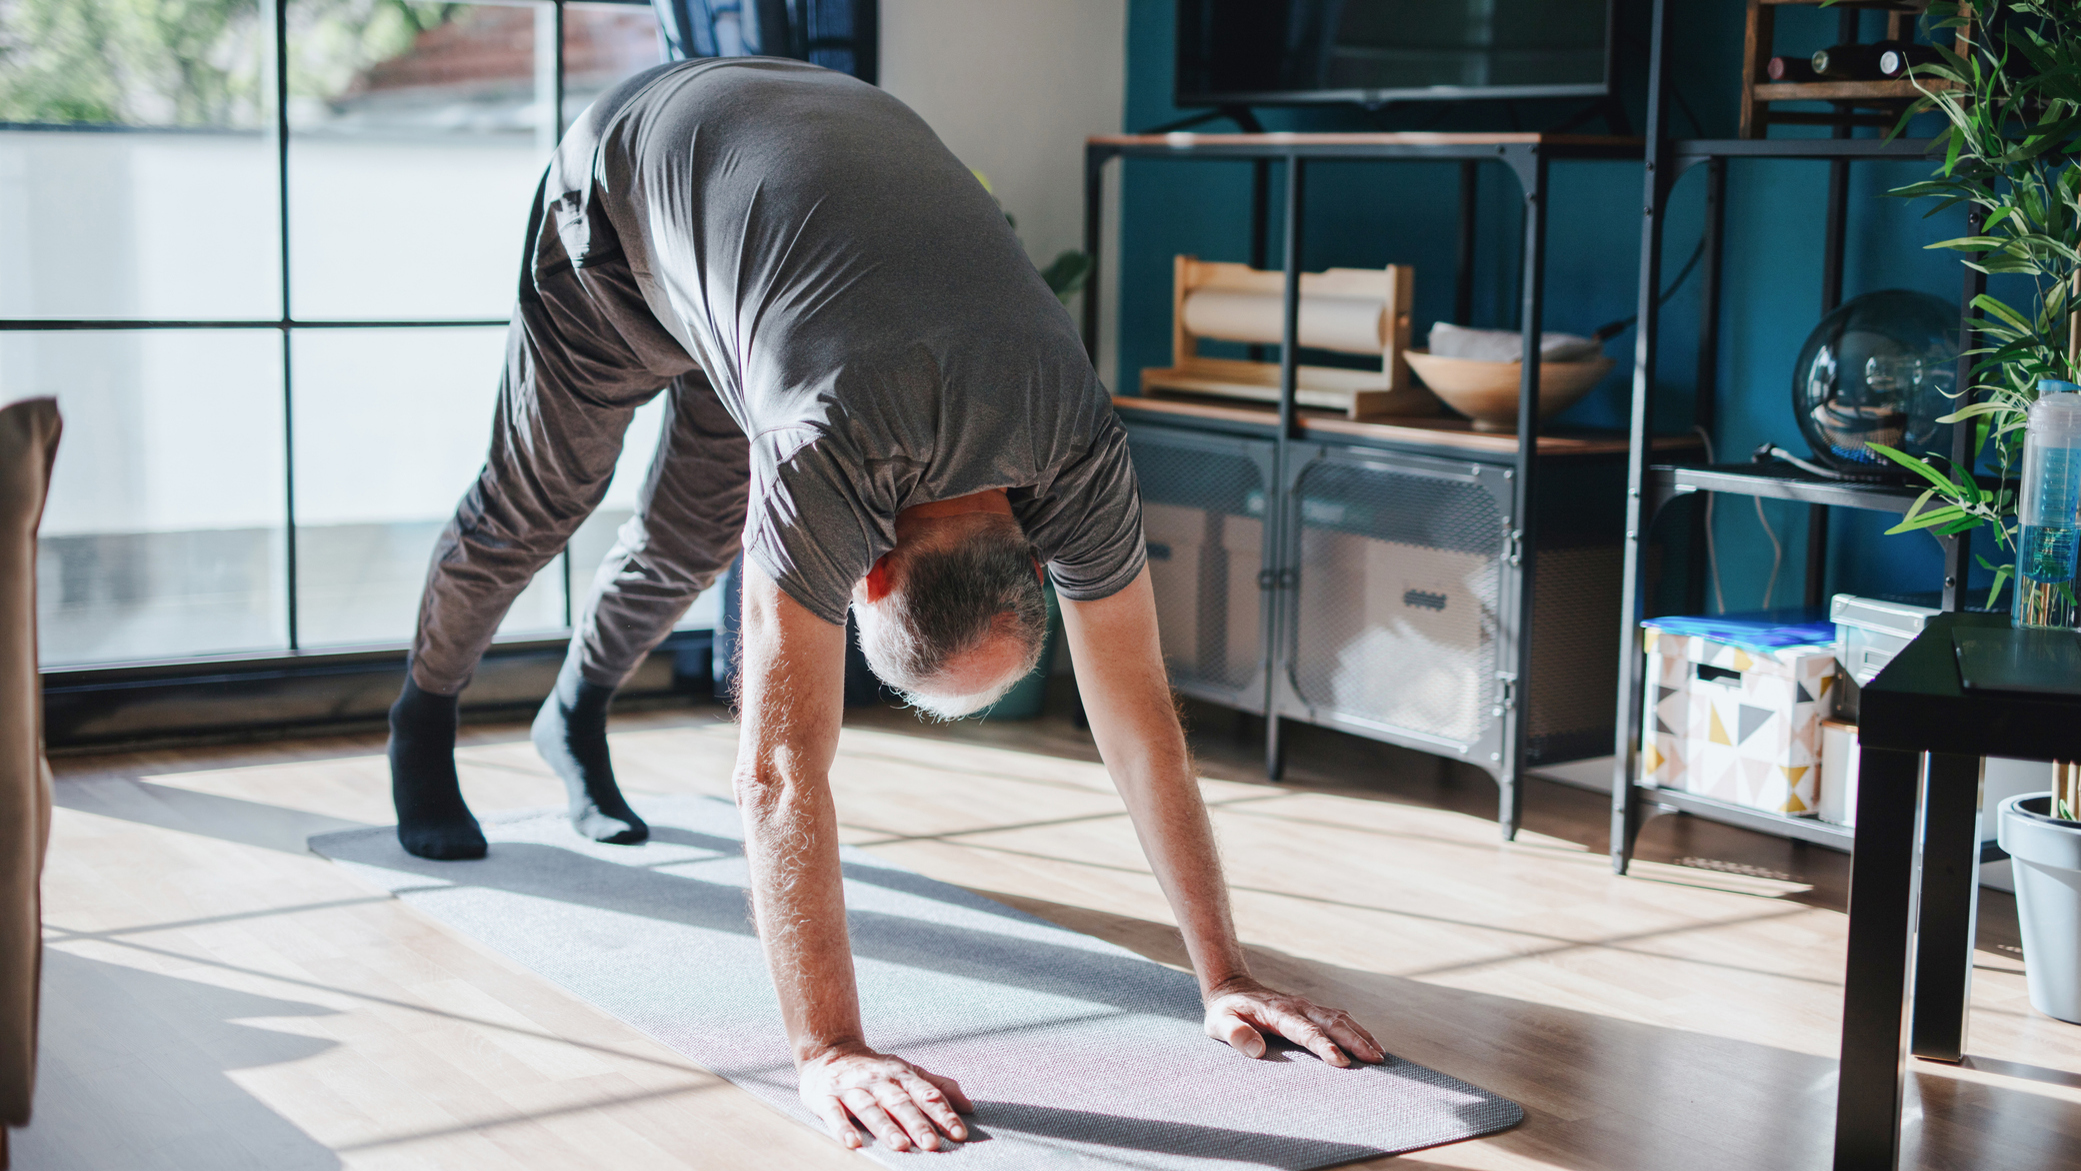
Downward dog hits every nook and cranny of the body. This pose strengthens the quadriceps (thighs) while stretching the feet, ankles, calves, hamstrings and glutes.
How to do it
From forward fold, step your feet back to a plank position. Stack your heels over your toes and shoulders over your wrists. Pause for an inhale. Then exhale, press your hips up and back to create an upside-down v shape in your body. Instead of forcefully pressing your heels down, maintain a soft bend in your knees and lengthen the back of your legs and spine.
From here, try and press your belly toward your thighs while focusing on trying to twist your inner thighs backward.
Bridge pose
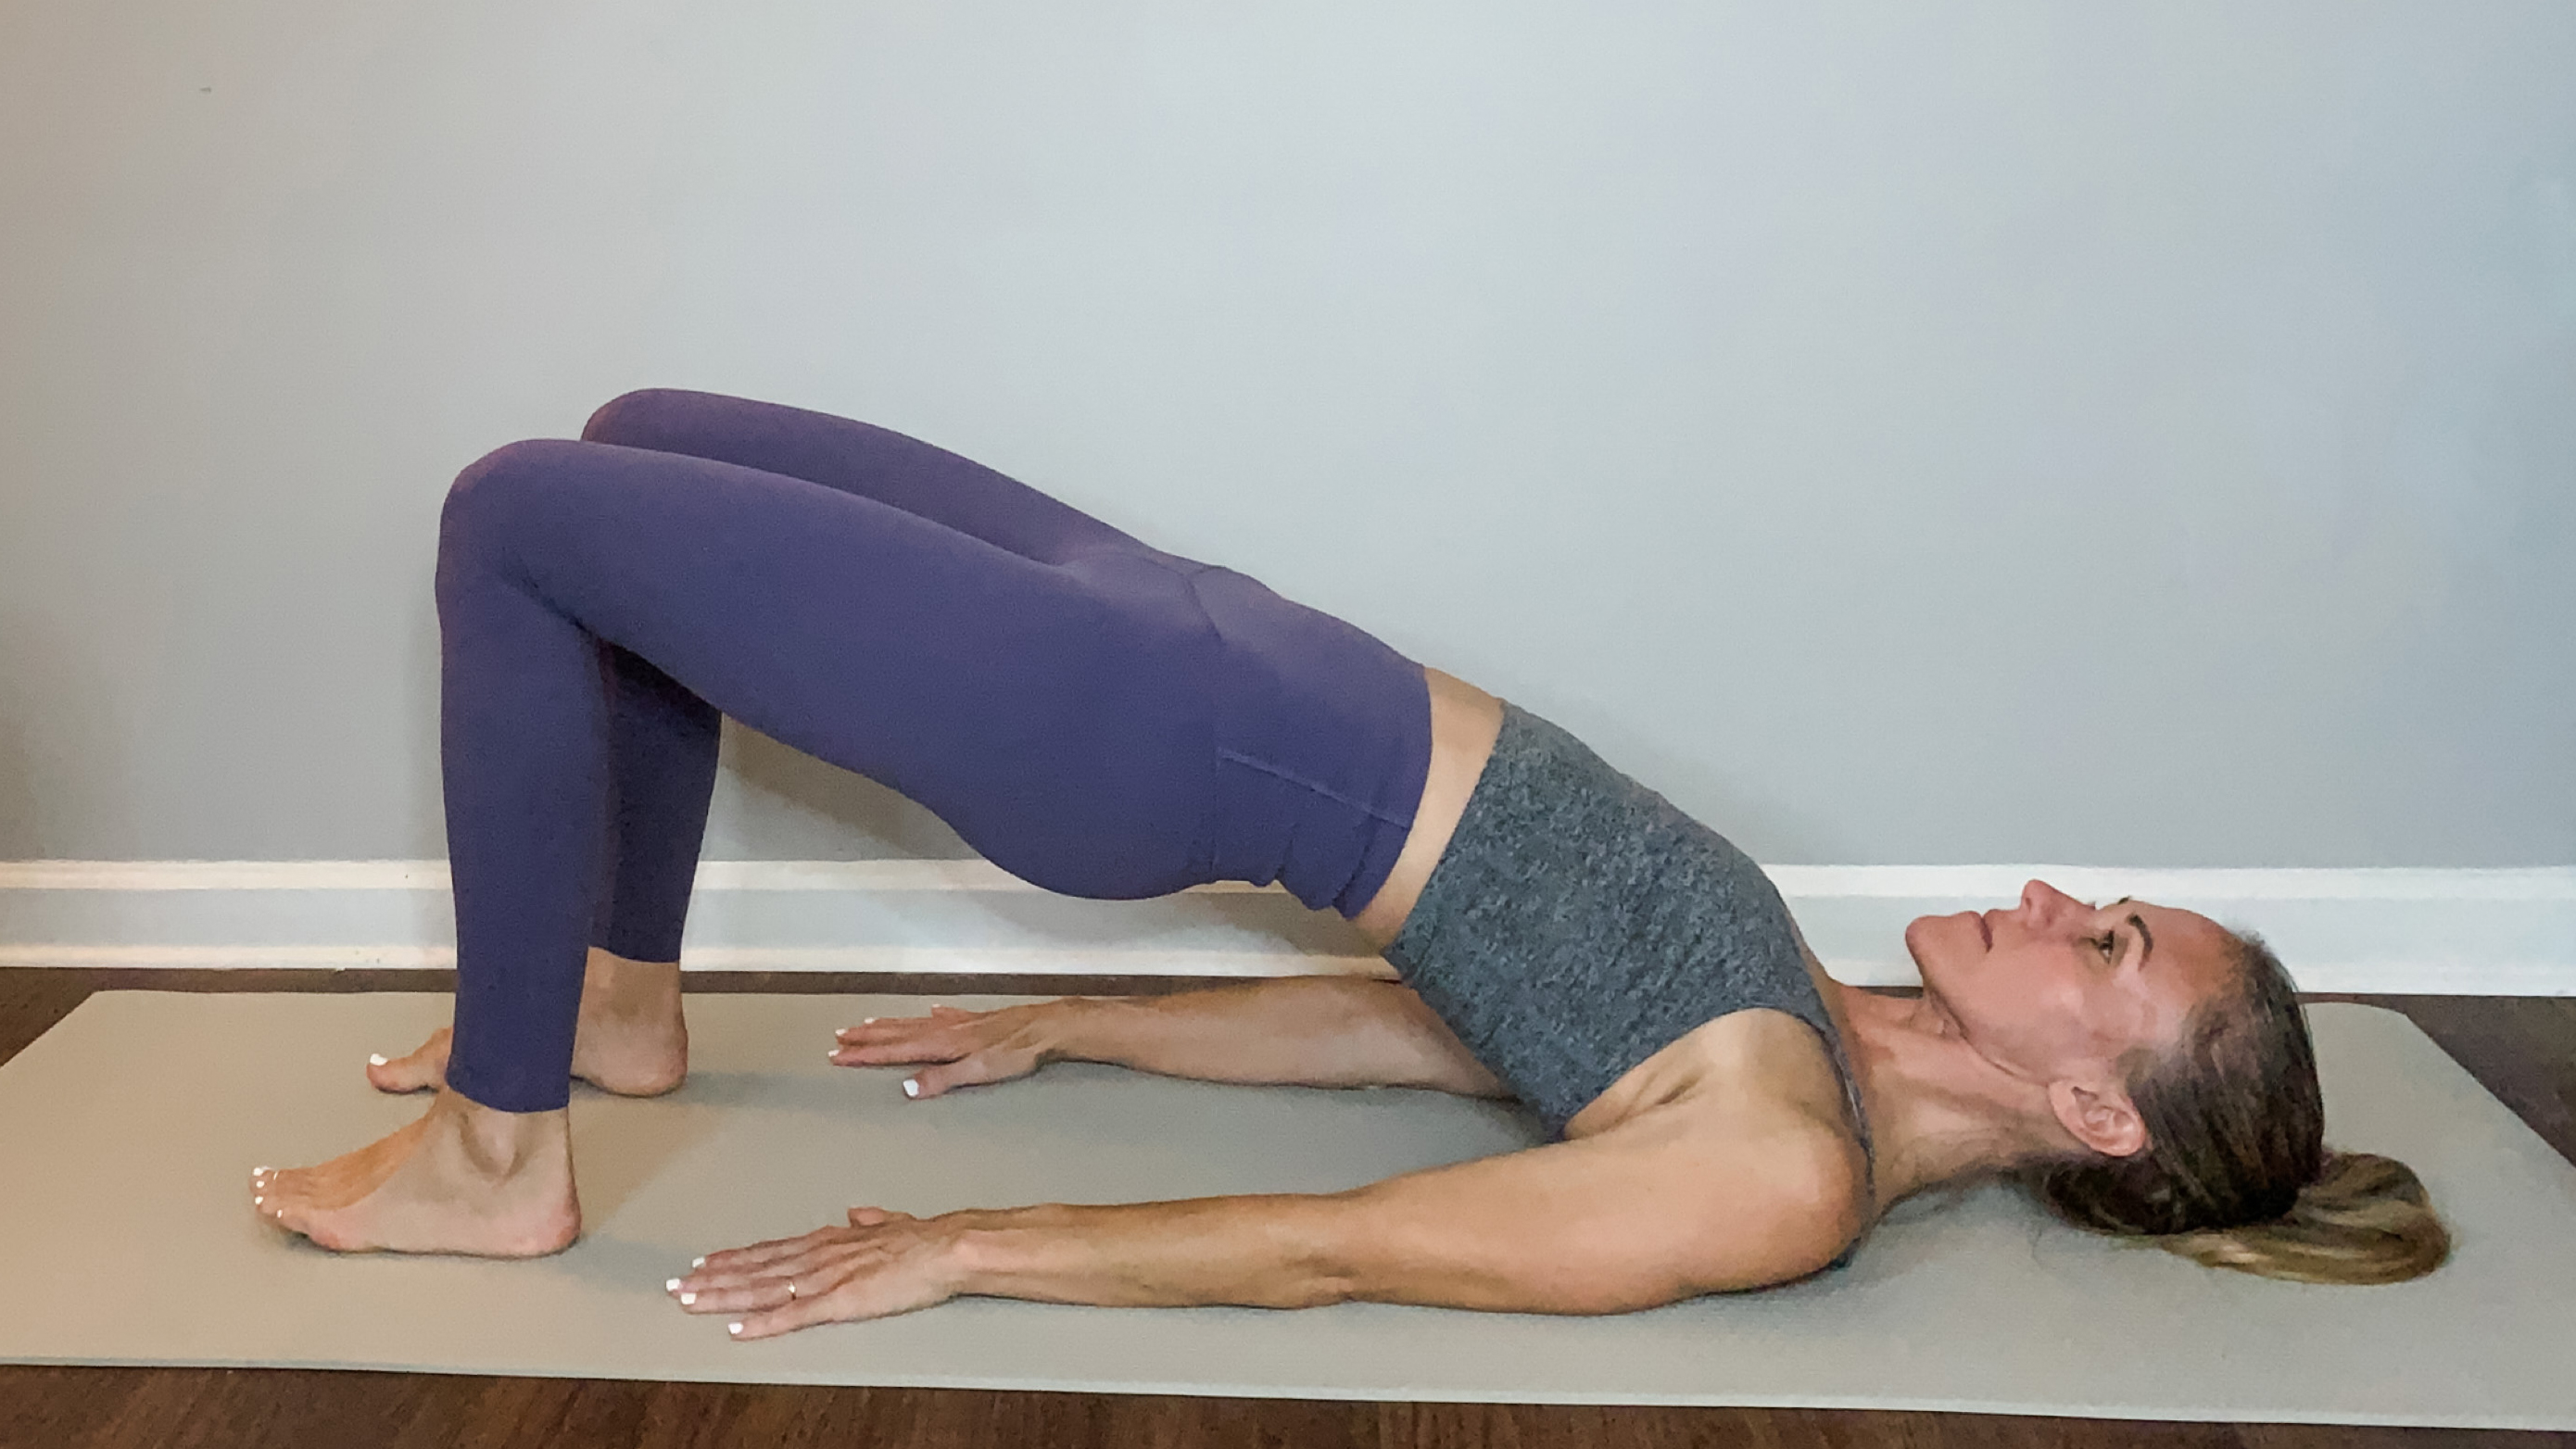
While poses like forward fold and downward dog focus more on stretching the back body, bridge pose strengthens the backside. This floor-based pose takes the balance element out of it and offers a great option to strengthen the hamstrings and glutes. Squeezing a block between the thighs will also recruit the adductor muscles, increasing the benefits of supporting healthy knees.
How to do it
To make your way to the floor from downward dog, bring your knees to the ground. Swing your legs and feet out in front of you. Separate your feet by hip width and scoot forward so your toes align with the short edge of your mat.
Exhale and curl your spine down to the earth. When your back reaches your mat, relax your arms by your sides, bend your knees and shimmy your feet closer to your hips to stack your knees over your heels.
Next, ground down through your feet, shoulders, and head. Use your inhale to press your hips and torso up toward the sky. Ground your heels into your mat to engage your hamstrings and glutes. You can also do this while squeezing a block between your thighs to minimize collapsing in the knees and strengthen your adductors.
When you are ready to lower, release, gently softening one vertebra at a time.
Rachel is a lifelong health and fitness enthusiast with 15 years of experience, a certified personal trainer, and a fitness writer with bylines at Livestrong, Verywell, and Insider. She is passionate about clearly and accessibly communicating actionable and science-based fitness advice. Alongside her writing, Rachel also holds several certifications, including nutrition, prenatal/postpartum exercise, and pain-free performance. She lives in coastal Eastern Canada, and her hobbies include jiu-jitsu, hiking, and trips to the beach.
