The best back workout: build a stronger back and improve your posture
The best back workout will create a solid platform for a fitter, healthier and more impressive upper body

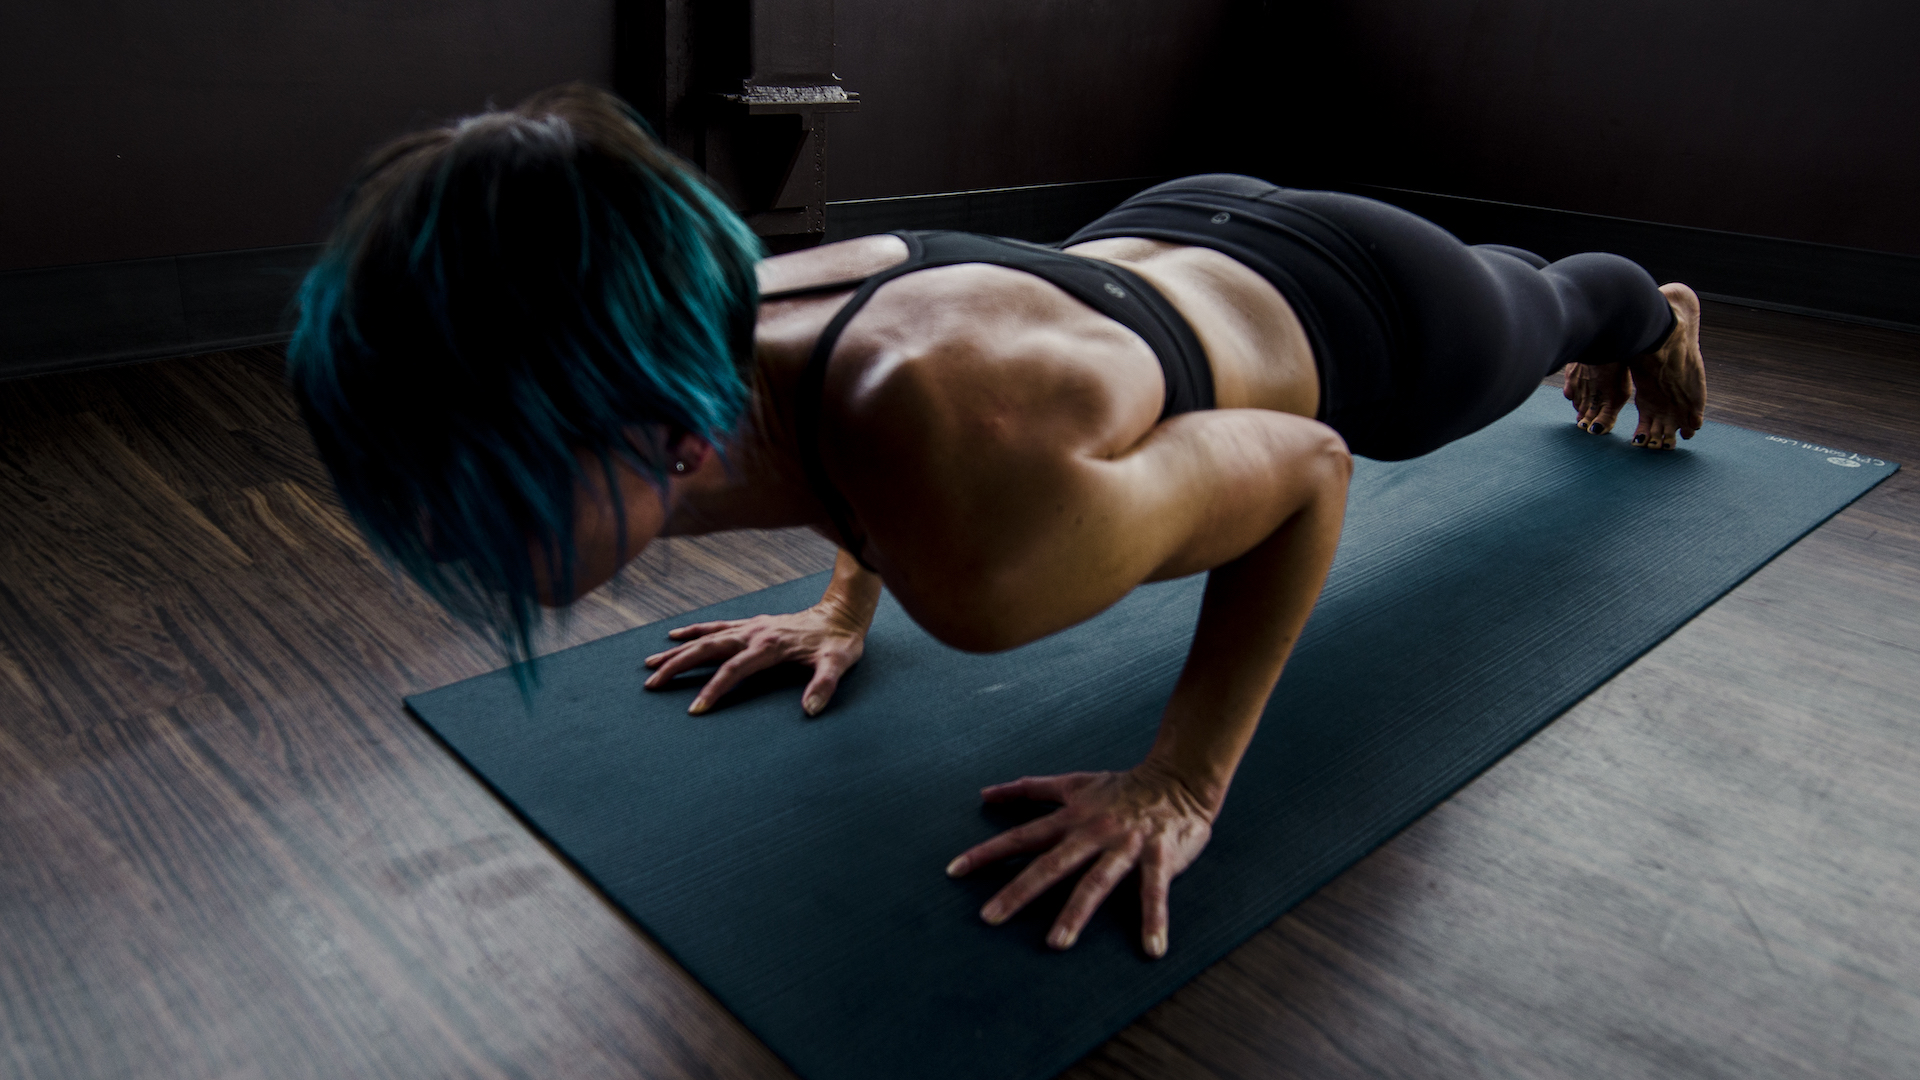
The back is one of the most often overlooked body parts when it comes to workout focus, seemingly because folk are wrapped up in improving the arms, chest and abs (the bits everyone sees, basically) rather than creating a strong platform to hang all of these items from.
Incorporating exercises from the best back workout has multiple benefits, as it will help balance out the muscles developed during the popular pushing moves (bench press, shoulder press etc), and improve posture to reduce the chance of injury, while building a rock-solid foundation upon which you can improve almost every other aspect of training.
After all, your back muscles act as a link between the hips, chest and even the glutes, so neglecting this body part can have an adverse effect on the ability to strengthen or work on other areas.
The modern lifestyle also means we tend to sit at desks for prolonged periods of time or spend hours hunched over a phone. strengthening the back will help improve posture and can assist in reducing back pain. As an added bonus, a strong, well developed back helps create the coveted V-shape or hour-glass figure flaunted by fitness models.
How to perform the best back workout
You can either perform all of the moves listed below as one, epic back workout, which will take 45 minute to an hour to carry out. Or, you can hand-pick a couple of exercises you like the look of and sprinkle them into an existing session or plan.
Try not to work too many large muscle groups in one session though, as this could lead to over-fatiguing of your back and, eventually, injury. So, rather than performing some of the best back workouts on the same day as, say, deadlifts or bent over rows, perhaps look to work specialist areas, such as the triceps or abs, alongside these back exercises.
Safety is also paramount when focussing on the back and poor form or overloading with weights is a surefire way of halting progress as you nurse a niggle or deal with a painful muscle pull. Start off light and keep the reps down until you are confident with the form described below. Strengthening the core is also a great way of protecting the back muscles, as bracing abs during repetitions helps support and stabilise.
Start your week with achievable workout ideas, health tips and wellbeing advice in your inbox.
The best back workout
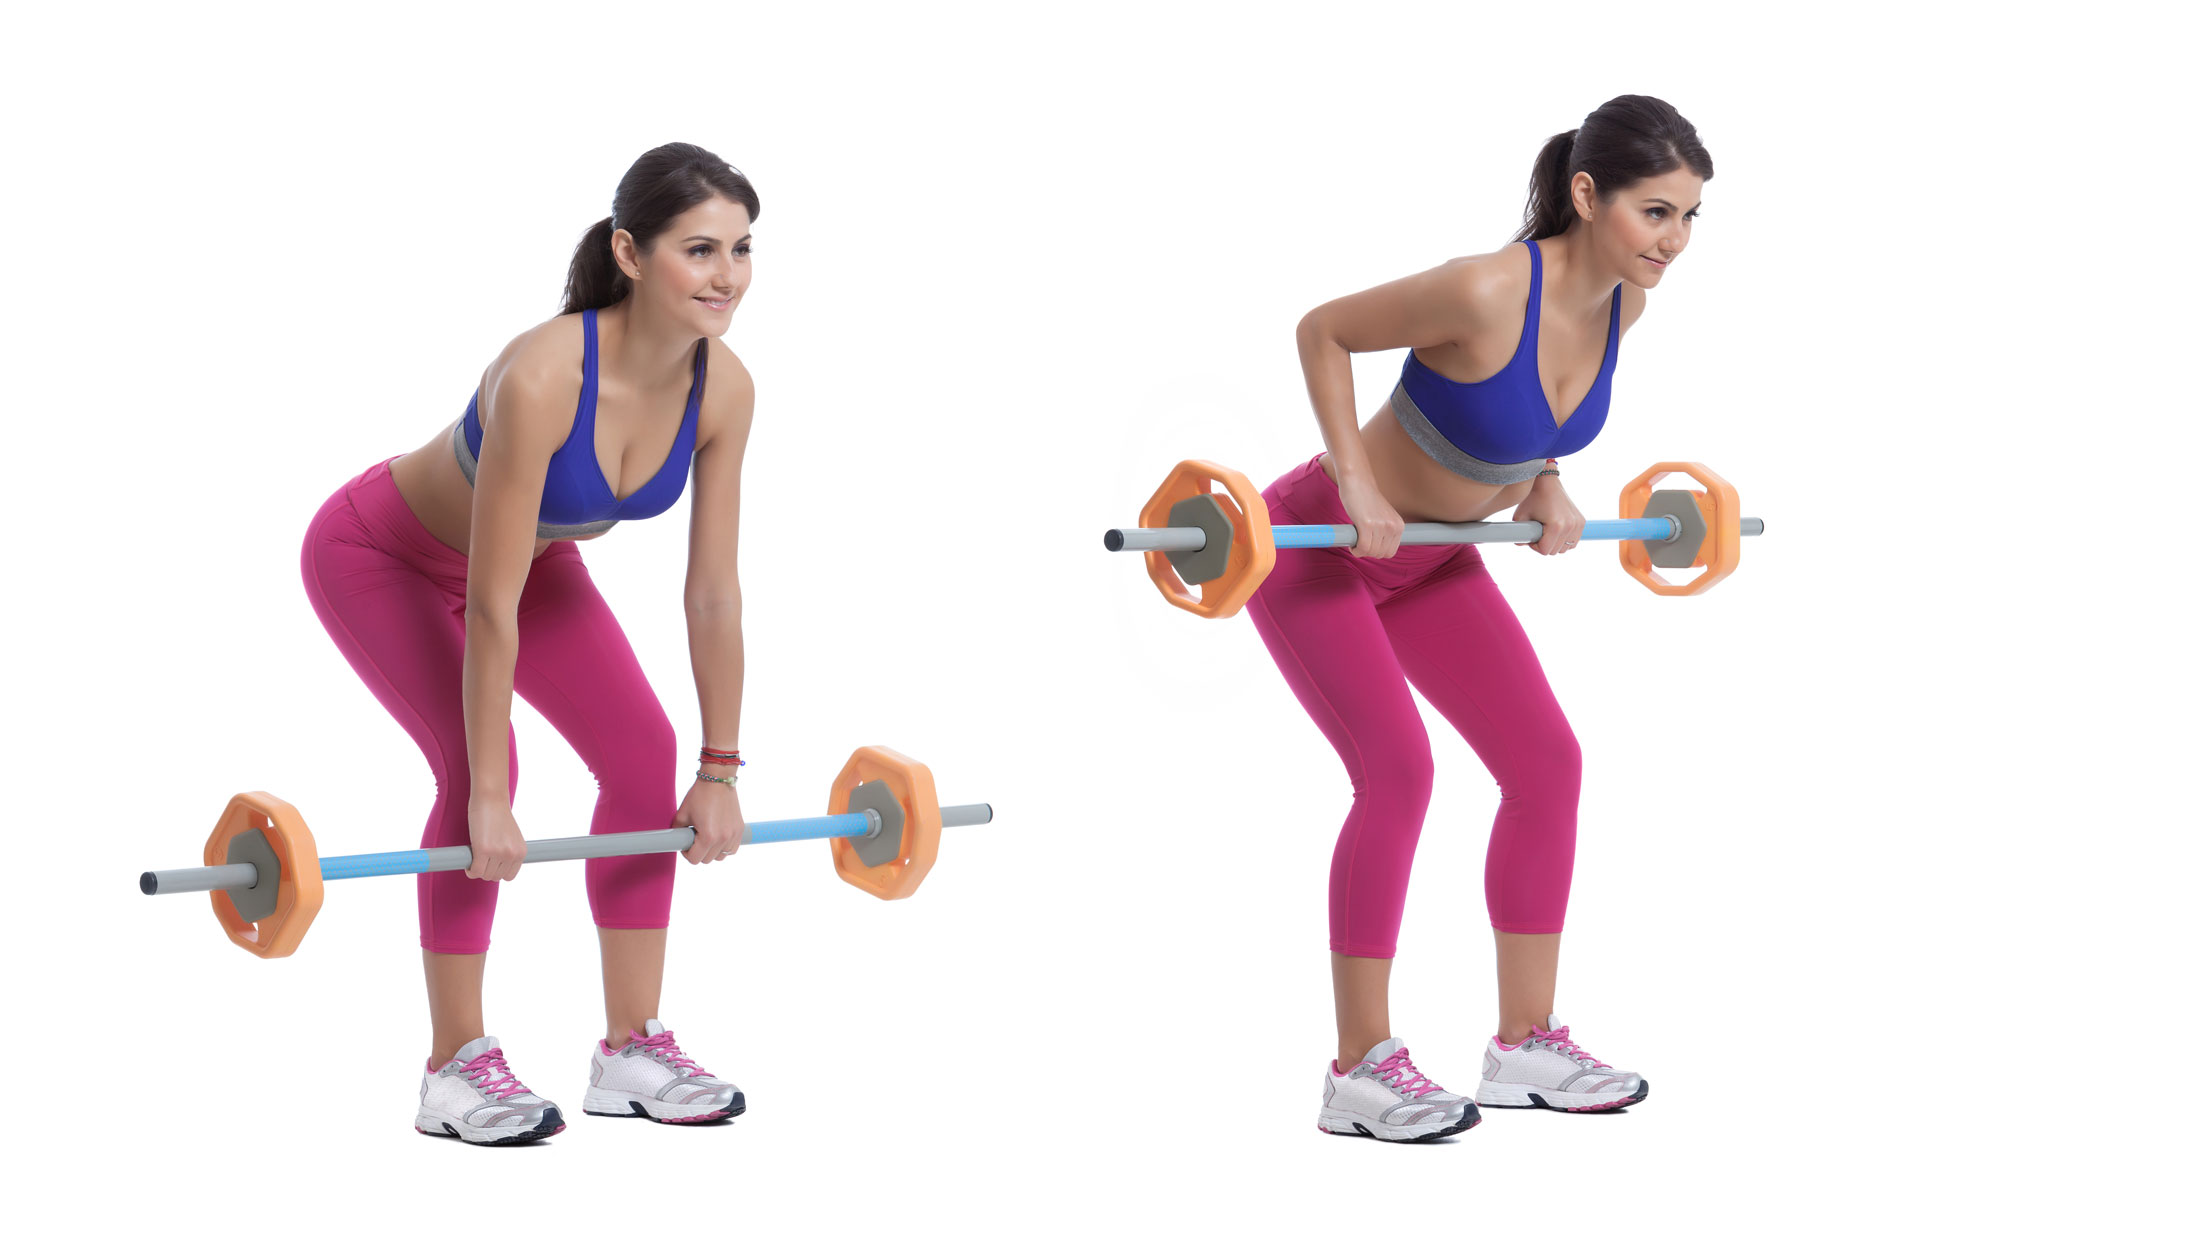
1. Barbell bent-over row - 8-12 reps x 4 sets
Grab a barbell, load it up with some light weights to start with and place it on the floor in front of you. Place your feet underneath the bar so laces can be seen on the other side and get hold of it with a solid, overhand grip, ensuring your hands are around shoulder-width apart, or slightly wider.
From here, keep a flat back, brace your shoulders by pulling them back and squeezing them down towards your butt and bring the bar to waist height by driving through the heels. This will also help you practice your deadlift form.
Now, keep a slight bend in the knees and lower the bar back down your shins by hingeing at the hips, pushing your butt backwards but maintaining that straight back and braced shoulders pose. You can now start the rows by pulling the bar up towards your navel by contracting the shoulder muscles.
The elbows should always point backwards (not flare out to the sides), you should focus on bracing your core and breathing properly during each rep. Breathe in through the nose on during the pull, pause for a moment and lower the bar in a controlled fashion while exhaling from the mouth.
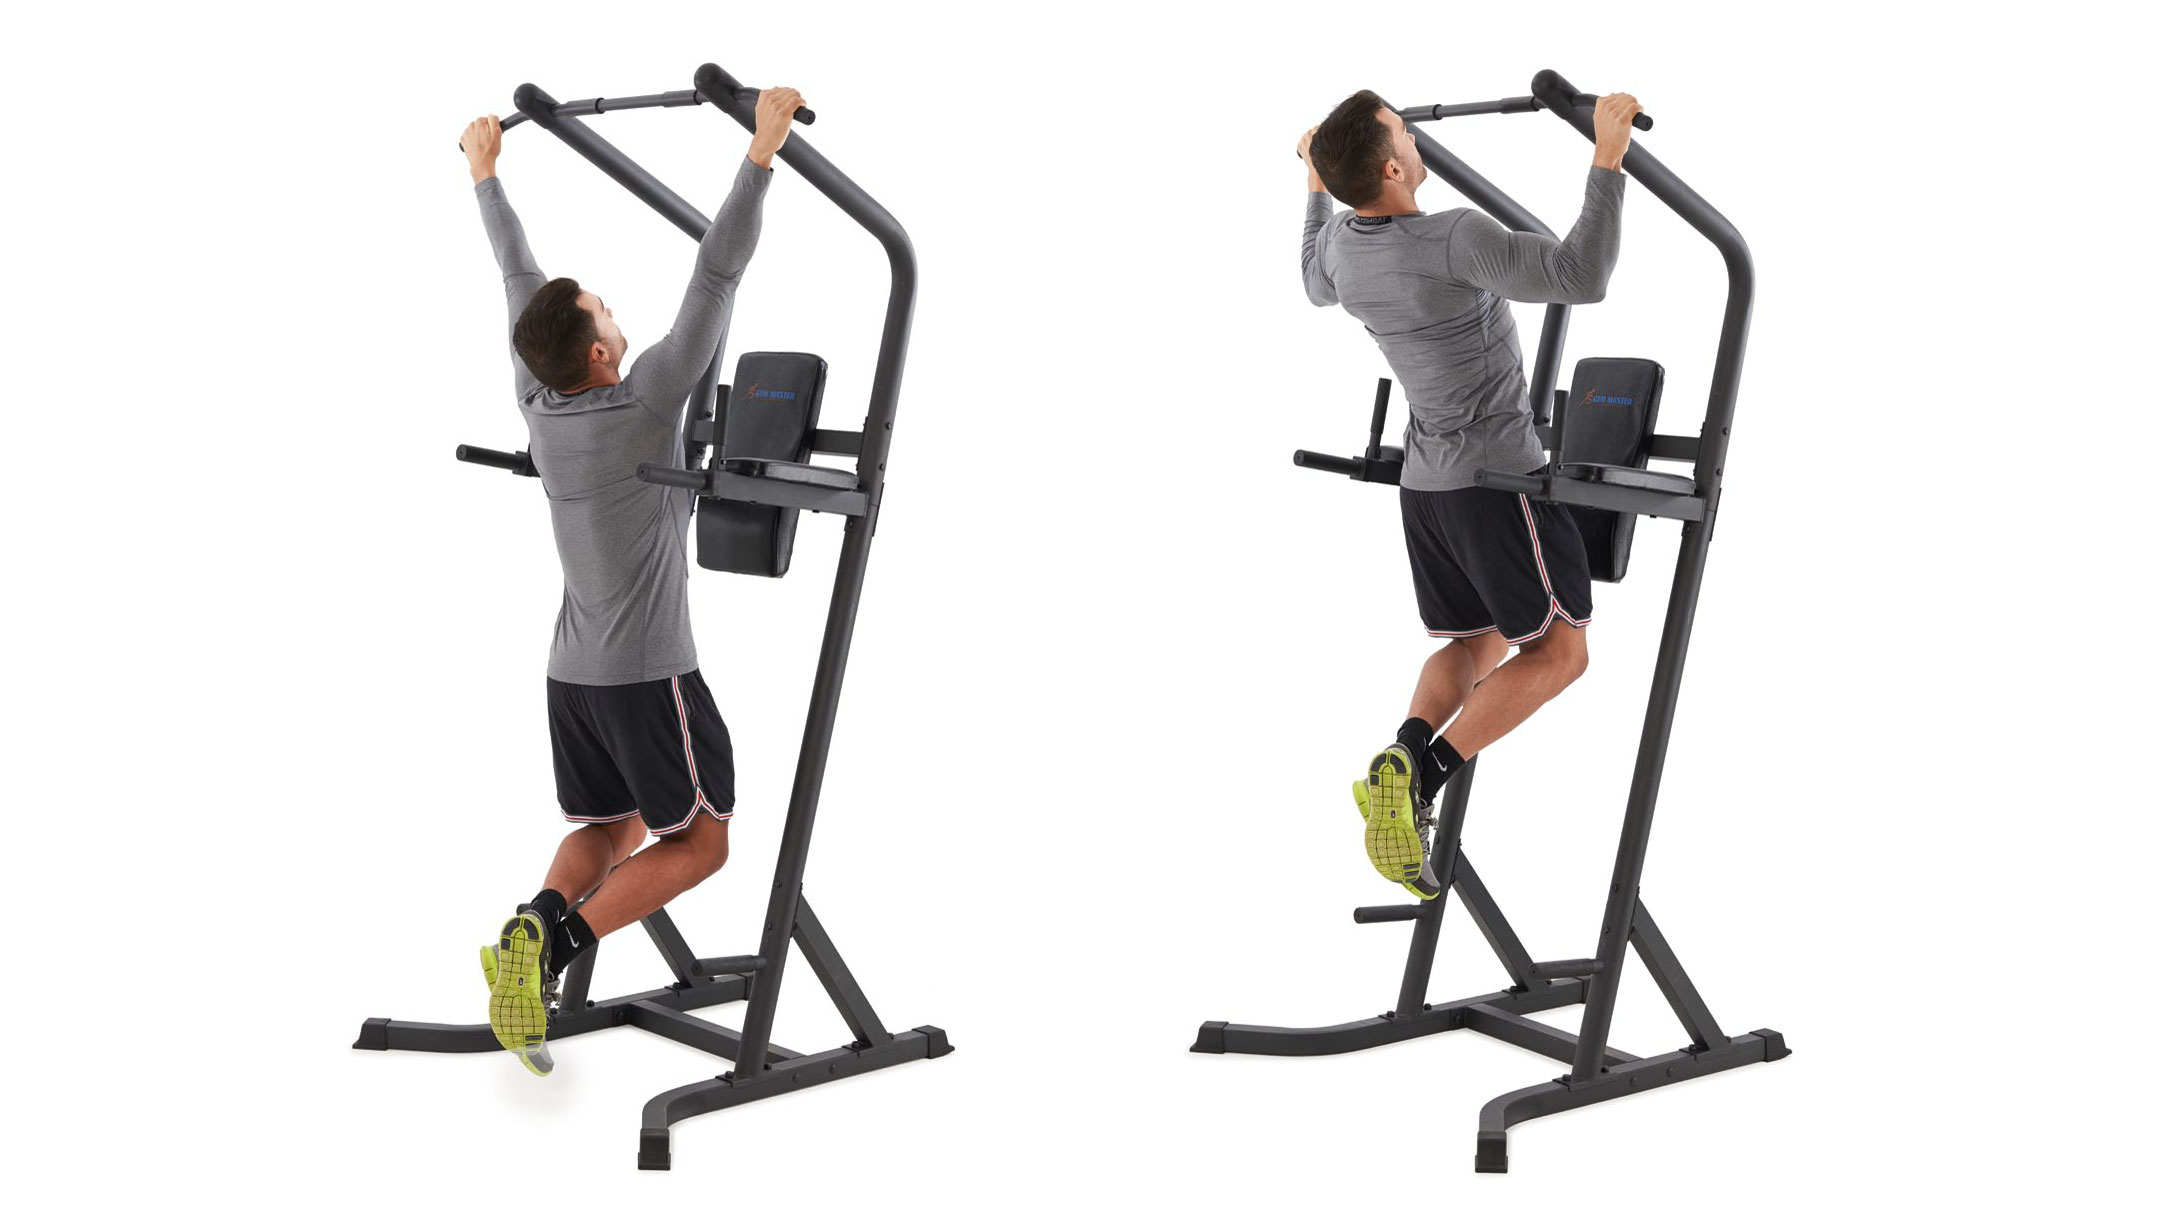
2. Pull-up - 10-12 reps x 4
Mastering the pull-up is something everyone should do, as it is such a good exercise for building a wider back and crafting a stronger upper body in general. If you can’t manage a single rep under your own steam, head towards an assisted pull-up machine in the gym or try looping a resistance band around the bar and your foot for a little help.
Grab a pull-up bar (or anything suitable) with an overhand grip, palms facing away from you. Lower your body so the arms are fully extended and set-up the move by bracing your shoulders, ensuring they are pressed backwards. Now pull your body weight up so the chin is above the bar by contracting the shoulder muscles and driving your elbows towards your hips. Pause at the top and lower in a controlled fashion. Repeat.
3. Kettlebell Swings - 45 seconds x 4
The kettlebell is excellent for developing both the upper and lower back, as well as injecting some awesome cardio work into your session. Place a kettlebell (start off light) between your feet, which should be around hip-width apart. Bend at the hips as if you were performing a squat and grab handle with both hands. Stand upright with core engaged, shoulders pinned back and down towards your butt and a nice, straight back.
Now rock back slightly to create enough momentum to swing the kettlebell up and out in front of you, arms straight and fully extended. Squeeze the glutes, thrust your hips forward and brace the core to assist in this movement and drive through the heels. Now allow momentum to swing the kettlebell back through your legs, remembering to bend at the hips before repeating the movement.
Remember, this is primarily a lower body exercise, so drive with the legs and glutes. The shoulders should only really be incorporated at the top of the move, where the kettlebell hangs in the air for a brief moment before returning to its start position. Aim to perform as many swings as you can in a 30-60 second time period and repeat this for 3-4 sets for maximum fat burn.
4. Supine Press-up 10-12 reps x 4
A properly performed traditional press-up will work the chest, but it will also place focus on the shoulders and upper back muscles. But to really work the back muscles, you need to master the supine press-up.
Lay on your back and bring your feet towards your butt so the soles of your shoes are flat on the ground, legs bent. Now bring your arms out to your sides and drive your elbows into the ground (having a mat or soft surface helps). Your arms should be at a right angle to the ground - pointing to the ceiling - palms facing forwards.
Raise your upper back off the ground by pushing off your elbows, squeezing the shoulder blades together at the top of the move. Pause here for maximum burn and lower to the ground. The shoulders only need to come off the ground slightly to really work the upper back.
5. Dumbbell Single Arm Row 8-12 reps (each side) x 4
Popular in gyms, this lat-building beauty allows you to lift heavier weights, thus encouraging your back muscles to grow and strengthen over time. But many perform this move incorrectly, allowing the shoulder to drop at the bottom of the movement and failing to brace the abs properly so the arm does all of the work.
Grab a flat bench and kneel on it with your left leg, place the palm of your left hand on the bench too, locking the arm out. Step your right leg on the other side and have dumbbell waiting on the floor just to the right of the bench.
From here, reach down and grab the dumbbell in your right hand and begin the move with it hanging so the right are is fully extended. Suck in your stomach so your abs are full braced and row the dumbbell up your right side by pulling with the lats and squeezing the shoulder muscles at the top of the move. Lower the dumbbell using a slow and controlled motion but don’t let your shoulder drop here. Keep it pinned back.
The back should remain flat throughout this and you should avoid any jerking motion. Every lift should be controlled and slow. Perform 8-12 reps and then swap sides.
6. Face pulls 10-12 reps x 4
No, this doesn’t involve shifting weights with your face. Instead, it requires a cable machine or, at the very least, a good resistance band.
If using a cable machine, attach a rope attachment (better still, two rope attachments) to the carabiner and set it so the pulley system is around head high. Load up a light weight to begin with, grab a rope in each hand and take a big step backwards.You should adopt a stable position with both feet facing forwards and a slight bend in the knees.
Hold the ropes so palms are facing towards each other, contract the shoulders so they are squeezed back and towards the butt. Pull the ropes either side of your face (hence the face-pull moniker), keeping the thumbs pointing behind you and squeeze the shoulder blades together. Pause when shoulders are fully retracted and then slowly return the ropes to the start position.
The move is identical with a resistance band but you’ll have to loop one end around a fixed pole or rack so you can grasp the other end in both hands and carry out the face-pull. If the resistance band is too heavy, you’ll find it tough to fully retract the shoulders, so start light and work up.
An automotive and technology writer by trade, Leon keeps in shape by lifting heavy objects inside and riding various machinery outside. Leon is an Editor who has written for Wired Uk, The Sun, Stuff Magazine, and Fit&Well's sister title, T3. Now though, Leon is working for The Gear Loop covering just about everything from hiking to kayaking.
