
If you want to work on your flexibility, posture and alignment, yoga has countless postures to offer. But what do you do if you’re short on time and can’t get to a class or do a full session?
Yoga teacher Puravi Joshi says that practicing one pose, even for just a few minutes a day, can help you experience some physical and mental benefits.
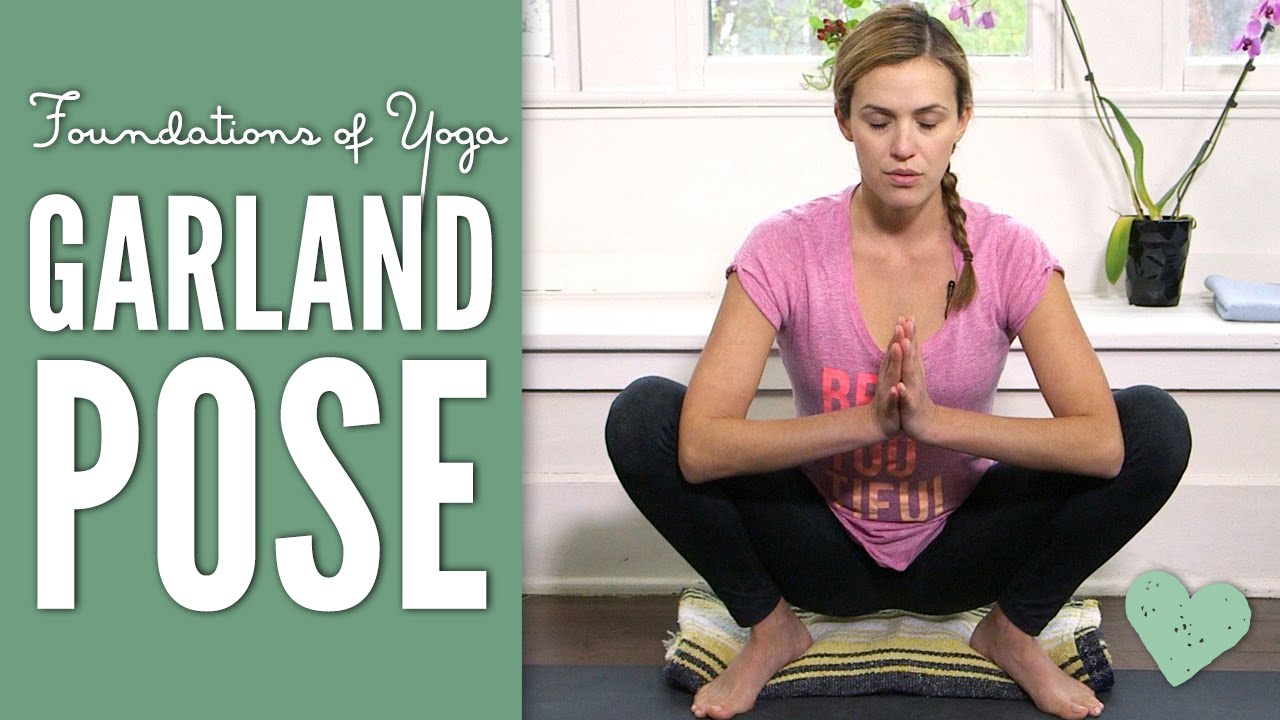
So which pose should you go for? "I would start with malasana – the yogi squat," says Joshi.
Also known as garland pose in English, it's different to a conventional squat, she says, because it involves sinking your hips much deeper than parallel and holding that position with your back upright. While this might be challenging if you have tight hips and ankles, it does lend some unique benefits.

"It works through the hips, strengthens your core and lengthens through your back," Joshi explains. "It can also help you to become aware of your shoulders and give you an awareness of your ankle flexion."
As well as helping to improve your mobility, Joshi says this pose can also aid with digestion. "For people who struggle with bloating or women who feel bloated around their luteal phase or menstruation period, this is a great pose to stimulate that area without it being too aggressive."
How to do the yogi squat (malasana)
Time: 3-5min
- Stand with your feet slightly wider than hip-width apart and your toes turned out at a comfortable angle.
- Slowly lower your hips into a deep squat, keeping your heels grounded and chest lifted.
- Bring your hands together at your chest and use your elbows to gently press your knees outward.
- Hold the position, breathing steadily, keeping your spine long rather than rounding forward.
Tips for doing the yogi squat
Understanding how to perform the yoga squat with correct form is essential for both preventing injury and getting the most out of the posture. Joshi shares the following form tips.
Knees: "Have your knees pointing out at roughly 45° to give yourself a little bit of room," she recommends. This, along with widening the distance between your feet, creates more space for your hips to drop lower.
Upper body: To help you achieve an upright position in your upper body, Joshi suggests becoming aware of your shoulder position. "Extend your arms out in front of you and have an awareness of where your shoulders are. With your arms out in front of you, you should notice if your shoulders are creeping up towards your ears or if they're relaxed, which is where they should be."
Props: "If it feels uncomfortable, you can prop yourself up with a block or a bolster," Joshi says. "Sitting on a block or a bolster can make this pose easier for someone who can't get their hips down that low, and it will still work the hip space."