I tried this five-move calisthenics workout that only uses a chair—and it was much more fun than HIIT
This workout will improve your coordination, boost your balance and build strength, all while working your way towards impressive calisthenics skills

Start your week with achievable workout ideas, health tips and wellbeing advice in your inbox.
You are now subscribed
Your newsletter sign-up was successful
Calisthenics might sound like a complicated medical procedure, but the phrase actually refers to a type of strength training which exclusively uses bodyweight exercises. This covers everything from simple moves like push-ups and planks to complex gymnastic exercises such as the planche and human flag.
As someone who wants to improve their gymnastics for CrossFit training, I decided to give this training style a go via an at-home beginner workout from coach Chloe McDonnell. It's a compact, 15-minute session, but it's a lot more fun that your standard HIIT workout.
Watch Chloe Macdonald's at home calisthenics workout
A post shared by Chloe McDonnell (@chloemac_coaching)
A photo posted by on
How I got on
The workout has an easy-to-follow pattern; five moves performed as a circuit for three rounds. For each move, you work for 30 seconds then take a 30-second break before starting the next exercises.
Initially, I was sceptical on whether or not McDonnell could provide a challenging calisthenics routine within the confines of my living room, as I'm used to using bodyweight tools like pull-up bars and parallettes. However, I found that the sequence still provided a tough, thorough workout, despite the fact it only used a chair.
1. Plank up and downs
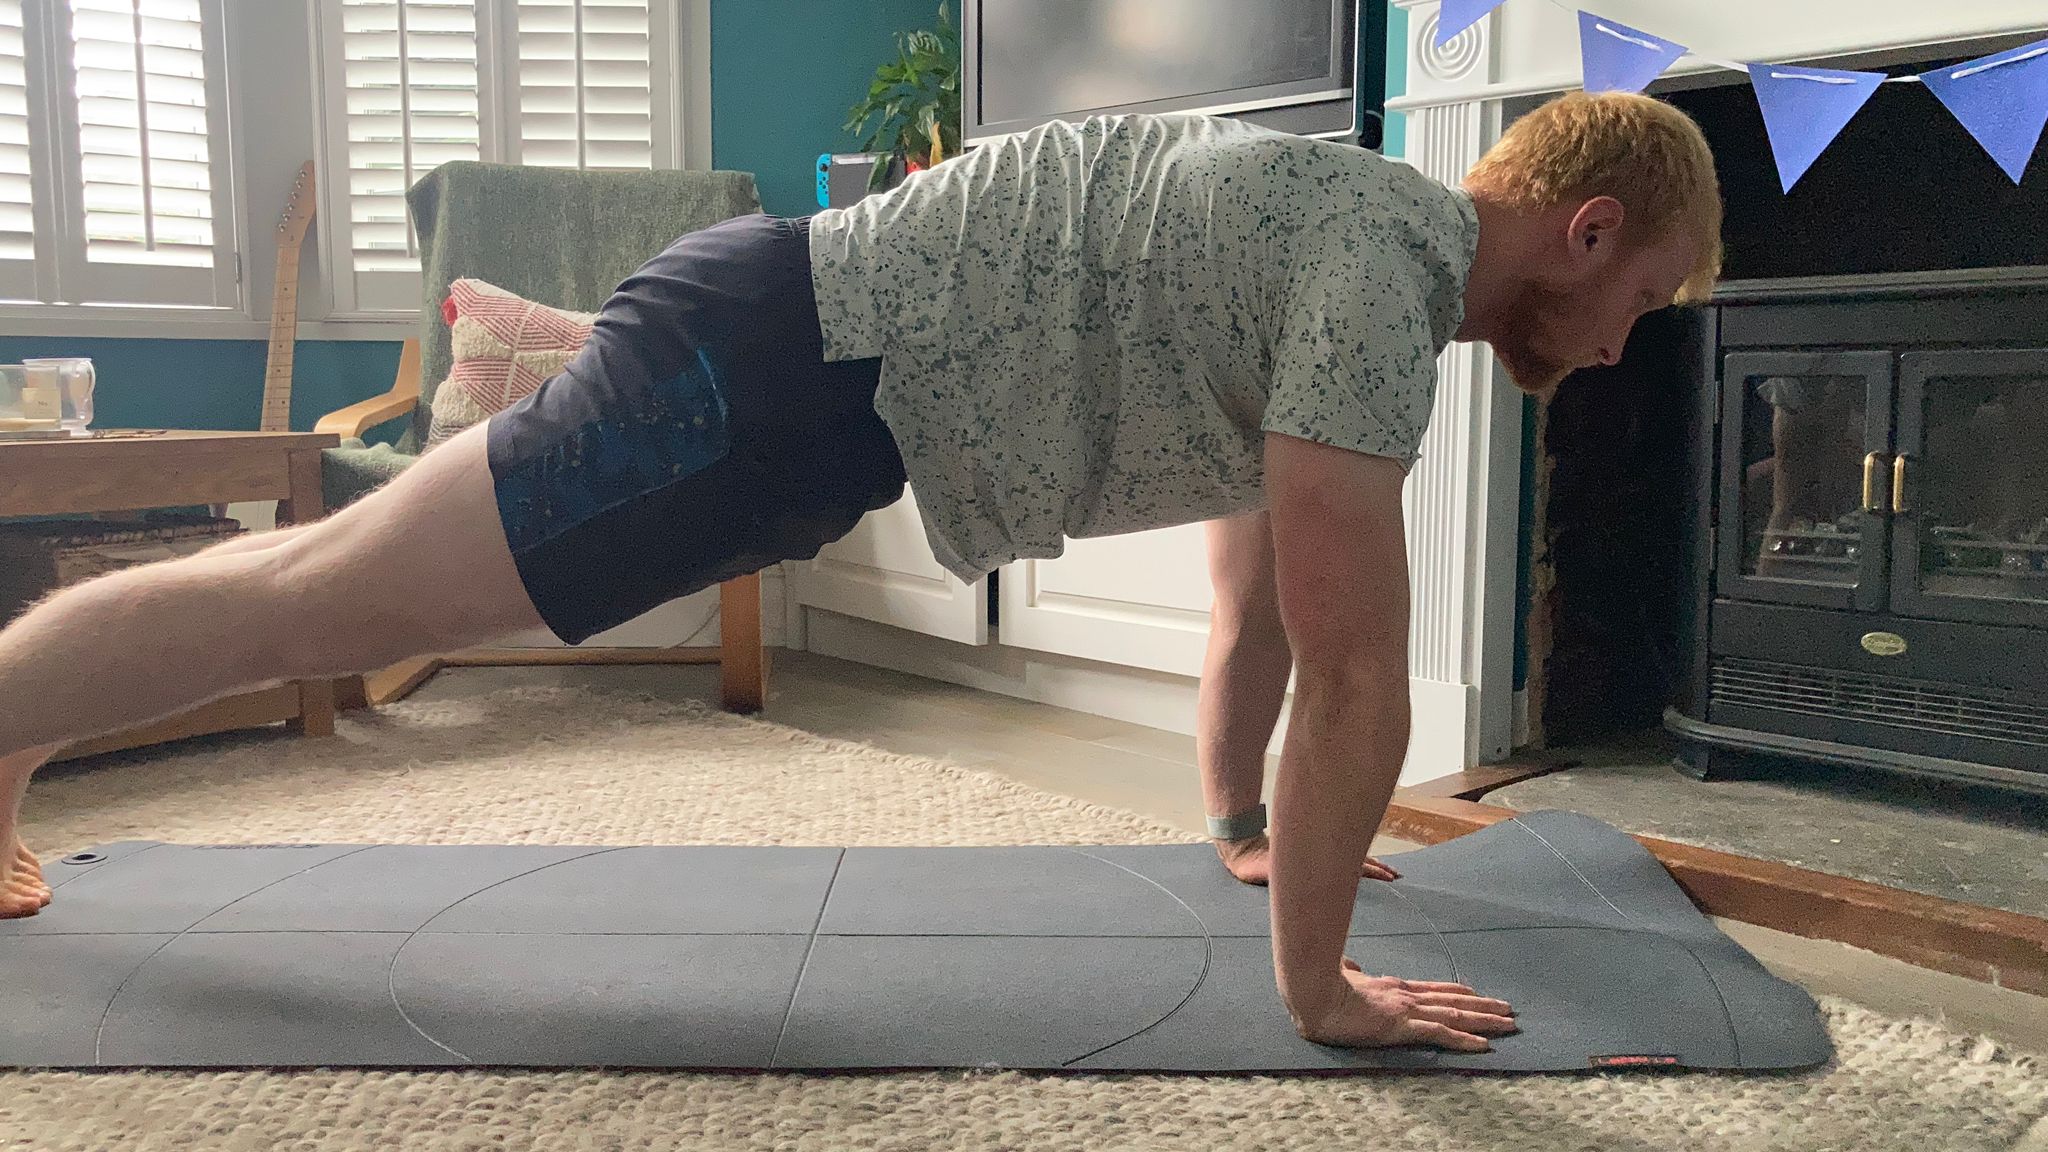
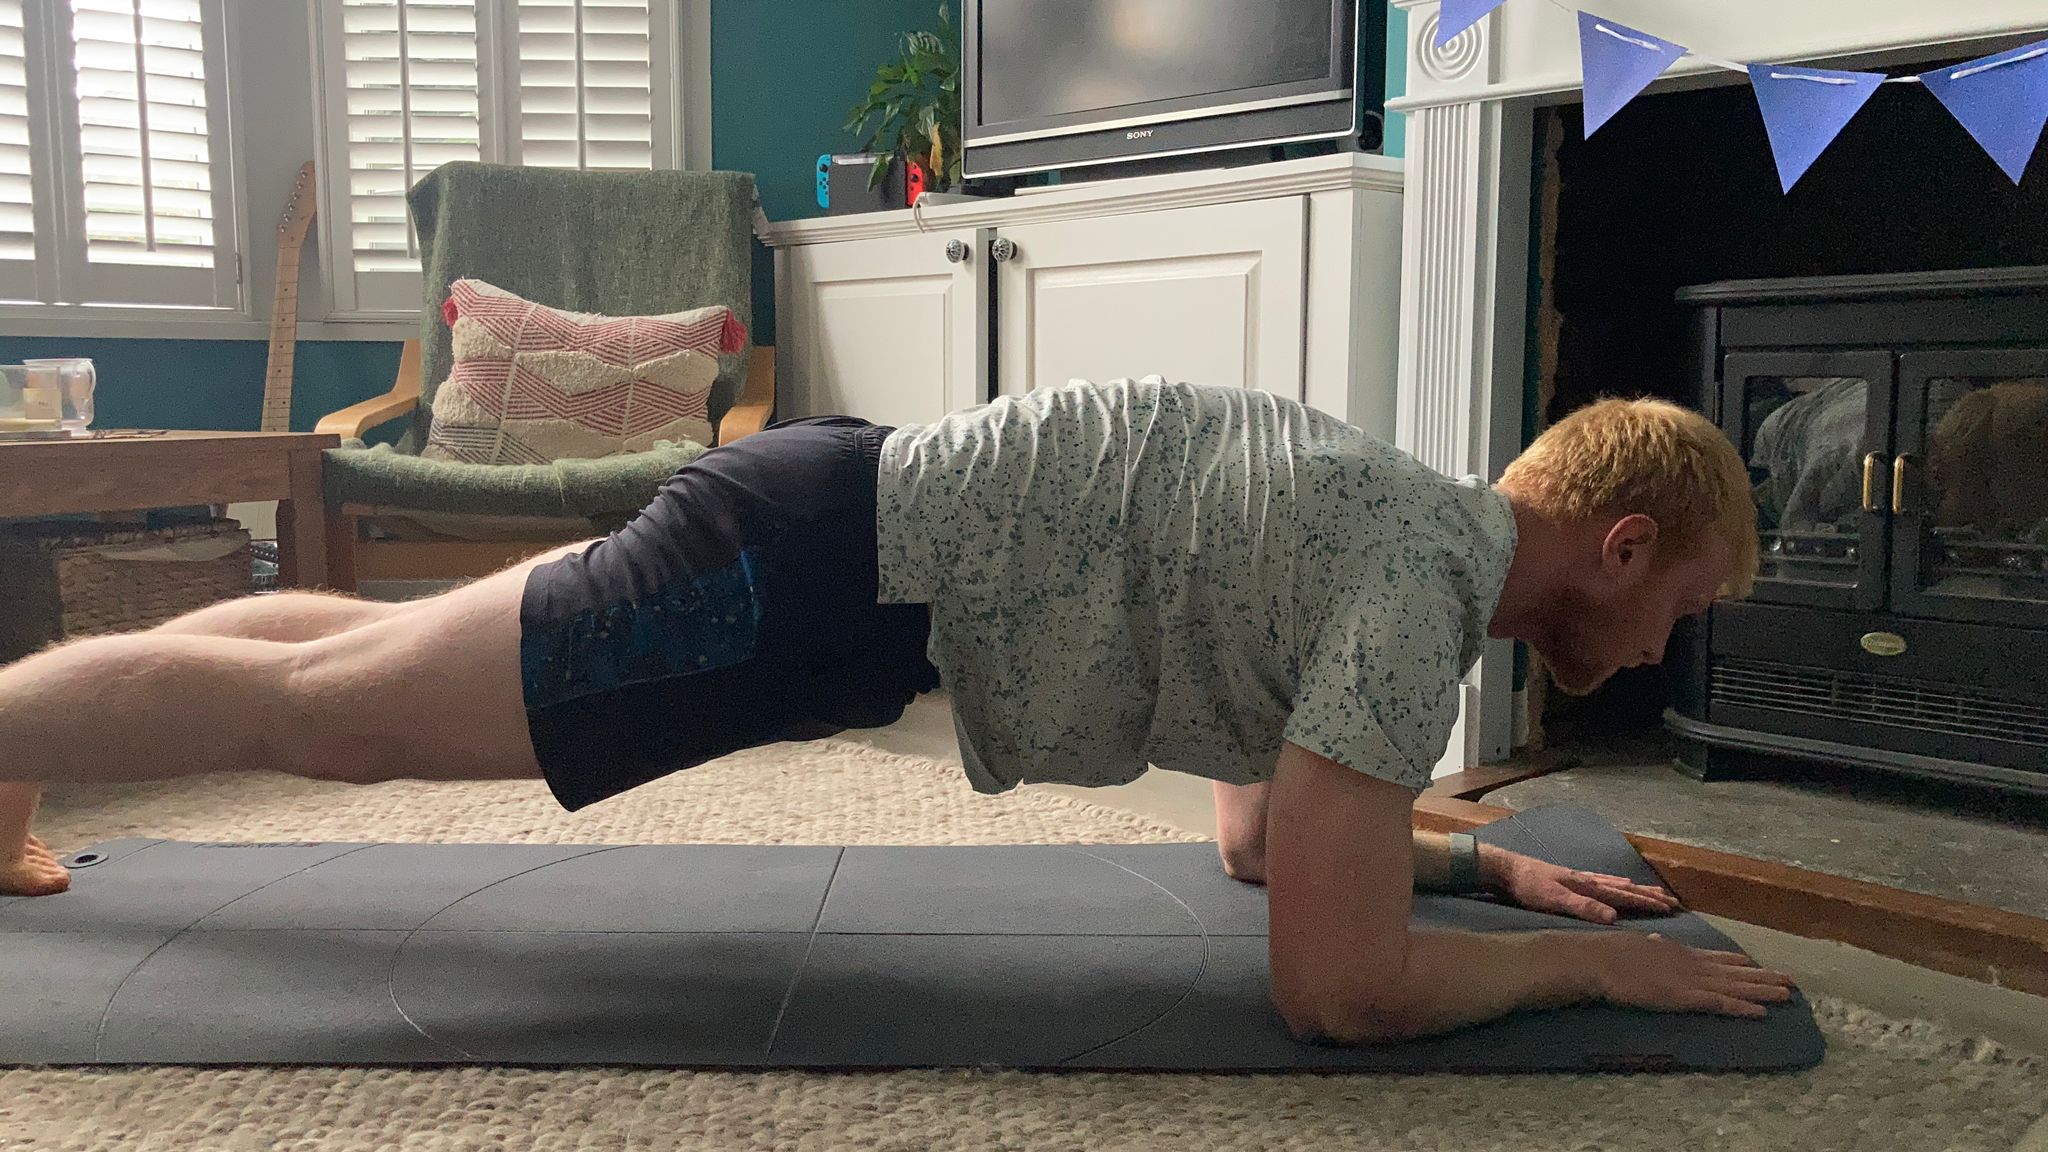
Call it a plank up and down, commando, military plank or any other name you fancy, this exercise is tricky—especially if you do it right. You'll be moving from a forearm plank into a high plank, pushing up with one arm at a time.
You'll need to call your core muscles into action to keep your spine stable throughout the movement. Having an engaged mid-body stops you using momentum to roll yourself up from the forearms to the high plank position, which will mean you're forced to rely more heavily on your chest, shoulders and triceps.
Rather than rushing through reps, I tried to slow down and match the measured tempo of McDonnell's demo video, focusing on movement quality rather than pace.
Start your week with achievable workout ideas, health tips and wellbeing advice in your inbox.
This might seem counterintuitive if you're only given 30 seconds to work, but I found that slowing things down and controlling my movements provided more of a test for my muscles than a speedy set.
2. Chair-assisted pistol squats
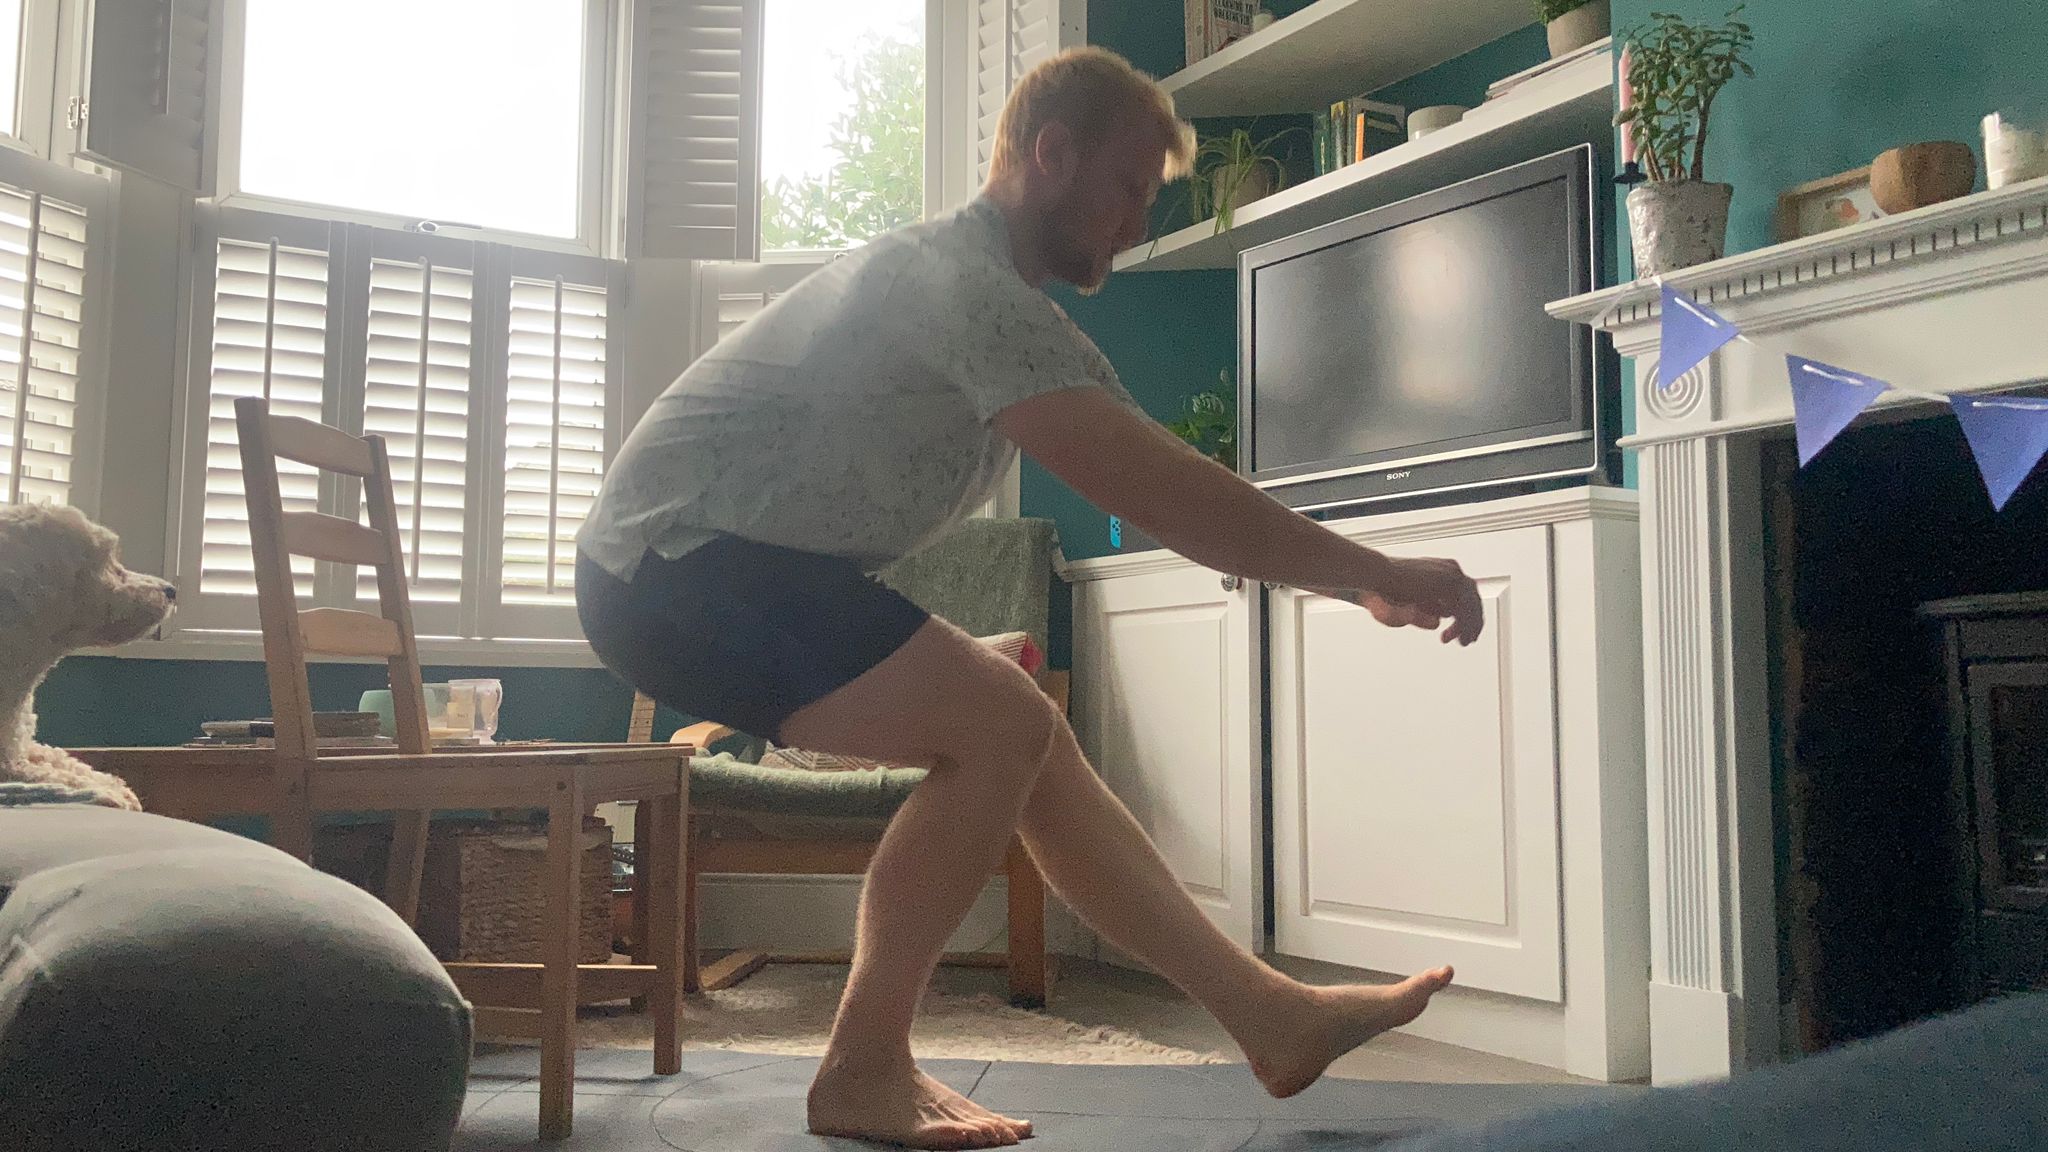
Pistol squats have been my nemesis for years, especially after a soccer injury in my left knee a few years ago left me with less confidence in the joint.
But this variation of the move from McDonnell was the confidence-booster I needed. It worked the knees through a reduced range of motion while still providing a solid leg workout. Crucially, it also allowed me to develop the attributes needed to master the pistol squat in its entirety — balance, coordination, strength and mobility.
To really challenge your balance, McDonnell advises anyone giving this move a go to "try not to sit fully on the chair, just tap your butt".
3. Triceps dips

This move is probably the most well-known of the five exercises in McDonnell's routine. It's an accessible and effective way to build strength and muscle in the triceps—the muscles running down the back of the upper arm.
Triceps play a huge role in many bodyweight exercises including push-ups, dips and handstands. Strengthening them is a great way to lay the foundations for more advanced calisthenics moves.
The closer your feet are to your chair, the easier this exercise will be. If you want to really challenge yourself, try straightening your legs and doing 30 seconds of dips per set without taking a break, McDonnell says.
This was what I challenged myself to do, and I was rewarded with fired-up triceps that felt like they had truly been put to task.
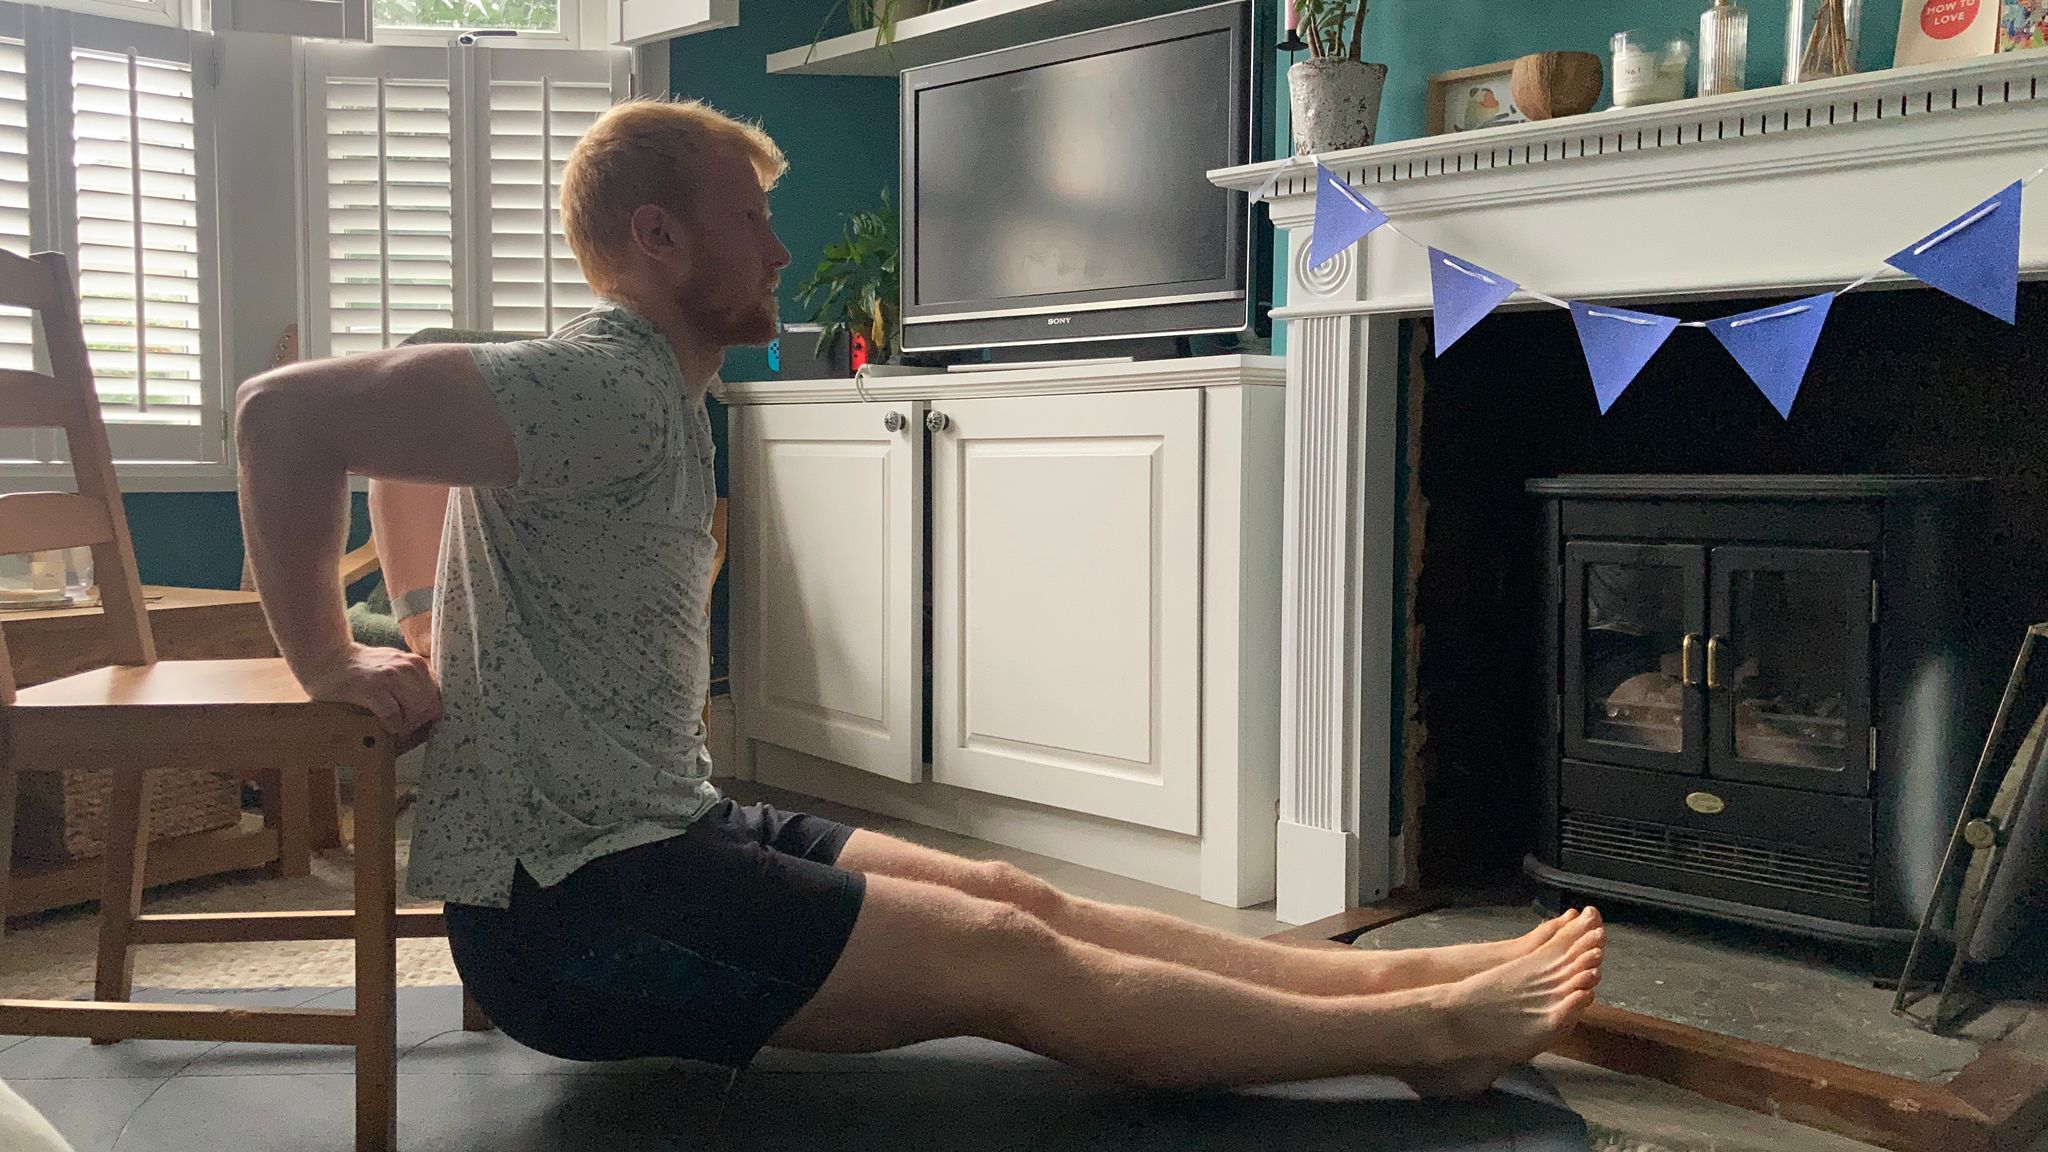
5. Elevated tuck hold
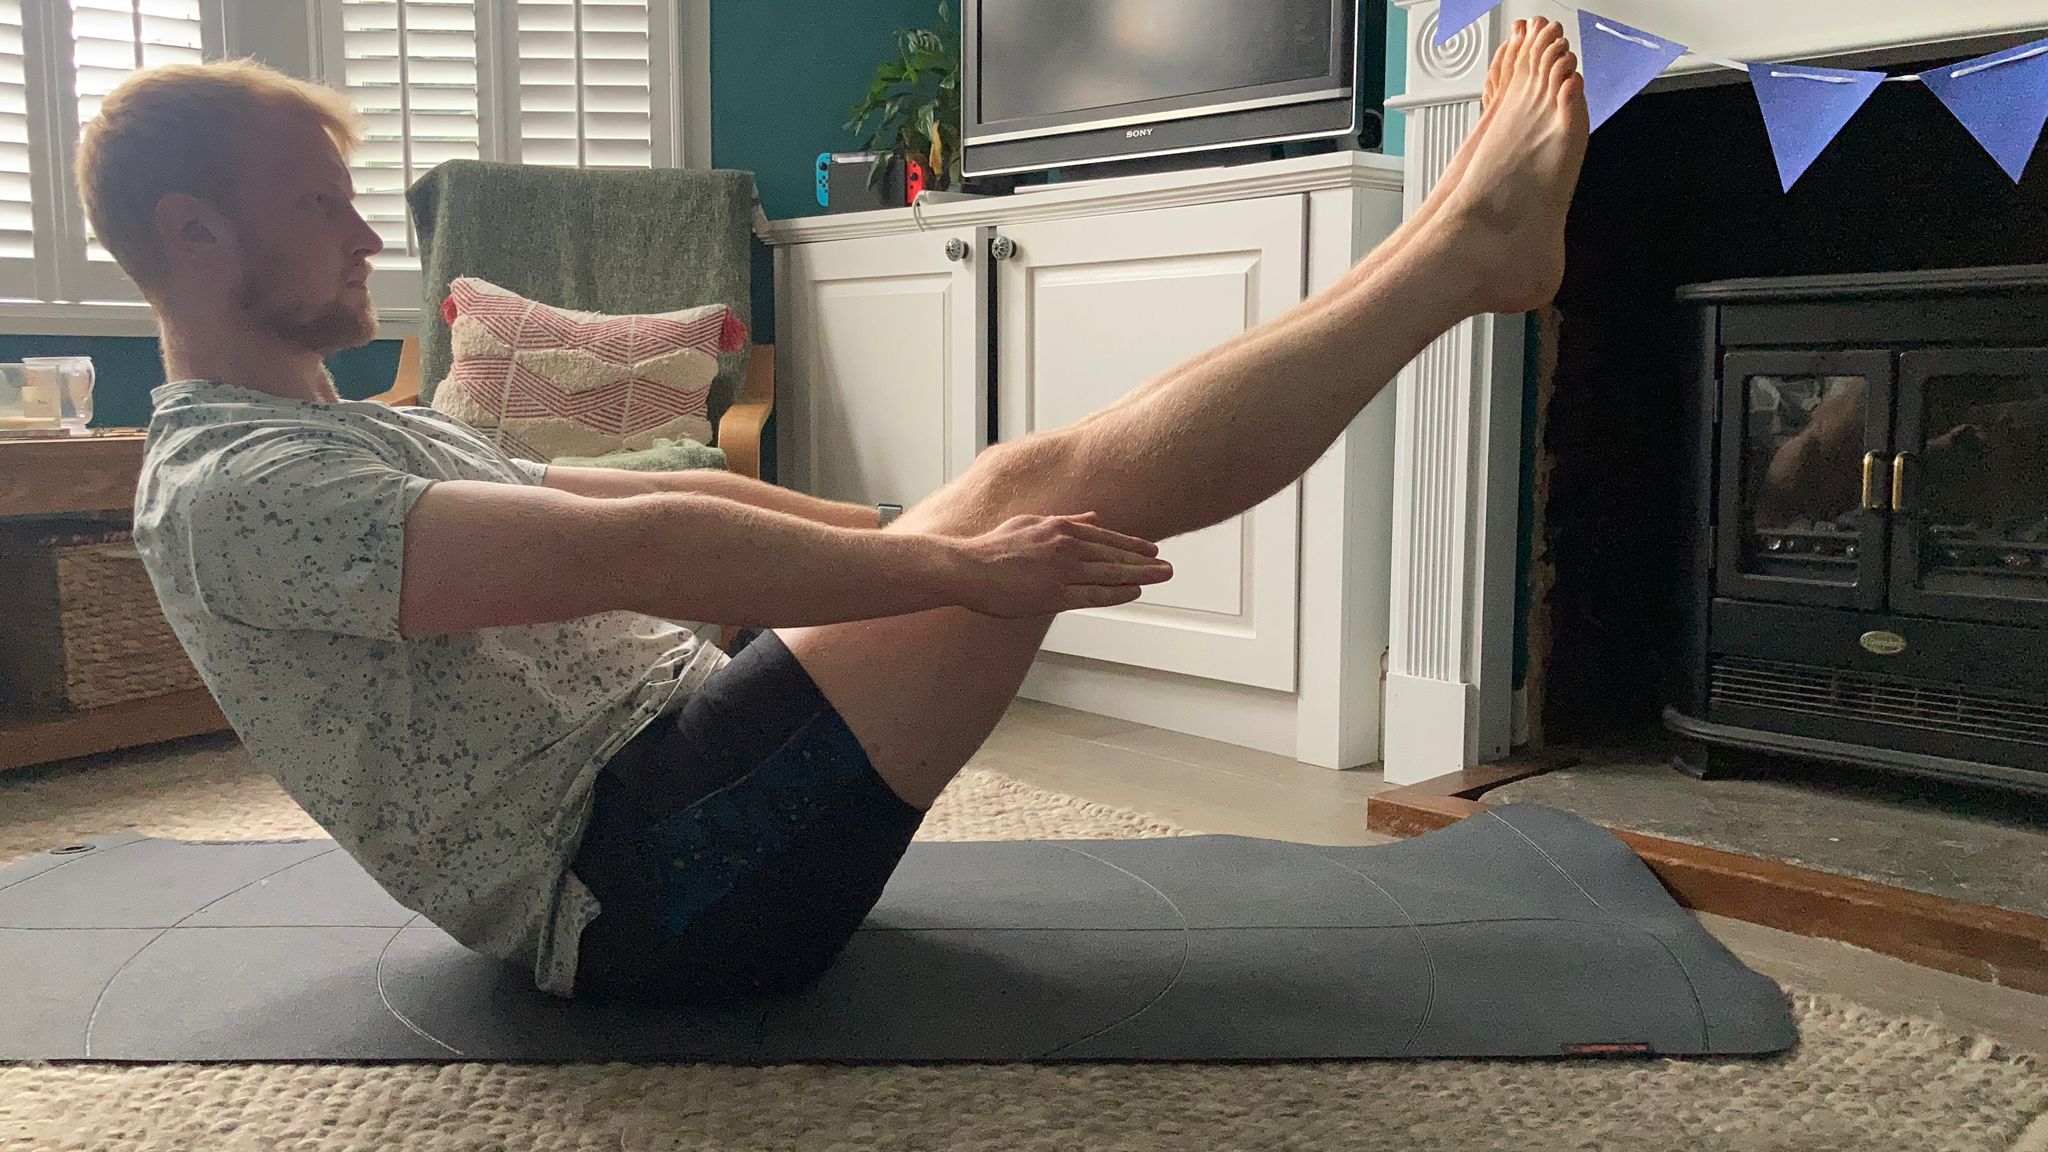
There's a reason variations of v-sit holds permeate training methods from gymnastics to yoga, CrossFit to calisthenics; it offers a fantastic core workout for beginners and advanced athletes alike.
As well as your rectus abdominis muscles (responsible for the sought-after six-pack shape), this exercise also hits your obliques, hip flexors and more, providing a more comprehensive core session than simply smashing through sit-ups.
It's scalable too, with variations to suit most fitness levels.
"Keep [your] legs tucked for an easier option, or try and straighten them for more of a challenge, and try to hold it for the full 30 seconds," McDonnell writes.
Again, I let my ego get the better of me and aimed to hold a straight-legged v-sit for 30 seconds across all three rounds, keeping my core braced and my spine and legs straight throughout.
And I'm happy to say I did manage it, but not without a significant side order of the ab shakes during the closing seconds of each set.
Elevated tuck hold
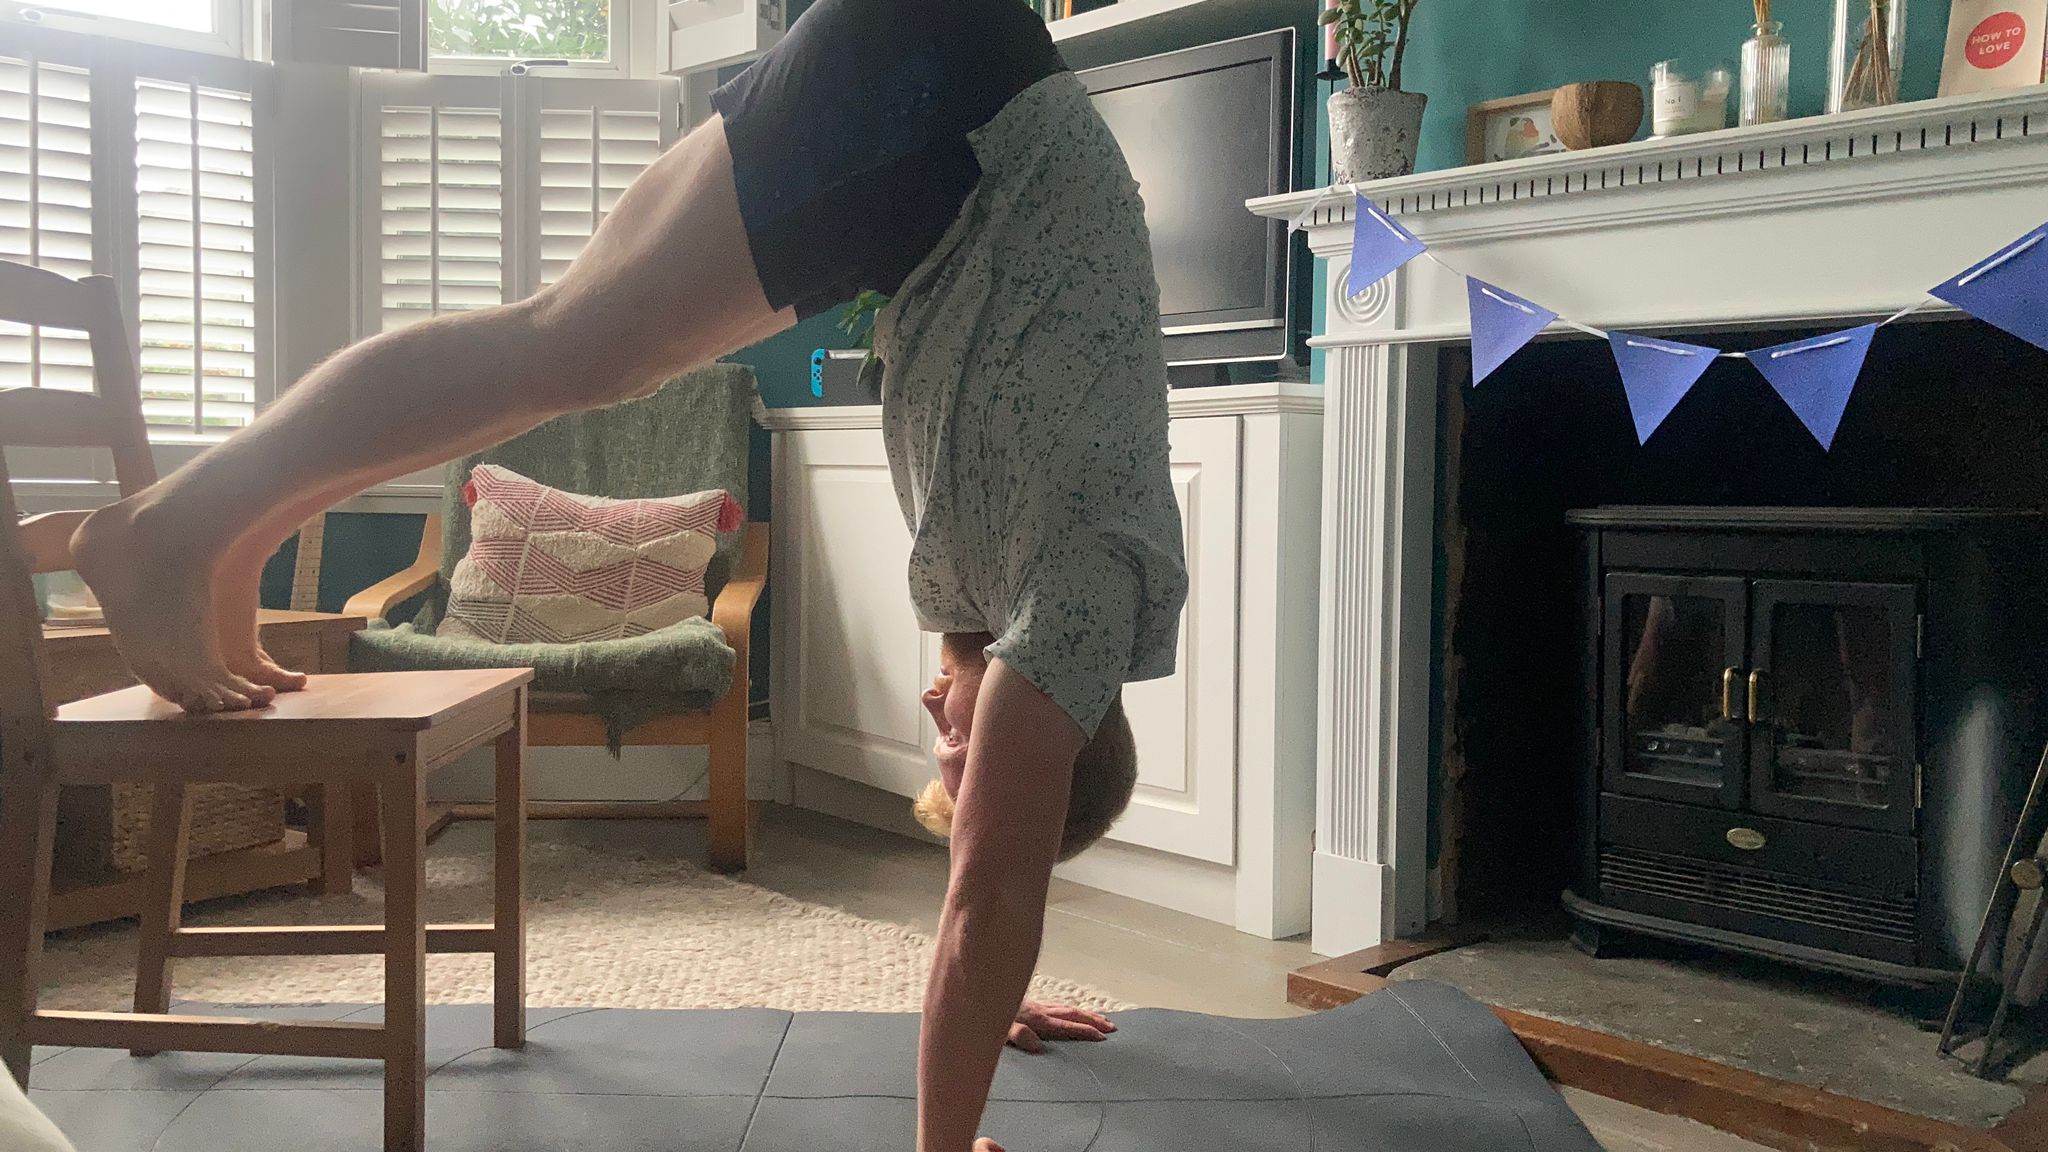
What I liked most about McDonnell's workout was how she made the sometimes-intimidating practice of calisthenics feel accessible and achievable at home.
This exercise epitomizes this, easing people into learning the handstand by having them practice good positions, develop the necessary upper body strength and grow more comfortable being upside down.
As part of my CrossFit training I've been trying to learn to handstand walk, with mixed results. This drill helped reinforce the feeling of having my arms, shoulders and torso stacked in a straight line, rather than letting my form falter as I chase a few extra steps.
"This exercise is to build shoulder strength for your handstands," McDonnell says. "Really push the floor away from you and aim to get your hips up high."
Bonus: Crow (or frog) pose practice
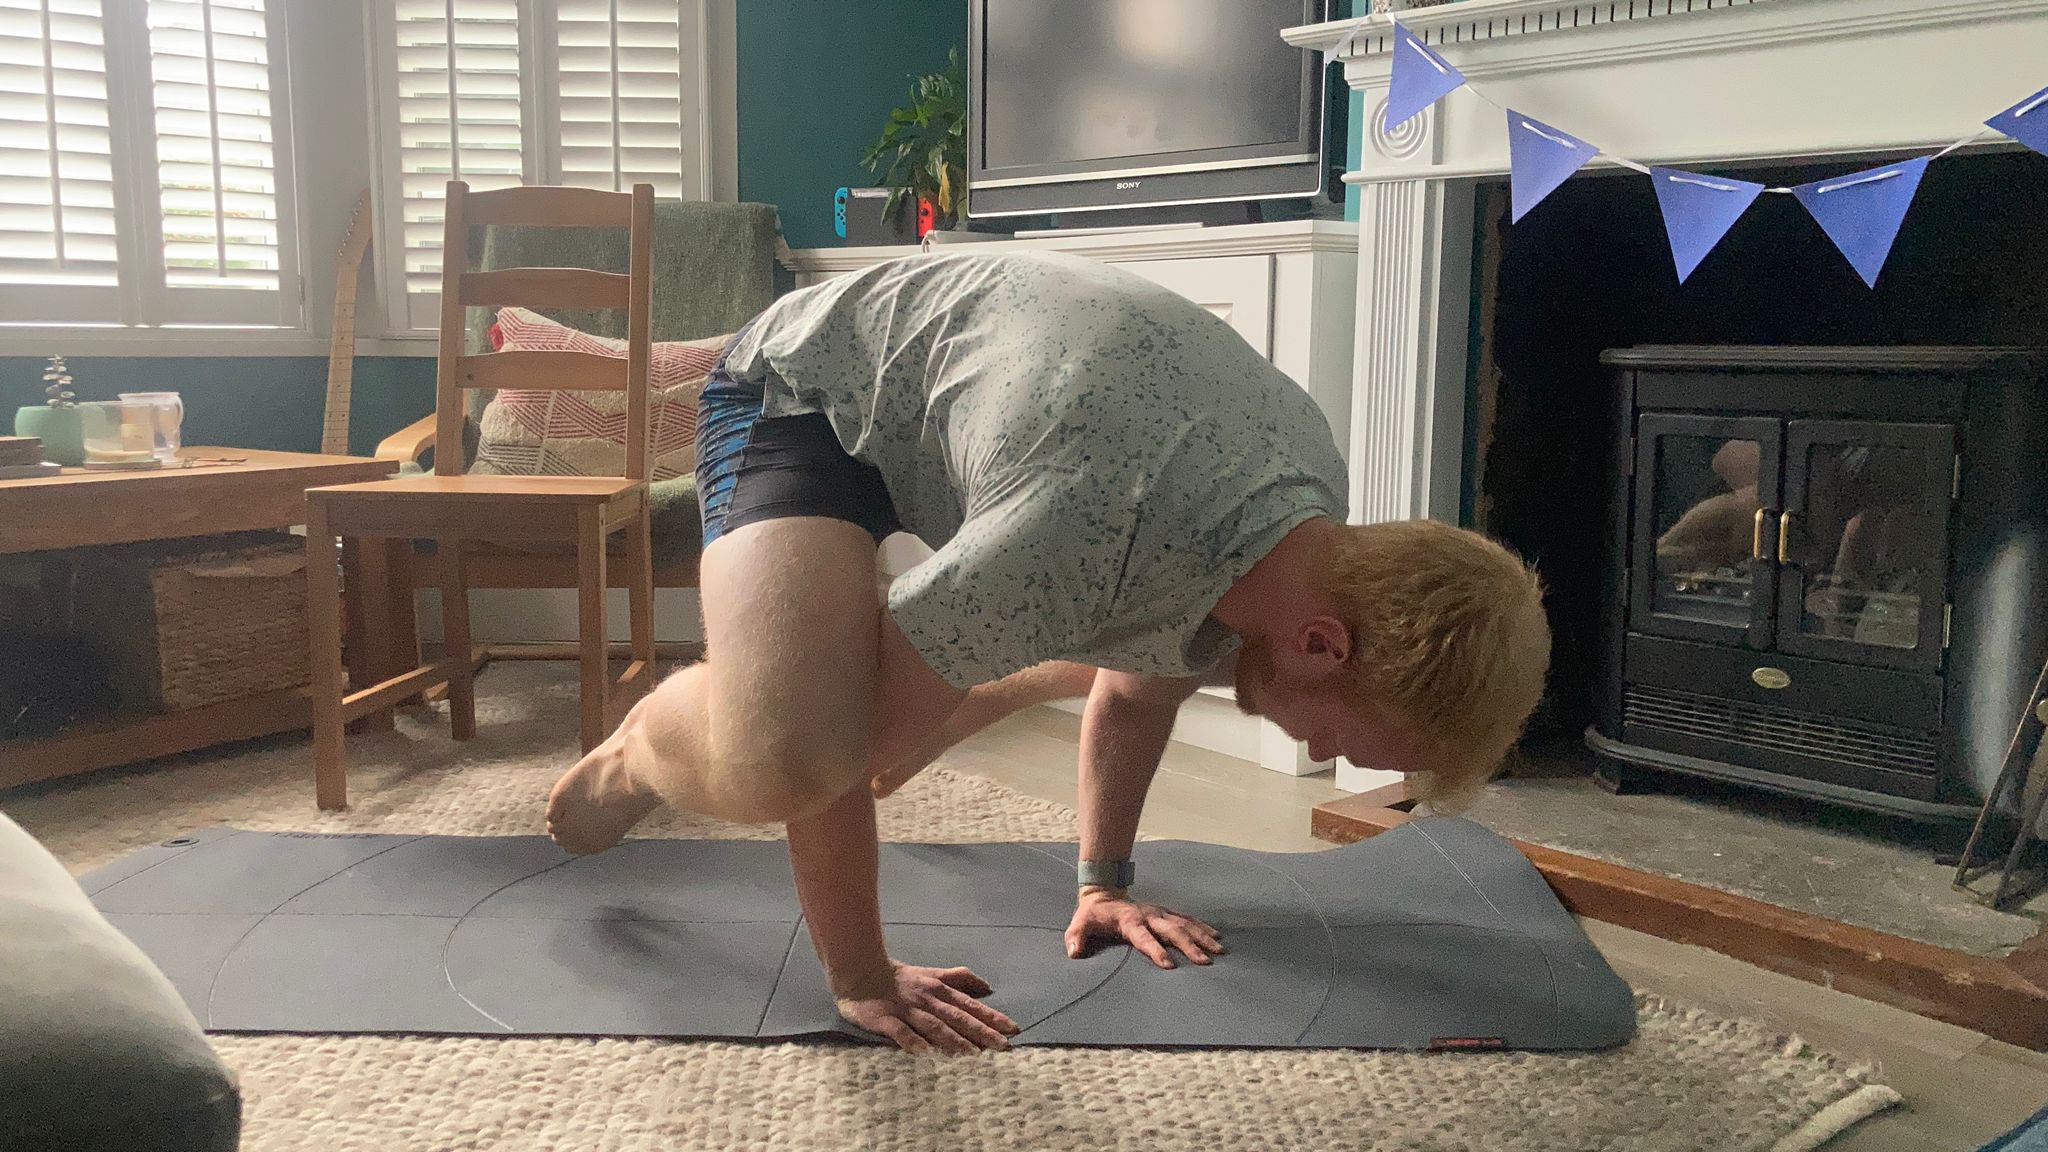
At the end of the session McDonnell encourages you to play with some skills practice by practicing a crow (or frog) pose.
"I like to finish my sessions playing around with a skill that I can’t currently do," she says. "Just remember, skill practice is about being bad at something and working on it. You’re not supposed to be able to do it straight away!"
The crow pose is another great way to build up to a handstand, allowing you to feel what it's like to support your body weight through your hands and shift your balance through your fingers to prevent yourself from toppling over.
While I was staying at home during lockdown, I set my sights on learning this move and managed to build up to a semi-respectable length of time with my feet off the floor.
Going back to it, I found McDonnell's exercises had served as a perfect warm up and practice, allowing me to beat my previous PB of 30 seconds.
Is my technique perfect? No. But it's an improvement, which is a great result off the back of a 15 minutes session.
Harry Bullmore is a Fitness Writer for Fit&Well and its sister site Coach, covering accessible home workouts, strength training session, and yoga routines. He joined the team from Hearst, where he reviewed products for Men's Health, Women's Health, and Runner's World. He is passionate about the physical and mental benefits of exercise, and splits his time between weightlifting, CrossFit, and gymnastics, which he does to build strength, boost his wellbeing, and have fun.
Harry is a NCTJ-qualified journalist, and has written for Vice, Learning Disability Today, and The Argus, where he was a crime, politics, and sports reporter for several UK regional and national newspapers.