Why learning to do a bridge is great for your legs, glutes, shoulders and back
This underrated exercise is amazing for desk jockeys. Here's how to get started


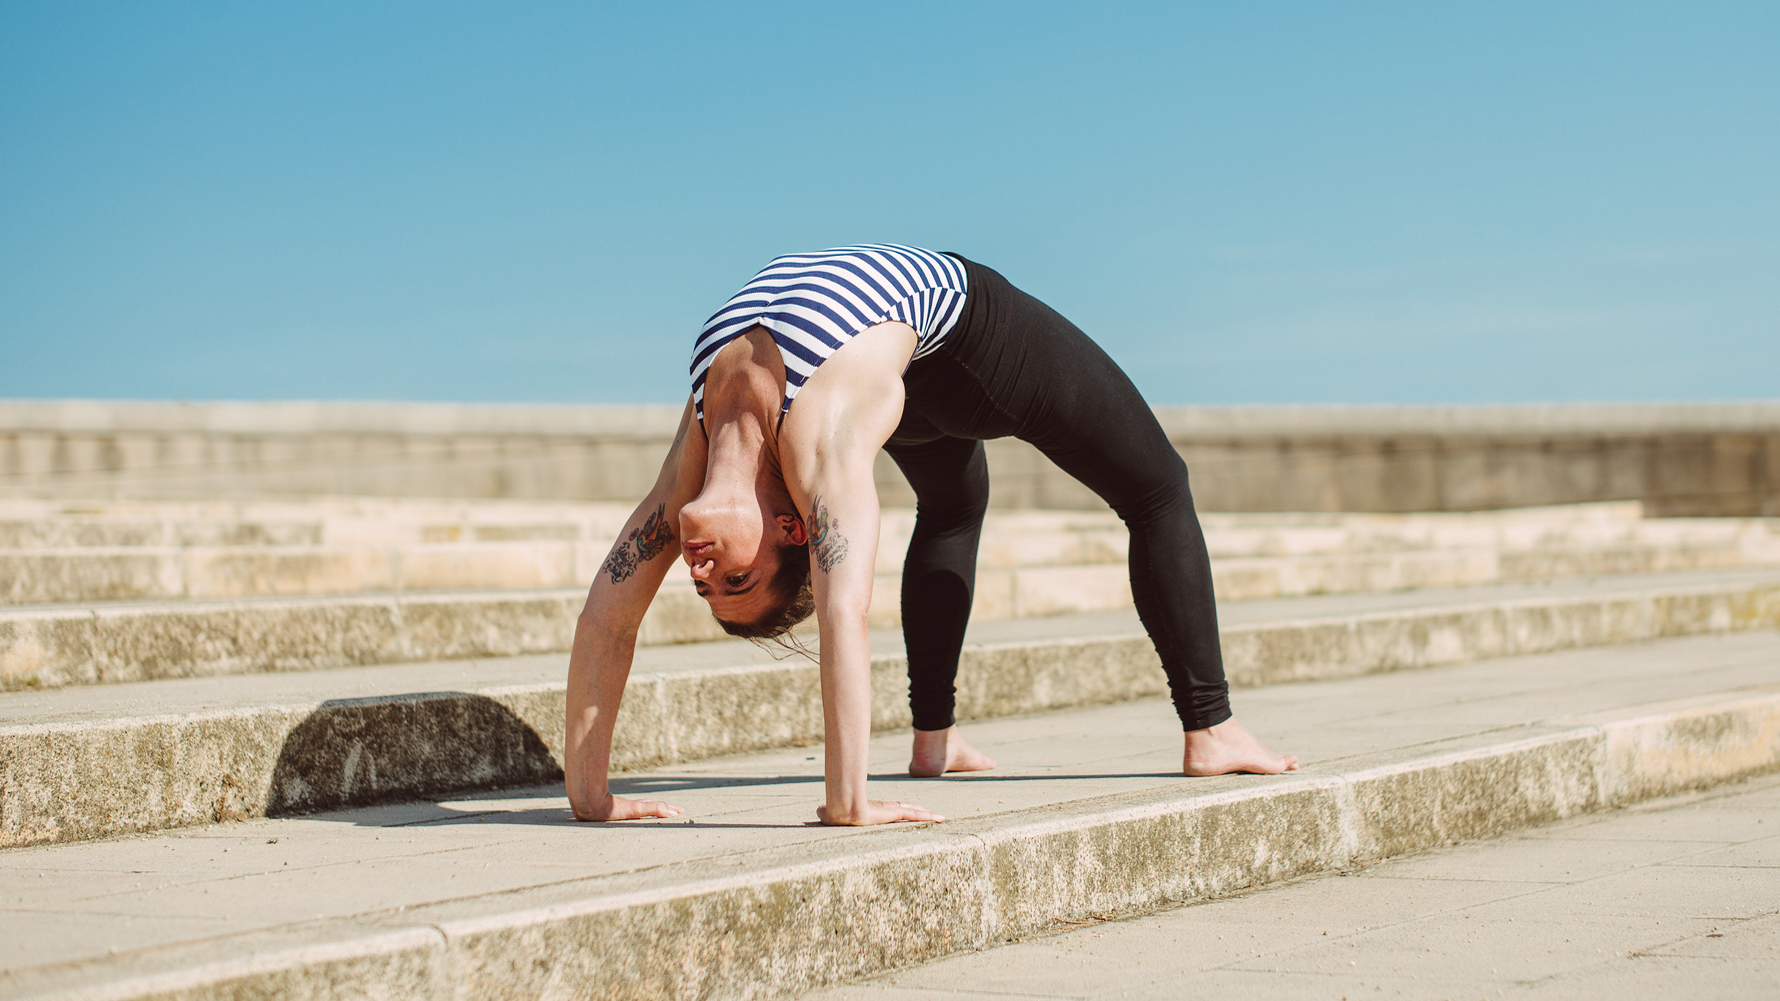
The bridge position is undeniably impressive. At full back-bend, it looks like the sort of advanced move reserved for gymnasts and yoga experts, but with proper progression, it can be quite simple to work up to, as well as being excellent for your health if you spend too much time sitting down.
If you're living a sedentary lifestyle, even a very supportive office environment (and we do recommend you check out our guide to the best office chair) won't stop you developing weak glutes and lower back, as these muscles aren't engaged at all as you sit. If you're hunched over a keyboard (like, for example, a fitness writer might be on a daily basis) your shoulders are likely quite stiff as well.
The bridge, or "wheel pose" in yoga, requires and helps develop mobility to stretch your abdominals, your spine and the muscles in your shoulders. Athena Ko, yoga instructor at Marylebone's Indaba Yoga, says: "The bridge stretches and opens up the front of the body, countering the shortening of hip flexors, quads, and generally the curling and hunching from over the desk".

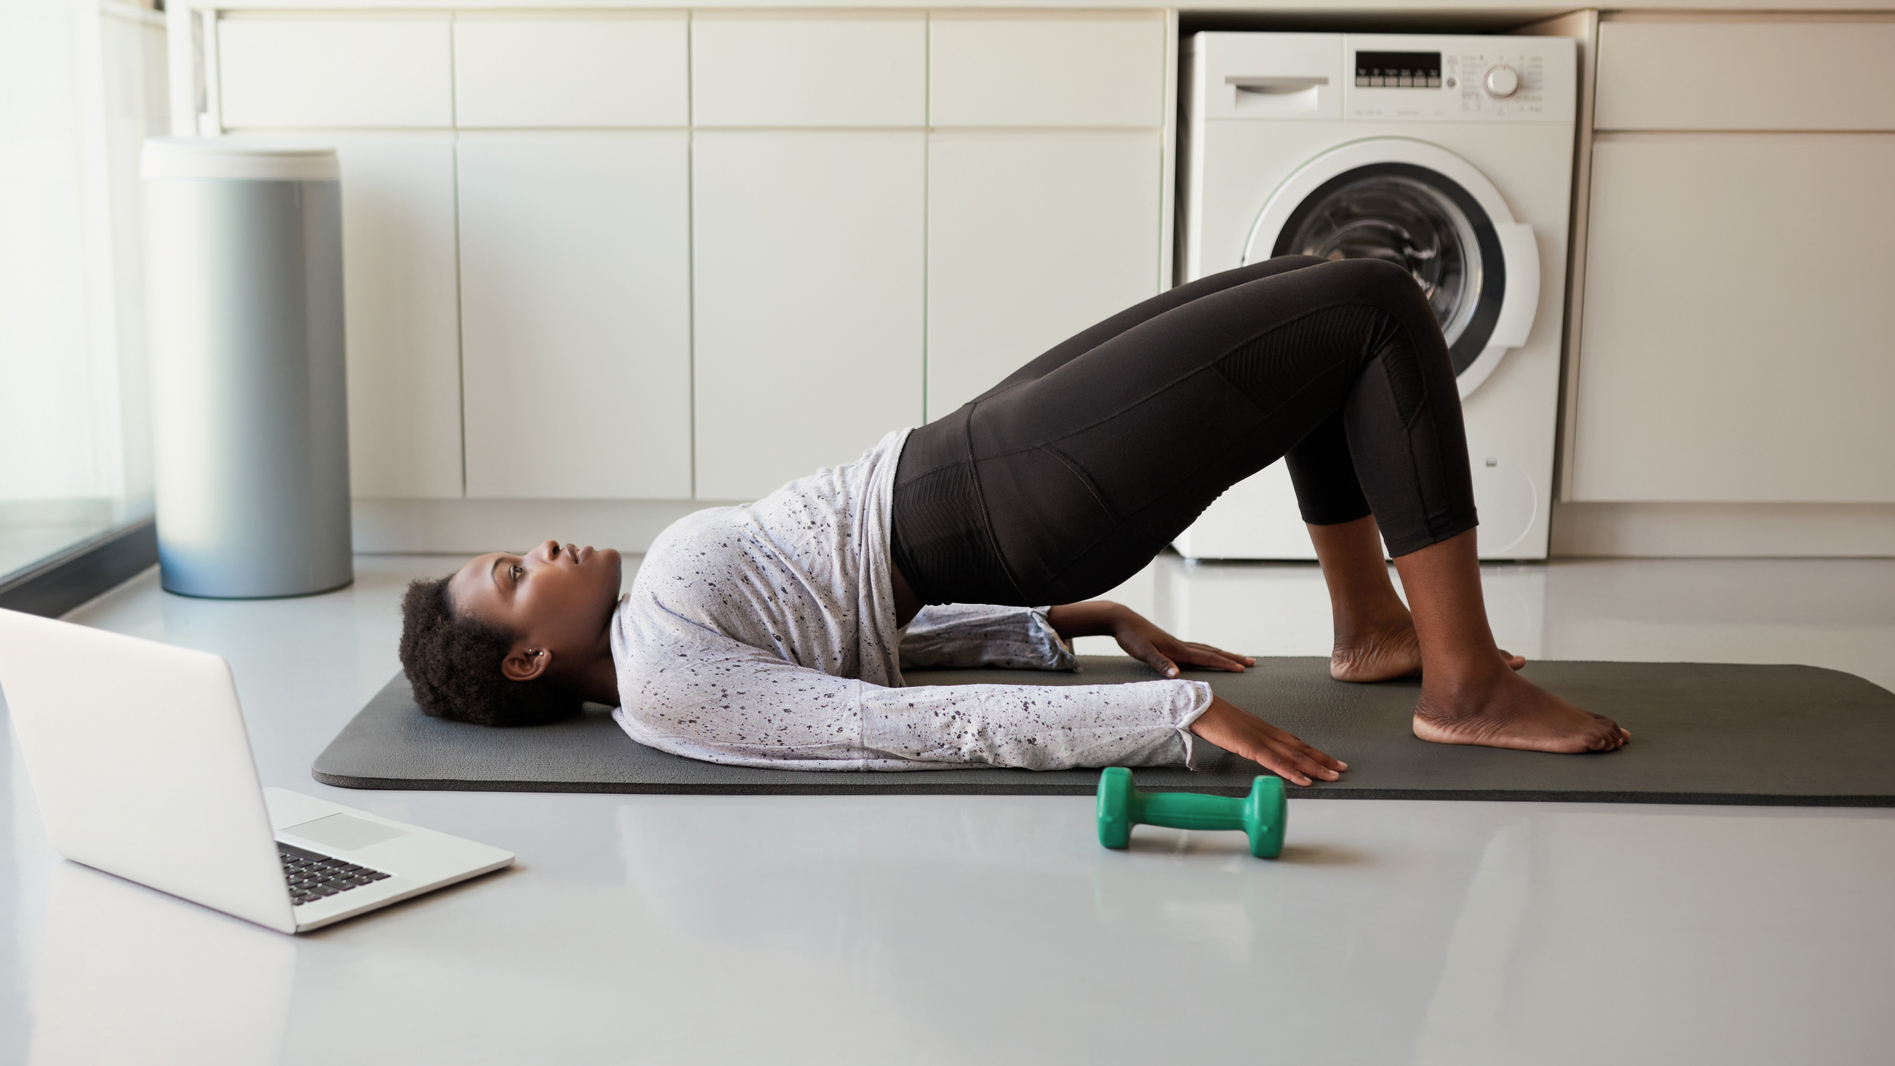
The glute bridge (or yoga's "bridge pose") removes the involvement of your upper body, and it's a progression which exercises and improves muscles in your quadriceps and glutes, according to studies.
Hampton from YouTube fitness channel Hybrid Calisthenics recommends trying the movement to strengthen your back and spine to prevent future injuries. He recommends starting off with bodyweight glute bridge exercises and showcases progressions to the full bridge, which you can see in the video below:
Watch Hybrid Calisthenics guide to doing the bridge pose below:
How to get started:
Begin with the glute bridge to develop your quadriceps and glutes. If you're working on holding the pose, Ko recommends sliding a yoga block or support underneath your hips and using it to hold the pose for a few minutes.
"Make sure the support is under the pelvis and not under the low back," says Ko. "We want the lumbar spine to be unsupported. Do not put a block on its thin edge, as that is potentially unstable and could tip while you’re in the pose; only put blocks on their widest sides.
Start your week with achievable workout ideas, health tips and wellbeing advice in your inbox.
"This is a deep and juicy pose, so come out slowly and mindfully. Start by walking the feet toward you. Engage your core muscles and then lift your hips just an inch, just enough to allow you to slide the support away. Slowly lower your hips to the floor and pause." You'll just need a few supports, such as yoga blocks, and one of our best yoga mats to get started.

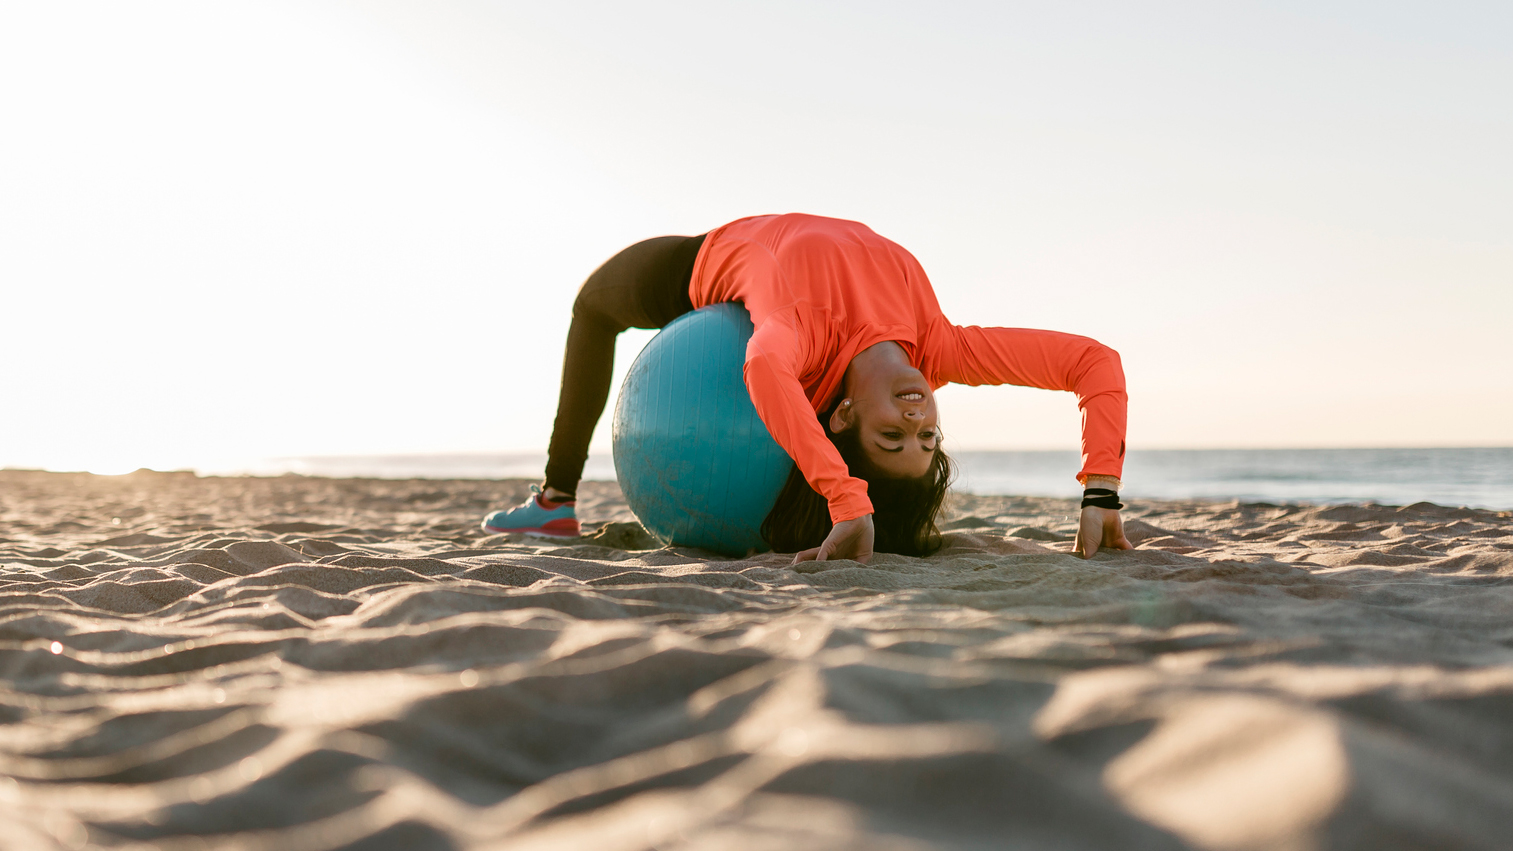
Higher supports such as the exercise ball above can help you bring your shoulders into play, improving your deltoid (or shoulder muscle) mobility without collapsing back onto the floor. Always ensure you're able to safely come out of the pose and extract yourself from the support, as in the example from Ko above.
Eventually, after a few weeks (or months) of practice, you'll be able to execute a full wheel pose, or bridge. Congratulations!
Matt Evans is an experienced health and fitness journalist and is currently Fitness and Wellbeing Editor at TechRadar, covering all things exercise and nutrition on Fit&Well's tech-focused sister site. Matt originally discovered exercise through martial arts: he holds a black belt in Karate and remains a keen runner, gym-goer, and infrequent yogi. His top fitness tip? Stretch.
