Anti-aging yoga moves: 8 moves to try
Defy time with this series of eight anti-aging yoga moves

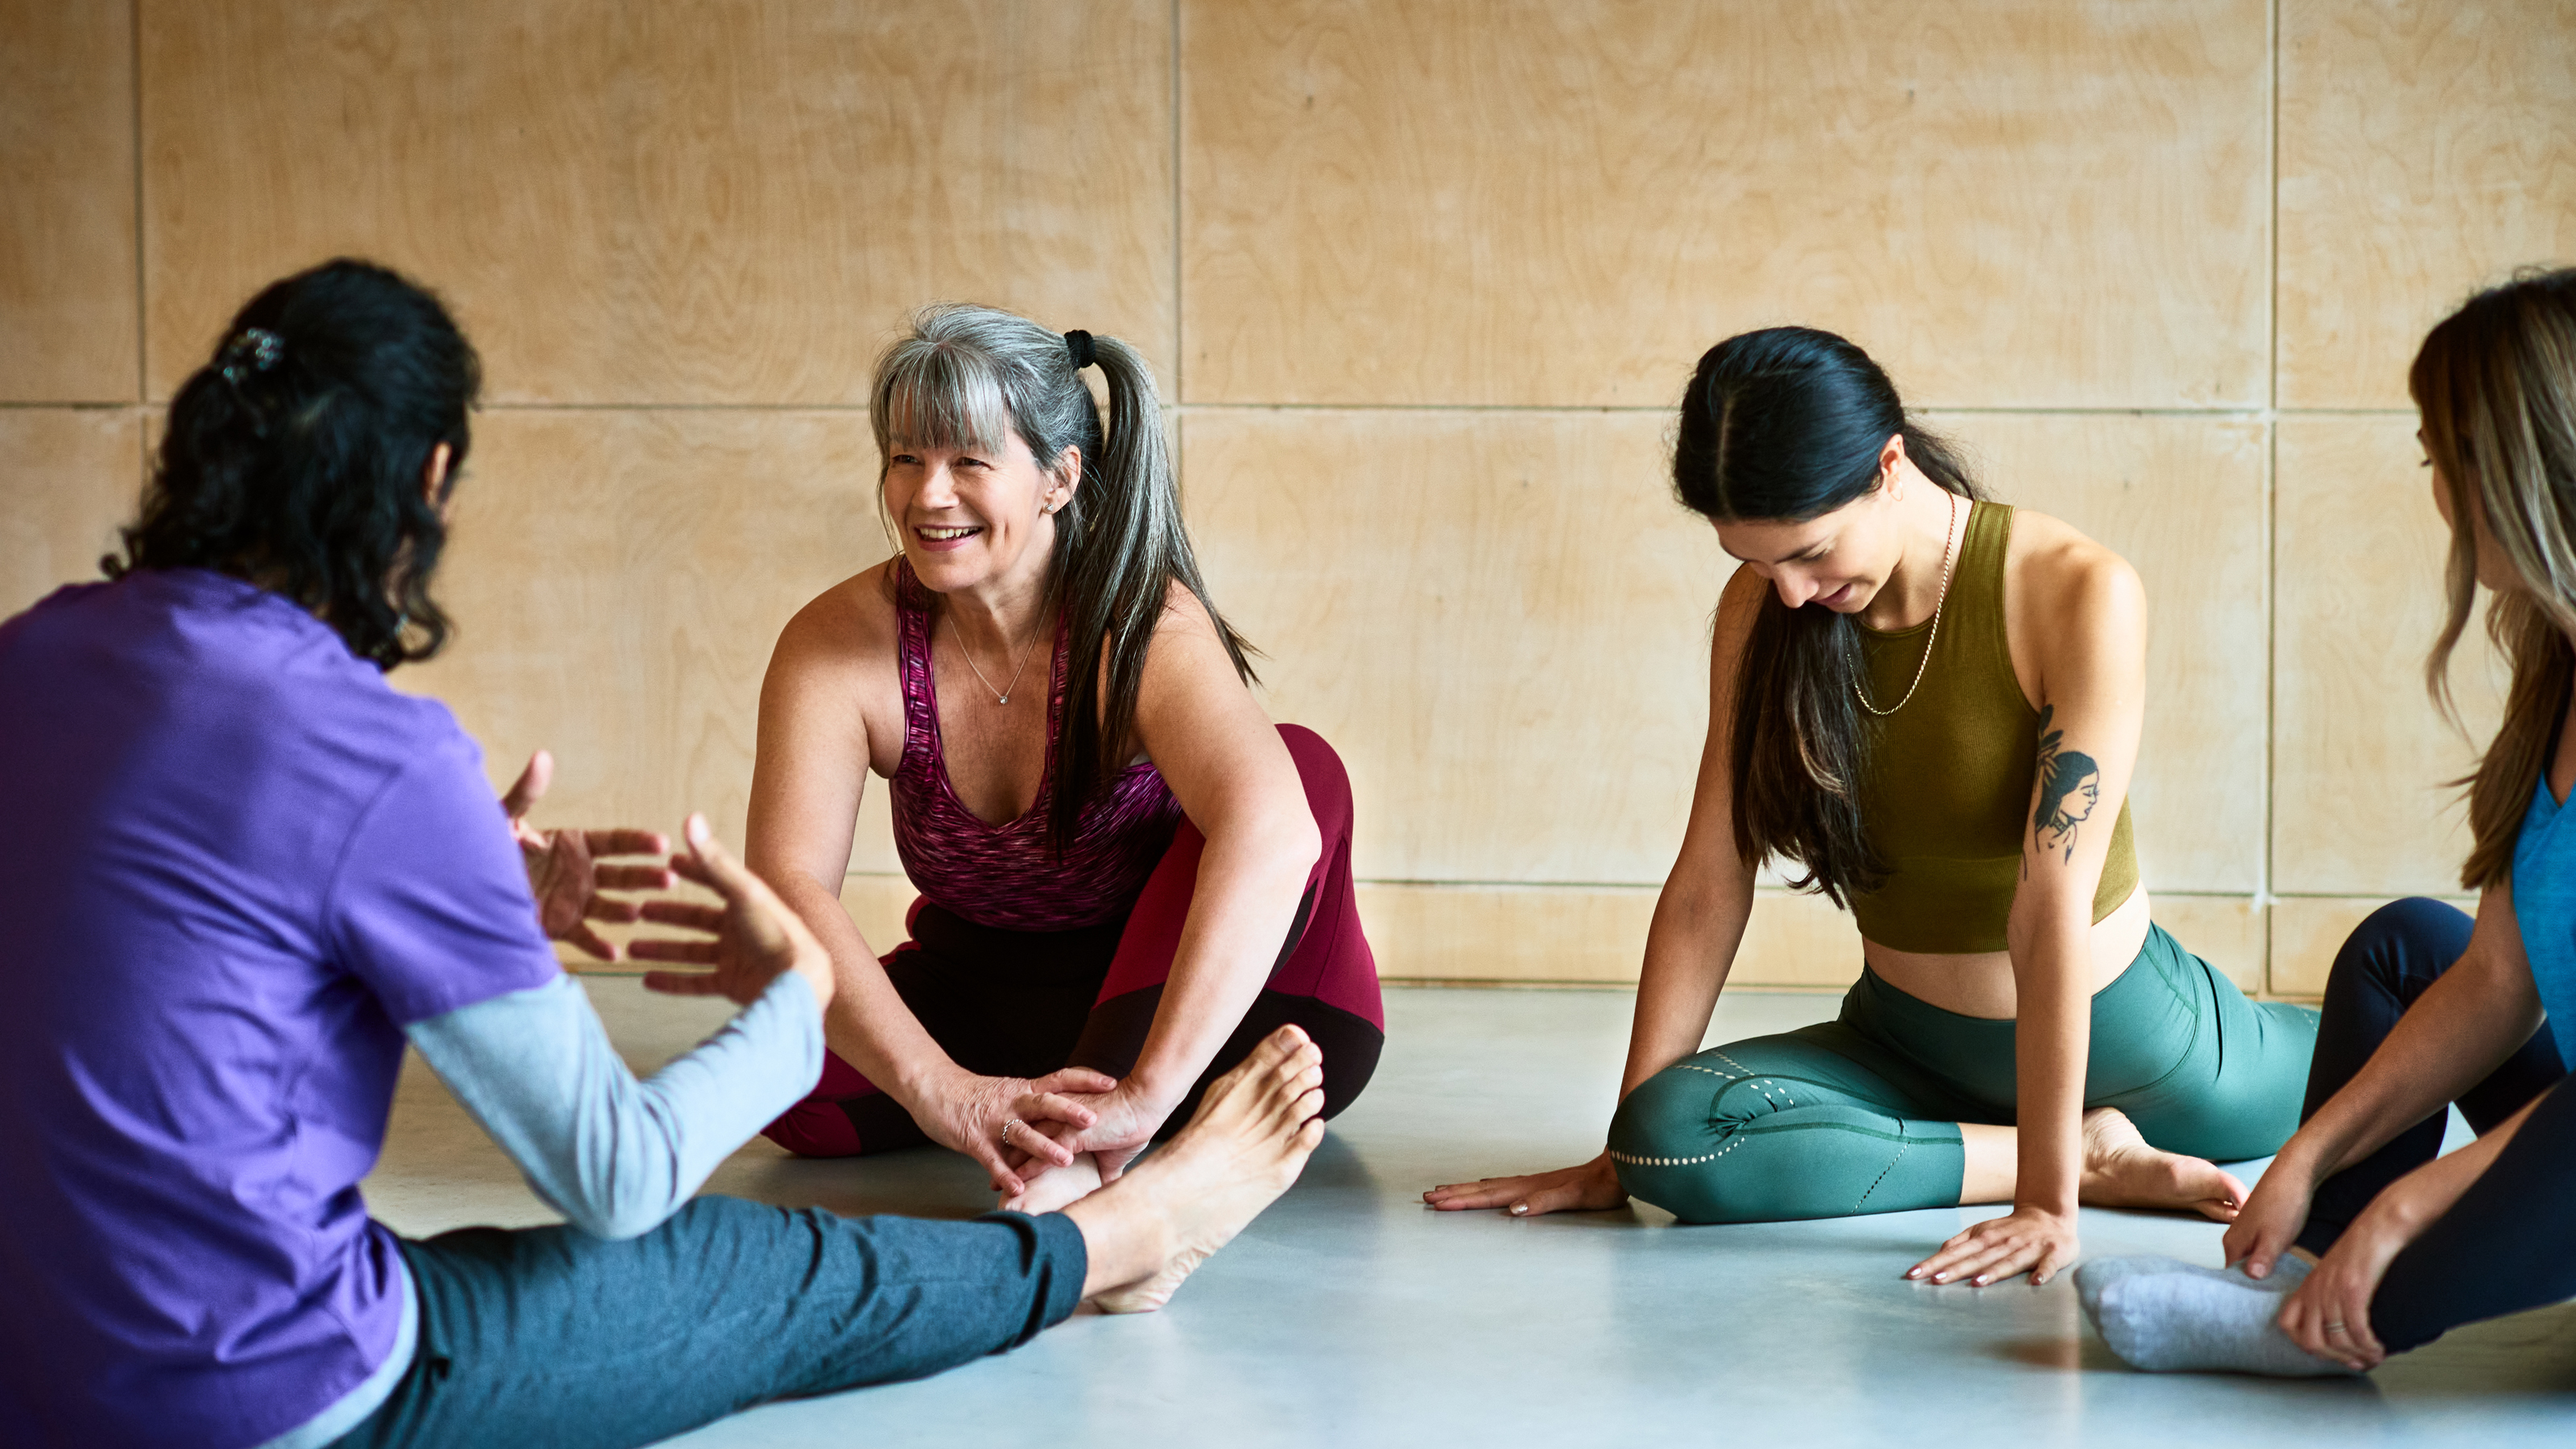
While a slow-paced flow can leave you feeling zen, anti-aging yoga moves also help you stay fit and flexible as you grow older. Ensuring you have one of the best yoga mats to conduct your practice on is important, but focusing on the right poses while you're on your mat can help you build a body capable of standing up to the rigors of everyday life.
“One of the main anti-aging benefits of yoga is that it improves our bone strength,” says yoga expert Gabriella Espinosa. “Our bones naturally start to break down from our 30s onwards, so it is important to focus on our bone health as we age.”
Espinosa’s advice comes backed by science, with a study published in Topics in Geriatic Rehabilitation showing that participants who did 12 specified yoga postures each day for around 10 minutes, experienced improvements in their bone density.
The benefits don’t end there, with further research published in the journal of Oxidative Medicine and Cellular Longevity revealing that the practices of yoga and meditation can slow down the markers of cellular aging. Yoga also has the advantage of being a low impact activity, putting less stress on your joints than exercises such as running and HIIT.
The science behind how yoga reduces aging and extends your lifespan continues to grow, so to help you reap all the wonderful health benefits that yoga has to offer, we called on Gabriella Espinosa to create a series of anti-aging yoga moves that will have you radiating health and vitality from the inside out.
Looking for more practical advice, on how to adapt your yoga routine? Read up on how to do yoga with bad knees, or try out our wrist-free yoga flow.
Gabriella Espinosa is a yoga teacher with 25 years of experience. She specializes in movement for active aging and advocates the benefits of yoga for men and women as their hormones change through age. Espinosa designs her yoga classes around improving bone strength, helping reduce fatigue, and strengthening the pelvic floor.
Yoga sequence for aging
Espinosa, an instructor for the Movement for Modern Life yoga app and creator of its Ageless Movement course, prescribes performing the eight movements below as a sequence. The benefits of yoga when performed in this sequence is that it builds bone strength while developing your balance, engaging all major muscle groups and practicing weight-bearing through the arms, legs and sit bones.
Start your week with achievable workout ideas, health tips and wellbeing advice in your inbox.
Mountain Pose
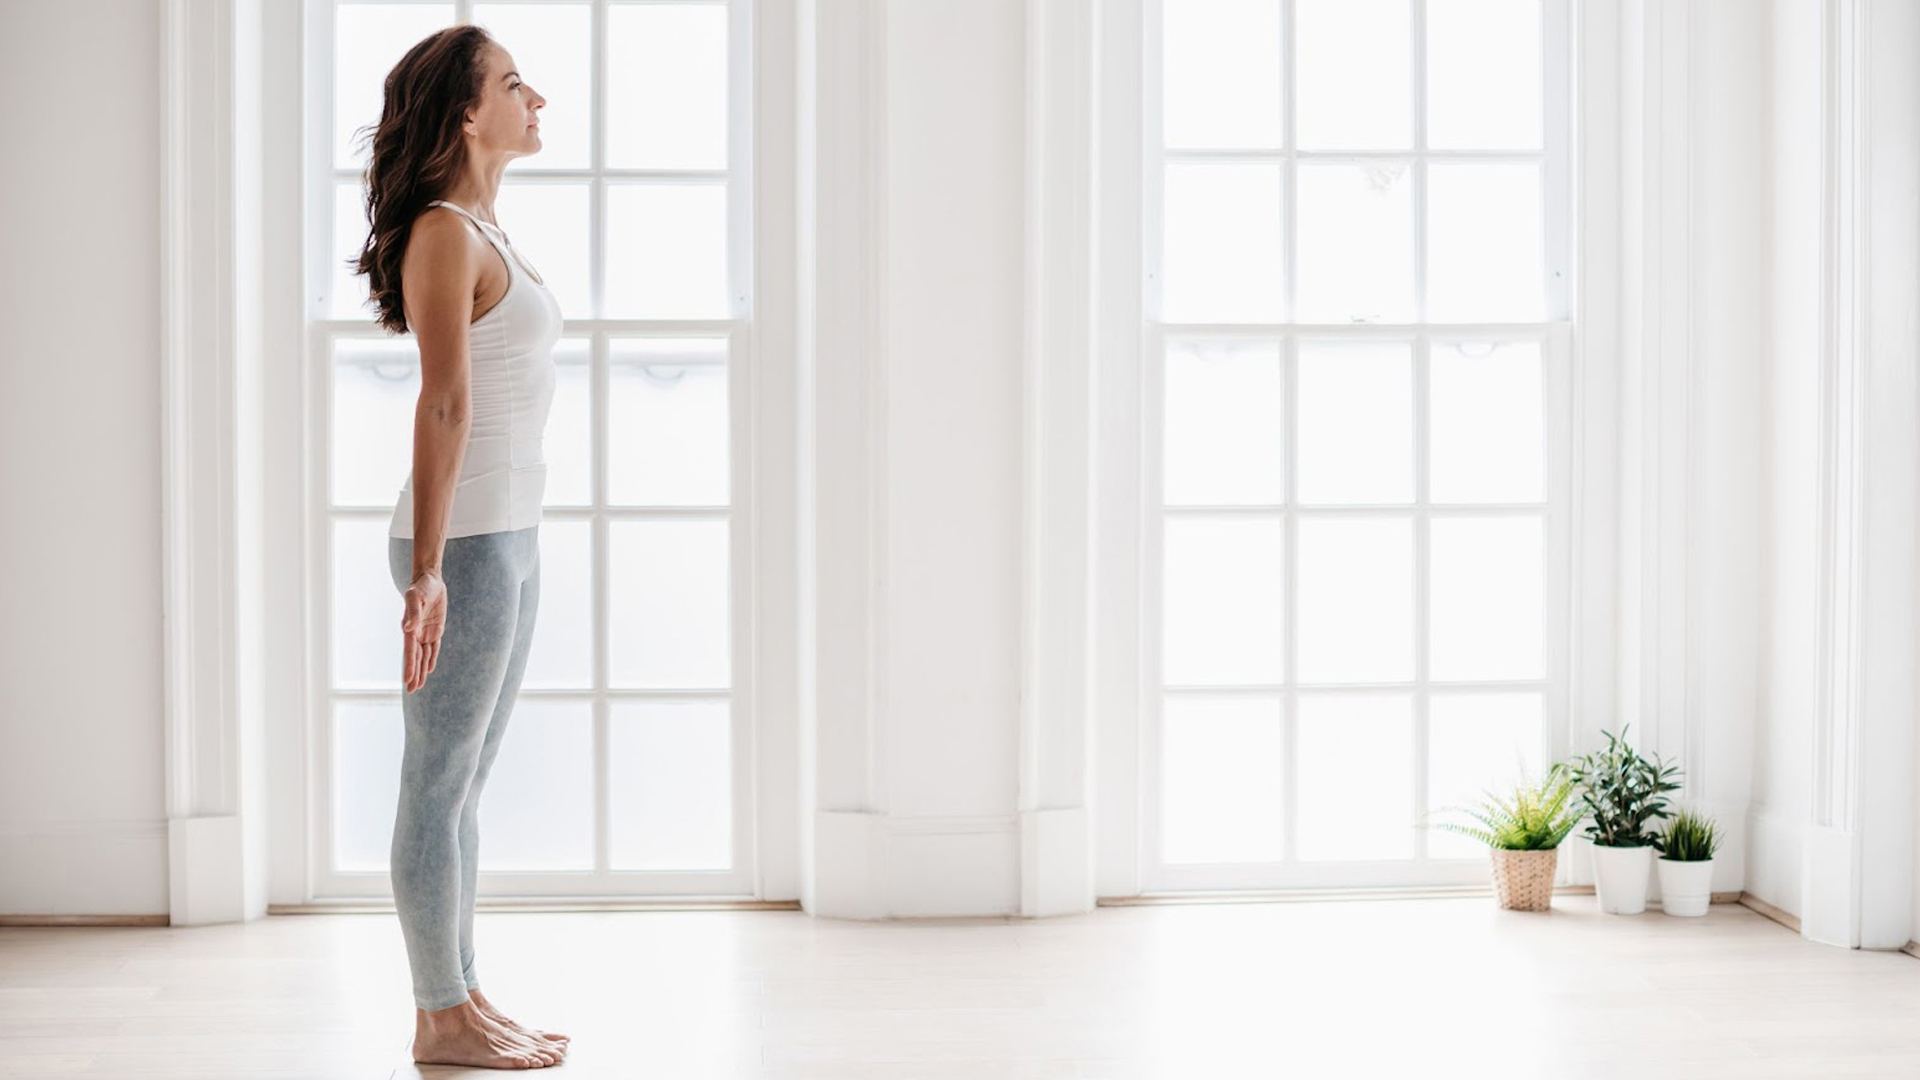
Stand up straight with your feet hip-width apart and arms relaxed by your sides, balancing your weight evenly between both feet. Without locking out your knees, engage your thigh muscles and lengthen your tailbone towards the floor. Lift the top of your chest, allowing your shoulder blades to draw toward each other and down the back, away from the ears. Take between five and ten breaths in this pose.
Tree Pose
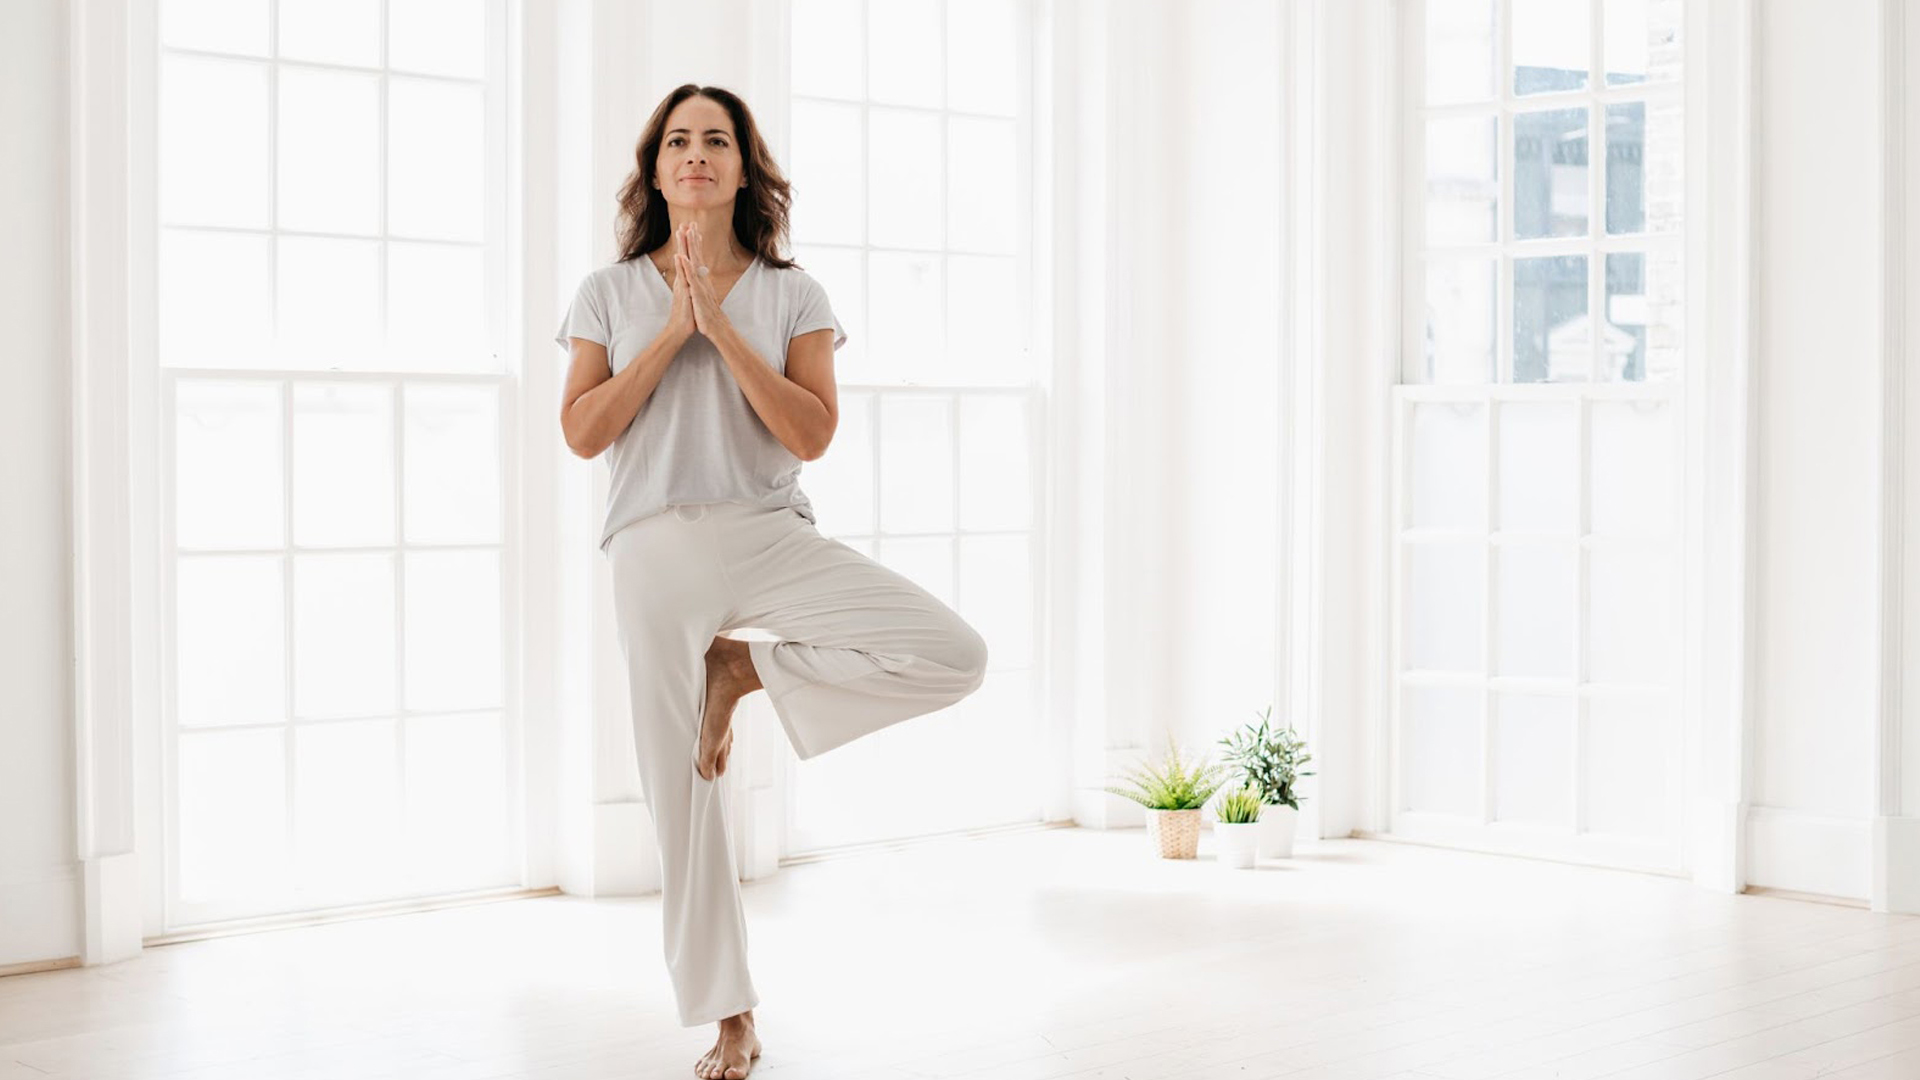
From Mountain Pose, place your hands on your hips and raise your right foot on to your left thigh or shin without making contact with the knee. Espinosa recommends looking at a fixed point to maintain your balance. When you feel steady, bring your palms together at the center of your chest. Hold this position for five to ten breaths, then step back into Mountain Pose and repeat on the other side. Feel free to use a wall or chair to steady yourself into position.
Warrior Two Pose
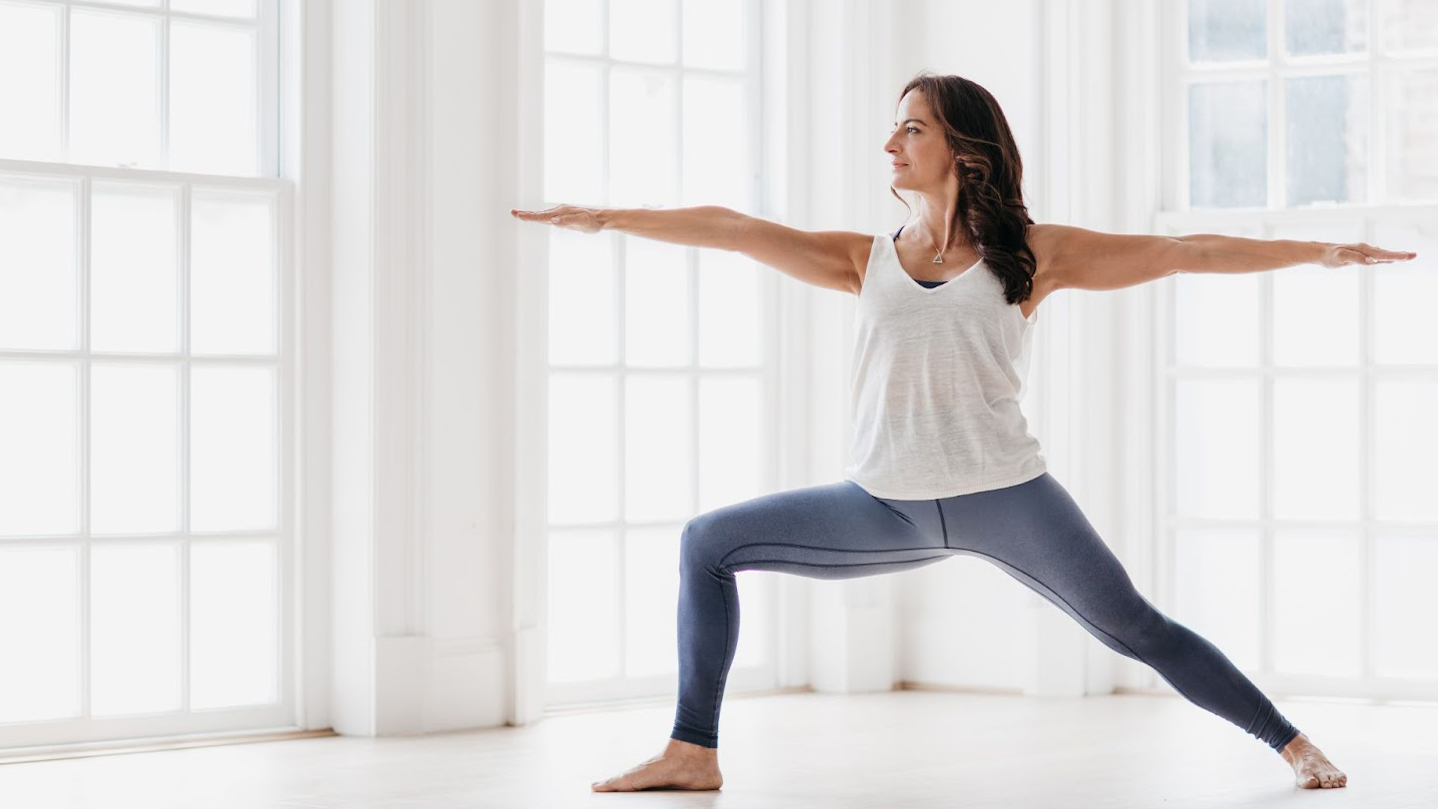
Stand sideways on a mat with your feet parallel in a wide stance. Stretch your arms straight out from your shoulders, so your ankles are approximately underneath your wrists. Turn your right foot and knee to face the front of the mat, bend your right knee so it’s stacked over your right ankle and turn your head to look past your right fingertips. Stay here for five to ten breaths, then repeat on the other side.
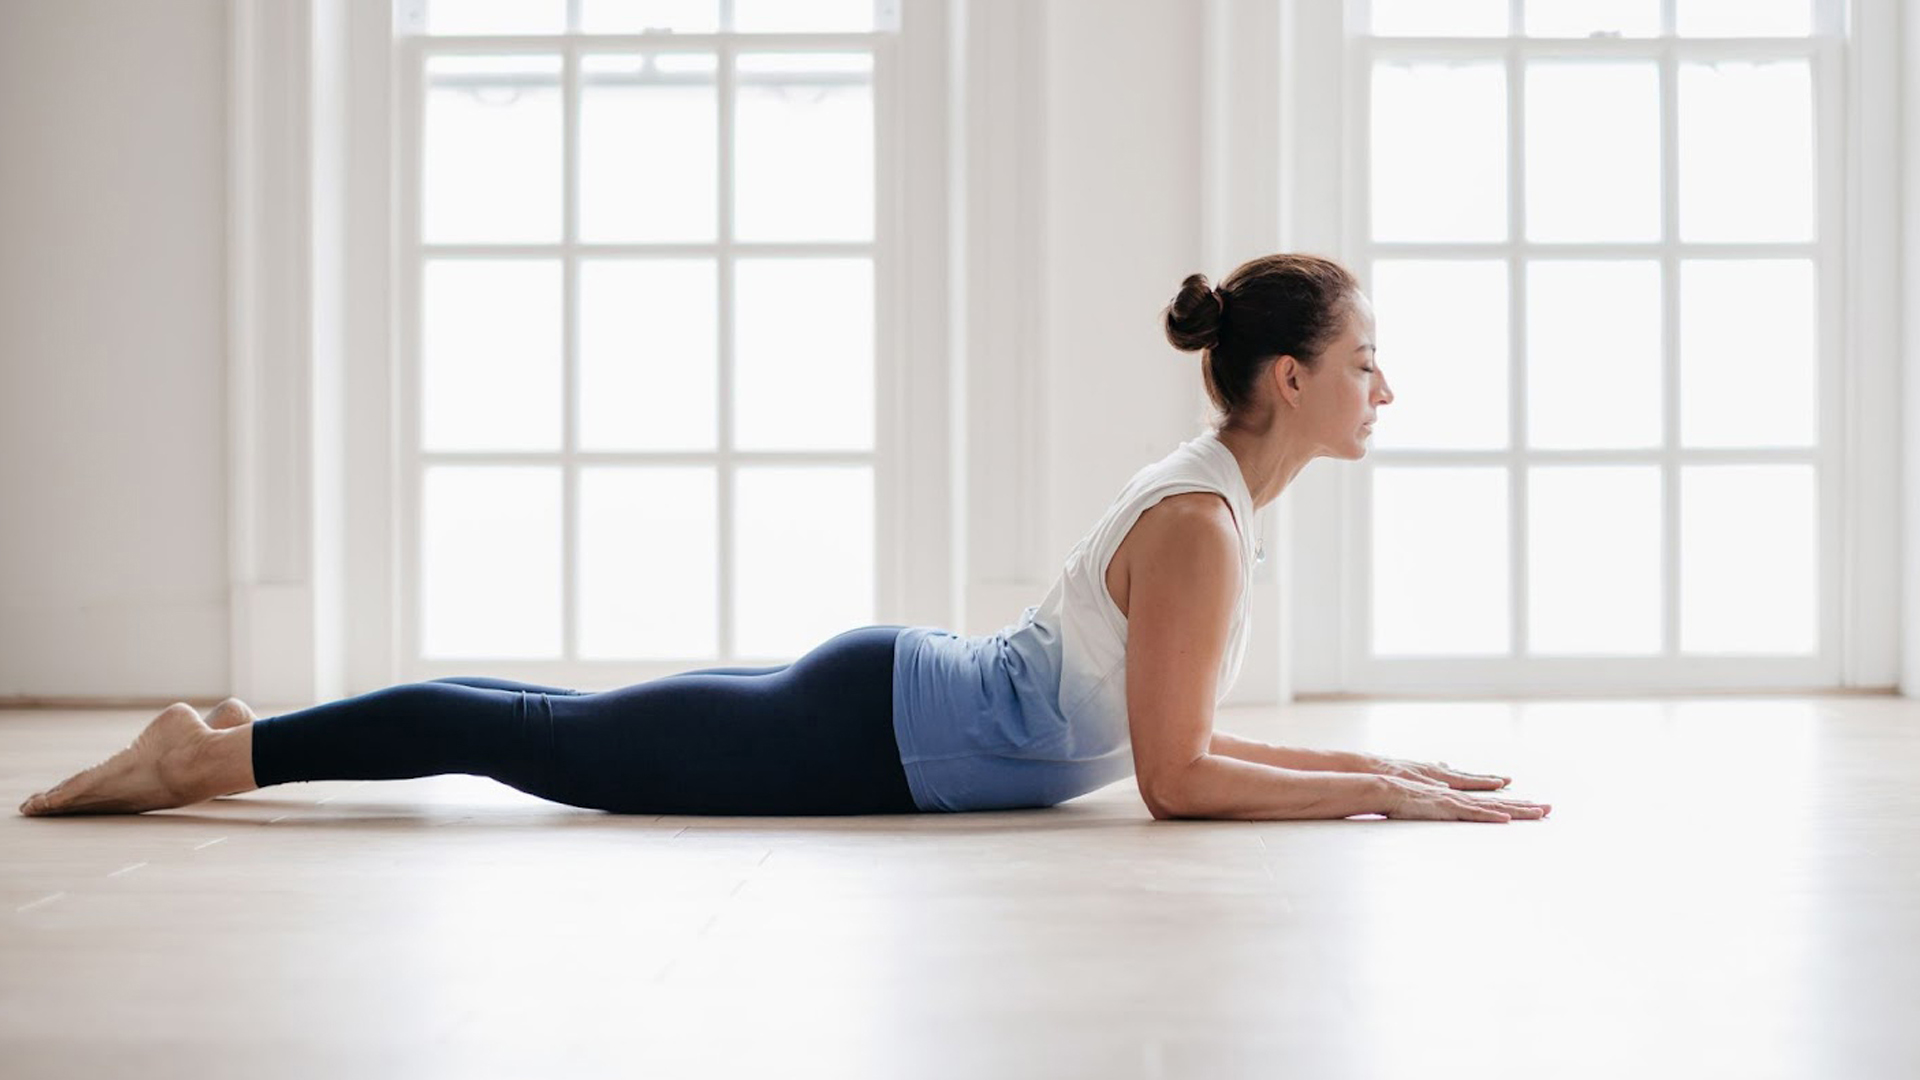
Sphinx Pose
Start on your stomach then raise your chest by pushing up on to your forearms, keeping your hips on the ground. Extend your big toes straight back and press your feet into the ground to activate your legs. Keep the back of the neck long and emphasize lifting the chest rather than lifting the chin. Keep your breathing steady and hold the pose for anywhere from several breaths to a minute.
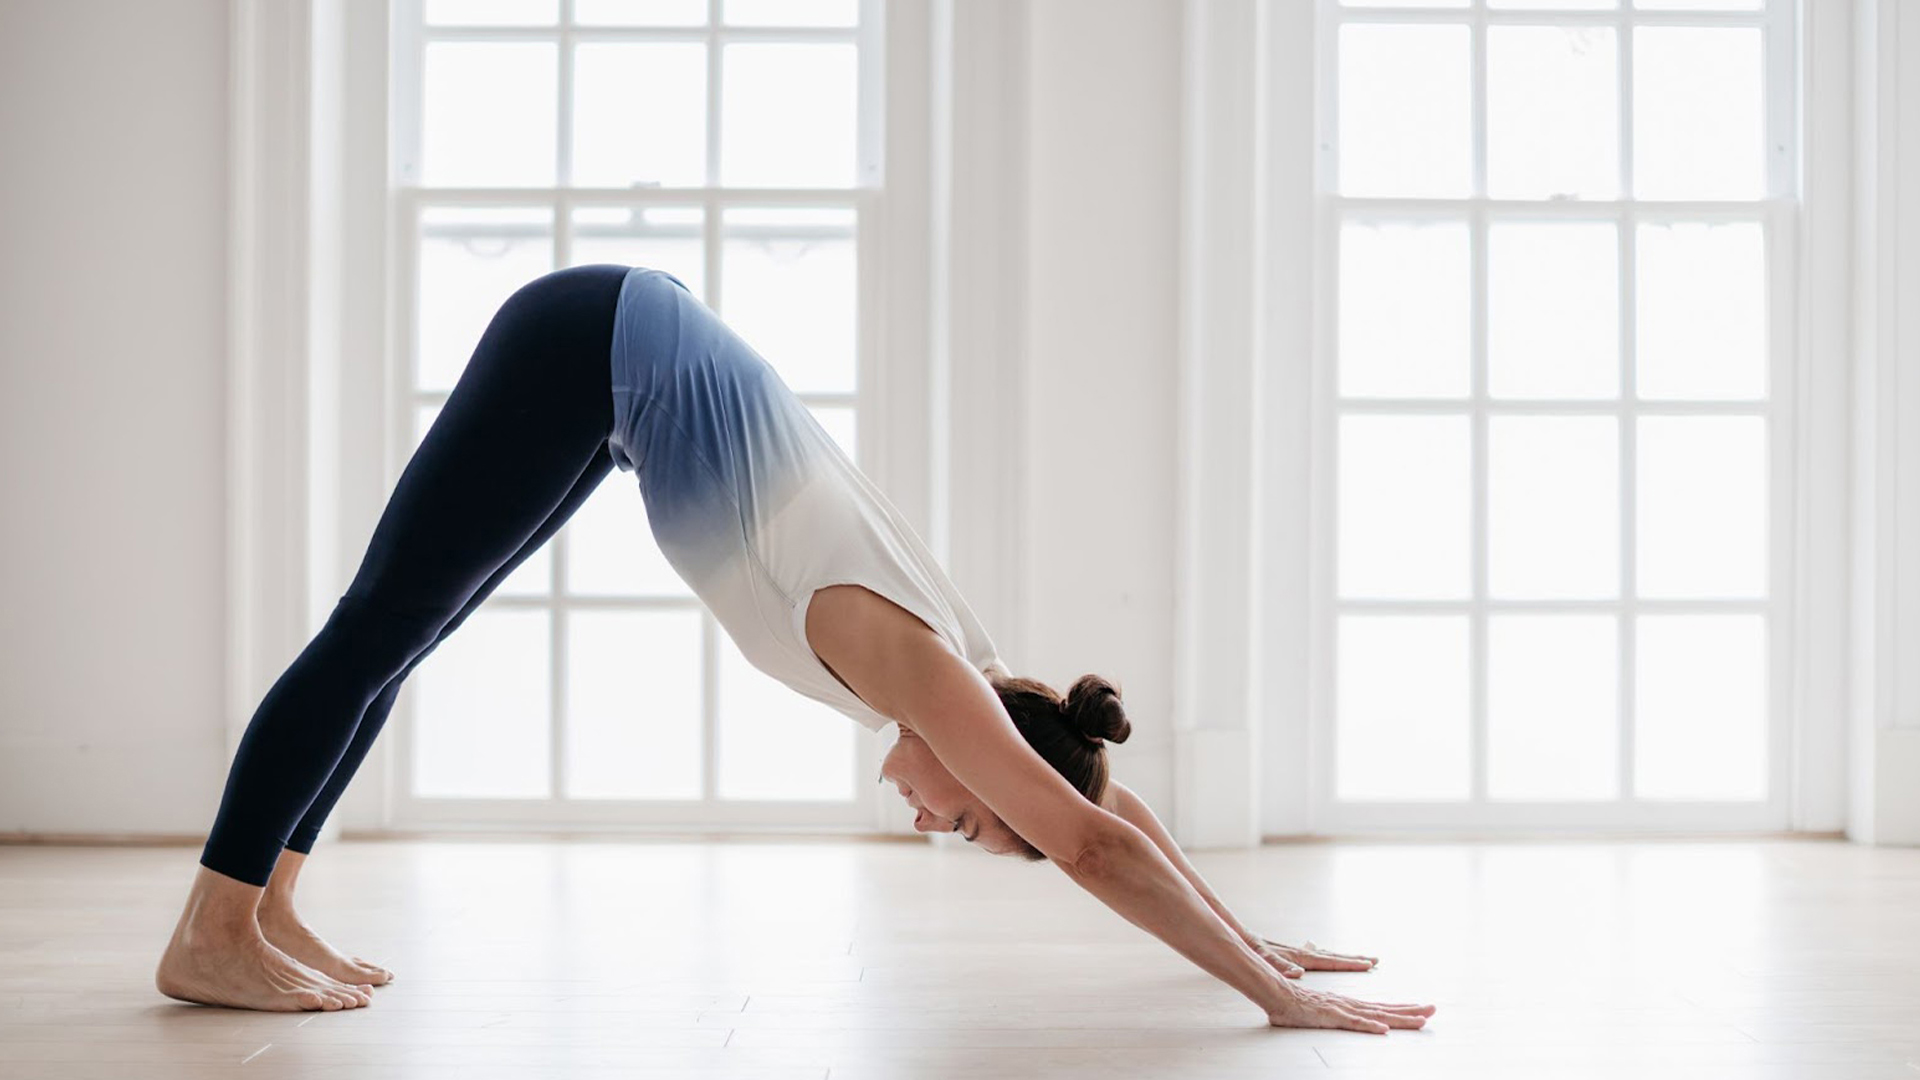
Downward Facing Dog
Come on to your hands and knees, with your knees beneath your hips, your hands a tiny bit in front of your shoulders and your fingers spread. Pushing through your hands, raise your knees off the mat, lifting your hips up to form an upside down “v” shape. Bring your ribs towards your thighs and keep your ears between your upper arms. Engage your leg muscles as you press your thighs back, stretching your heels toward the floor and straightening your knees without locking them out. Alternatively, If you feel the spine rounding, keep the knees bent. Stay in this pose for five to ten breaths.
Learning about wrist pain in yoga can help protect your wrists from injury during your downward facing dog.
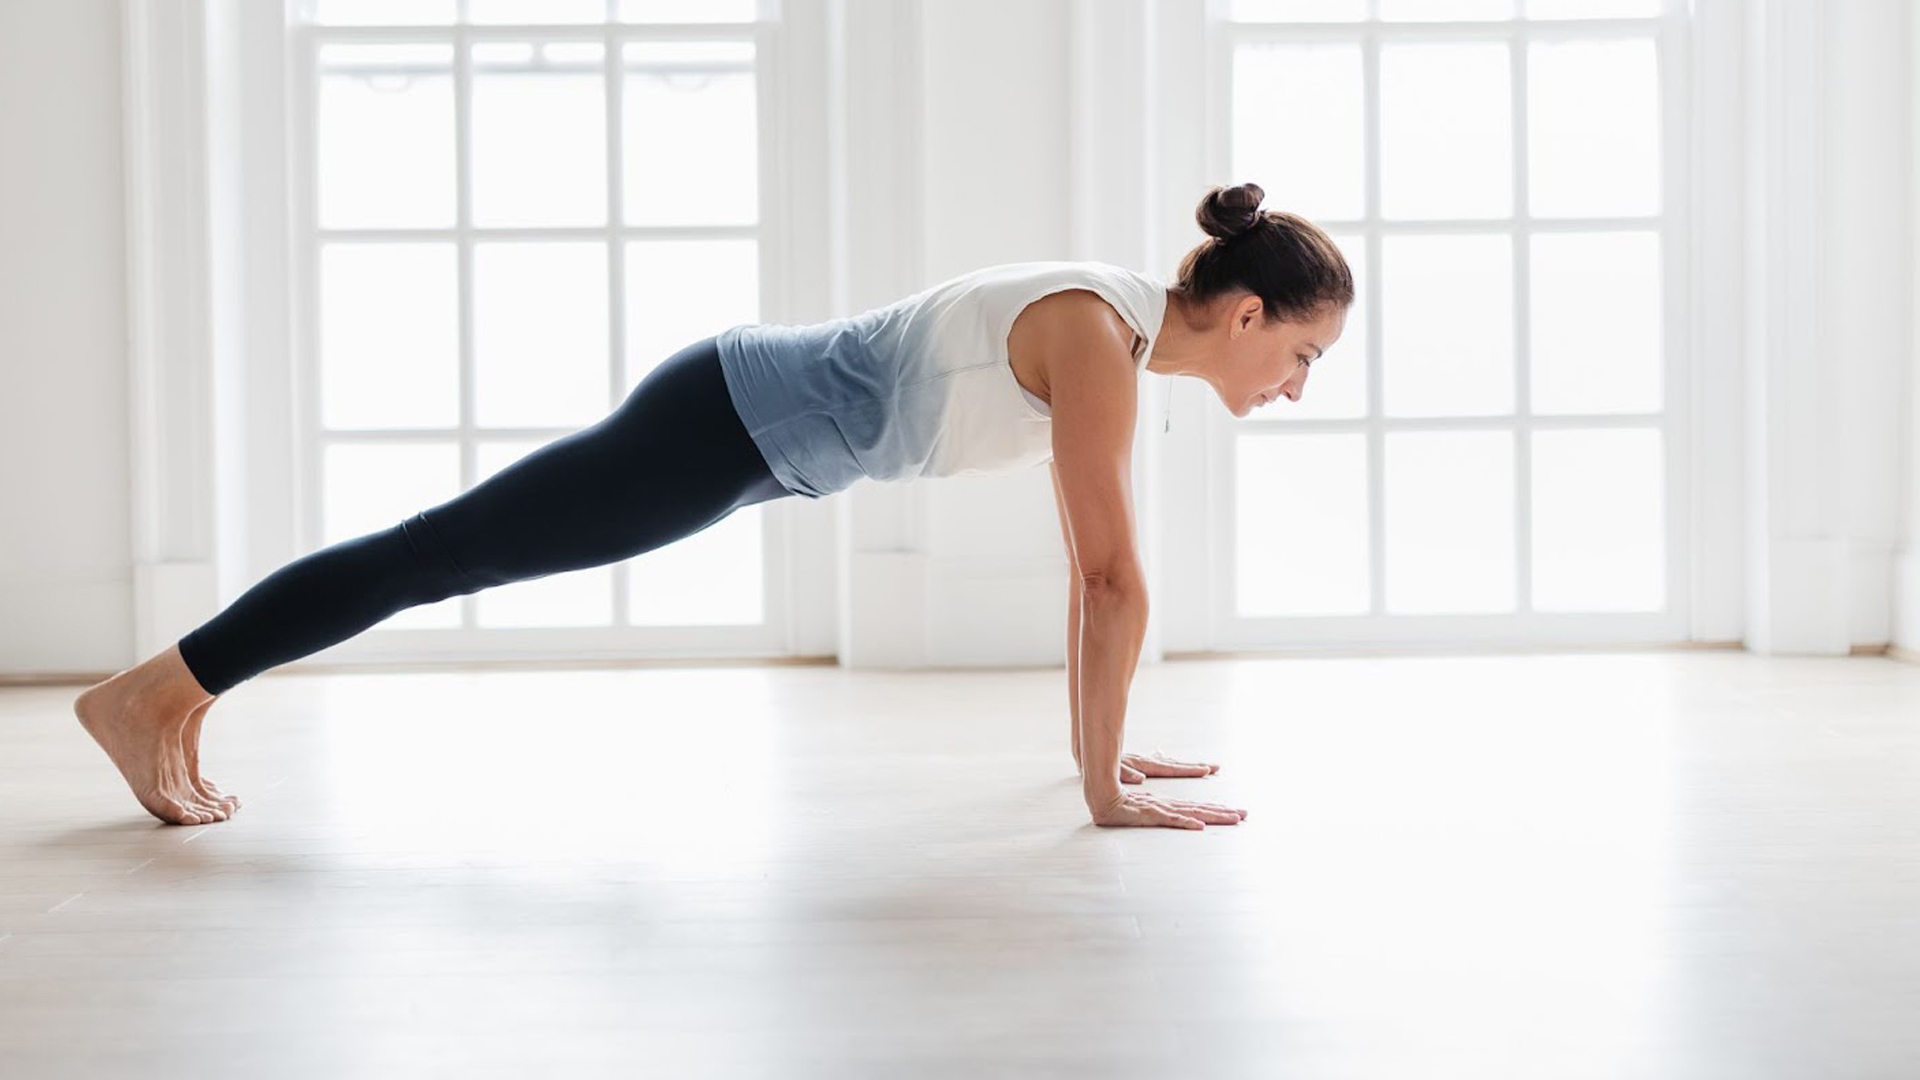
Plank Pose
Start in Downward Facing Dog. Then, inhale and draw your torso forward until your arms are perpendicular to the floor and your shoulders are directly over your wrists. Your torso should now be parallel with the floor. Keep the back of your neck long and look down at the floor, keeping your throat and eyes soft. Stay in this pose for anywhere from 30 seconds to 1 minute.
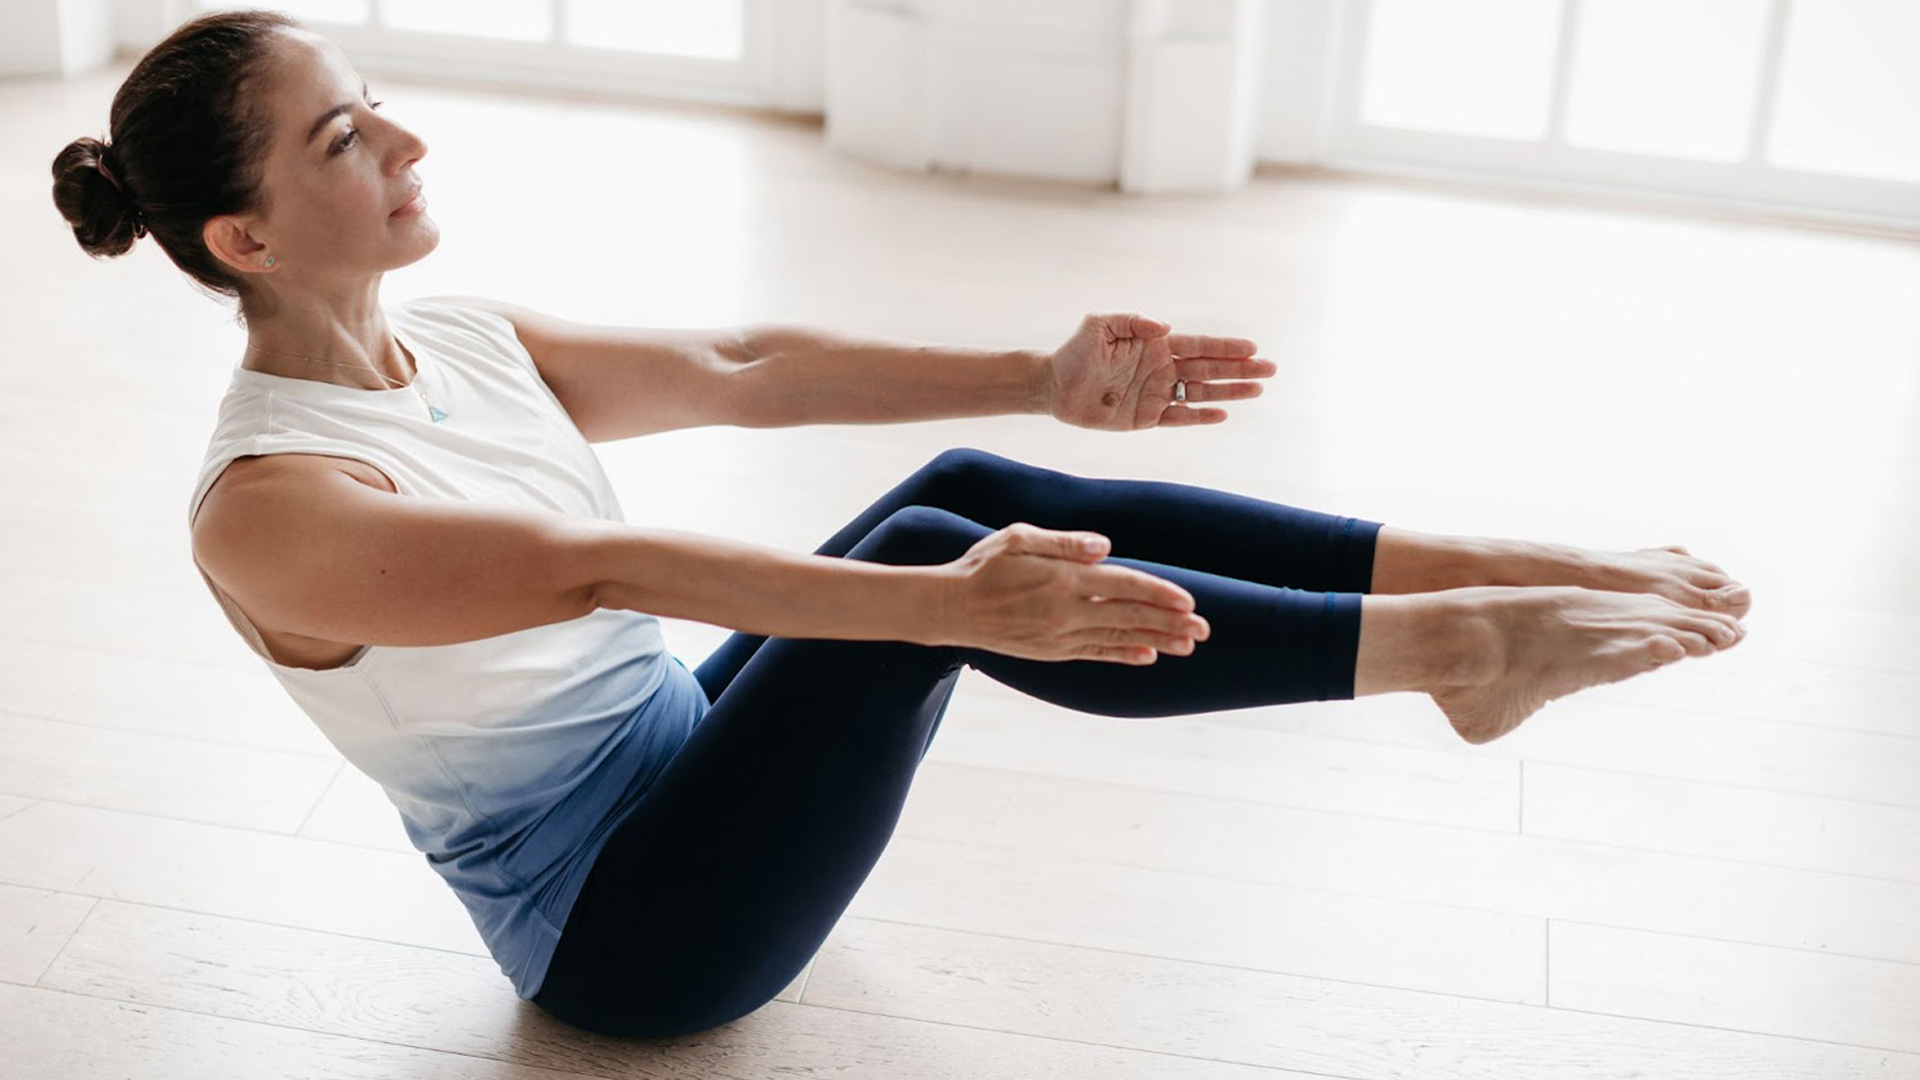
Boat Pose
Sit on the floor with your legs straight in front of you. Lift your chest and lean back slightly, making sure your back doesn’t round. You can use a chair to support your back if needed. Then, lift your thighs so they form a 45 degree angle with the floor and raise your shins so they are parallel with the ground. Draw your shoulders back and extend both arms forward with your palms facing in. Try to stay in the pose for 10 to 20 seconds, slowly increasing your time to a minute as you improve.
Half Lord of the Fishes
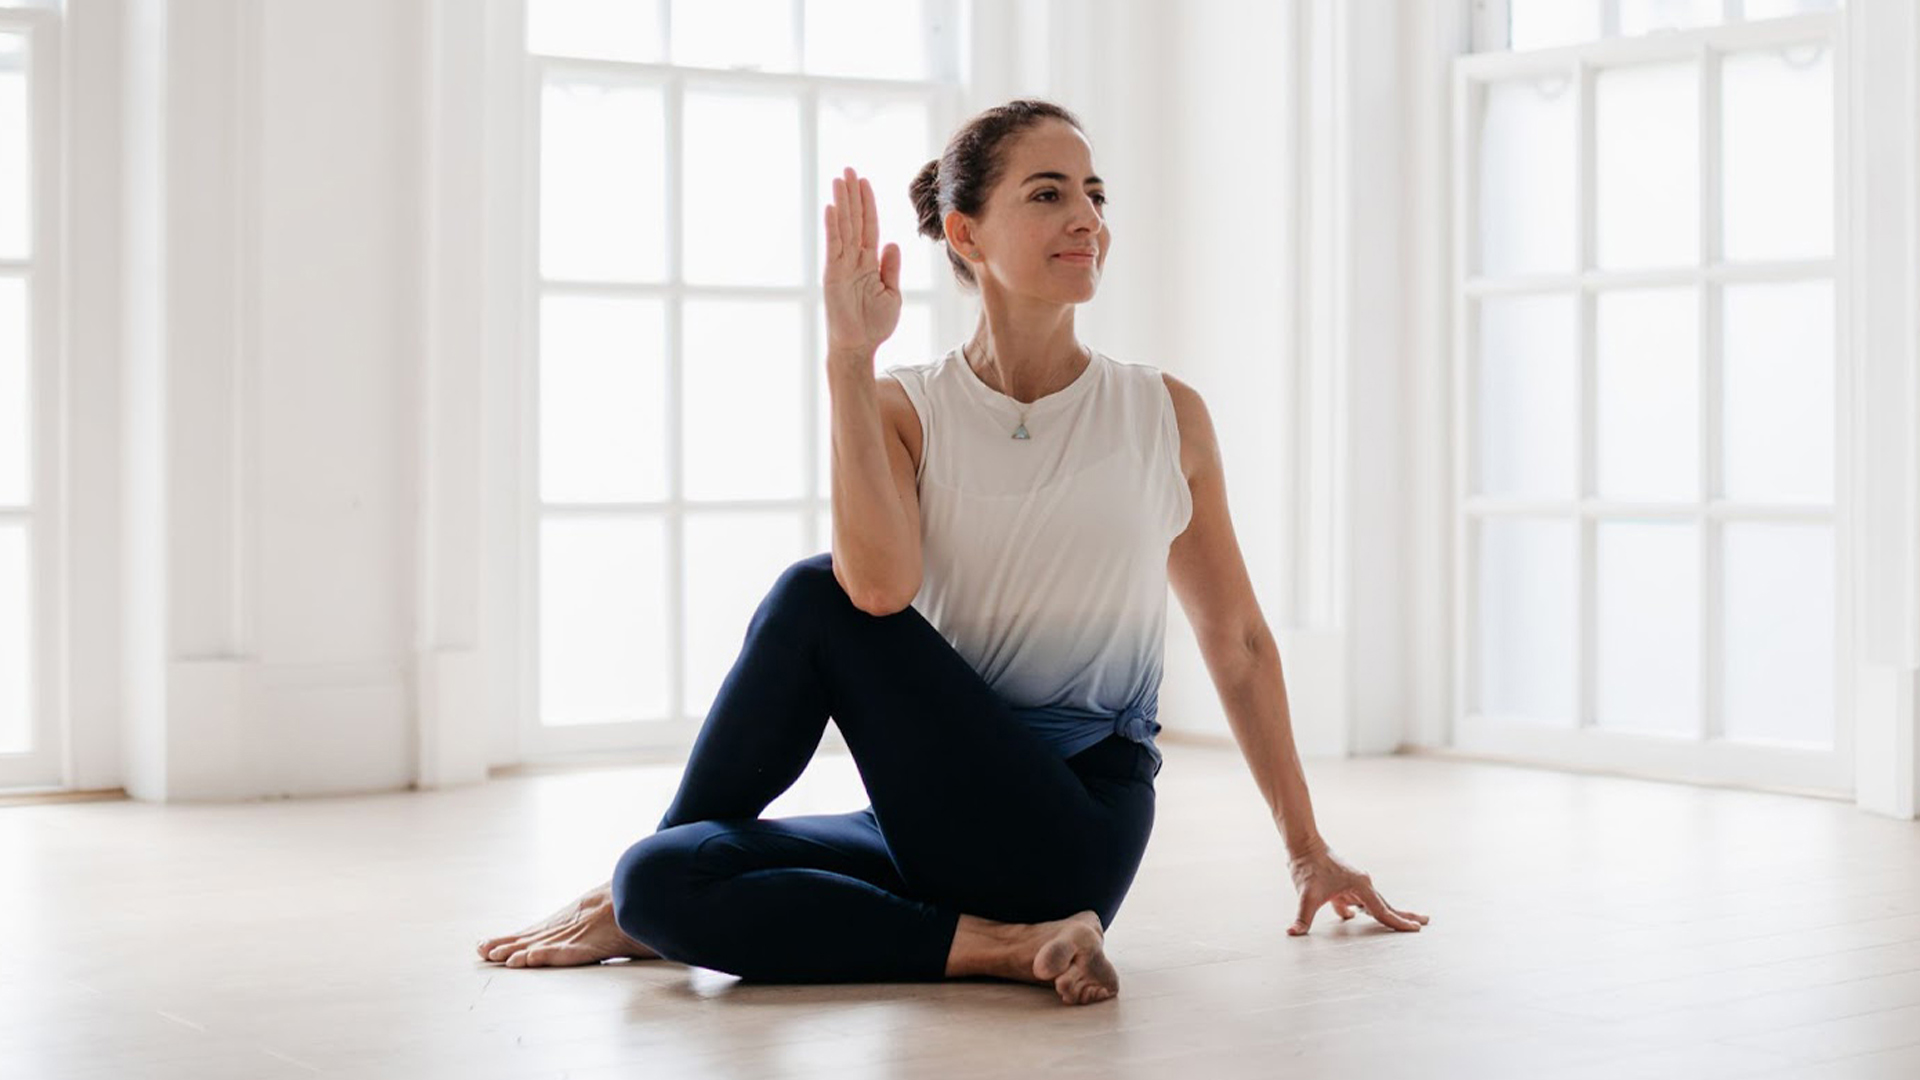
Begin in a cross-legged position, with the right leg in front of the left. Lift your right knee up and place the sole of your right foot on the outside of your left knee. Place your right hand on the floor outside your right hip for support and raise your left hand to the ceiling. Exhale and bring your left elbow down to the outside of your right knee. Press your knee and elbow together to create some resistance. Turn your head to the right, looking past your right shoulder, and hold this pose for five to ten breaths. To exit the pose, inhale and reach your left arm skywards, then unwind the body and return to a central cross-legged position.
Harry Bullmore is a Fitness Writer for Fit&Well and its sister site Coach, covering accessible home workouts, strength training session, and yoga routines. He joined the team from Hearst, where he reviewed products for Men's Health, Women's Health, and Runner's World. He is passionate about the physical and mental benefits of exercise, and splits his time between weightlifting, CrossFit, and gymnastics, which he does to build strength, boost his wellbeing, and have fun.
Harry is a NCTJ-qualified journalist, and has written for Vice, Learning Disability Today, and The Argus, where he was a crime, politics, and sports reporter for several UK regional and national newspapers.