Start your week with achievable workout ideas, health tips and wellbeing advice in your inbox.
You are now subscribed
Your newsletter sign-up was successful
If you’re experiencing wrist pain in yoga, it doesn’t have to spell the end of your practice. Nor does it necessarily mean avoiding weight-bearing poses. However, you may need to be prepared to make adjustments.
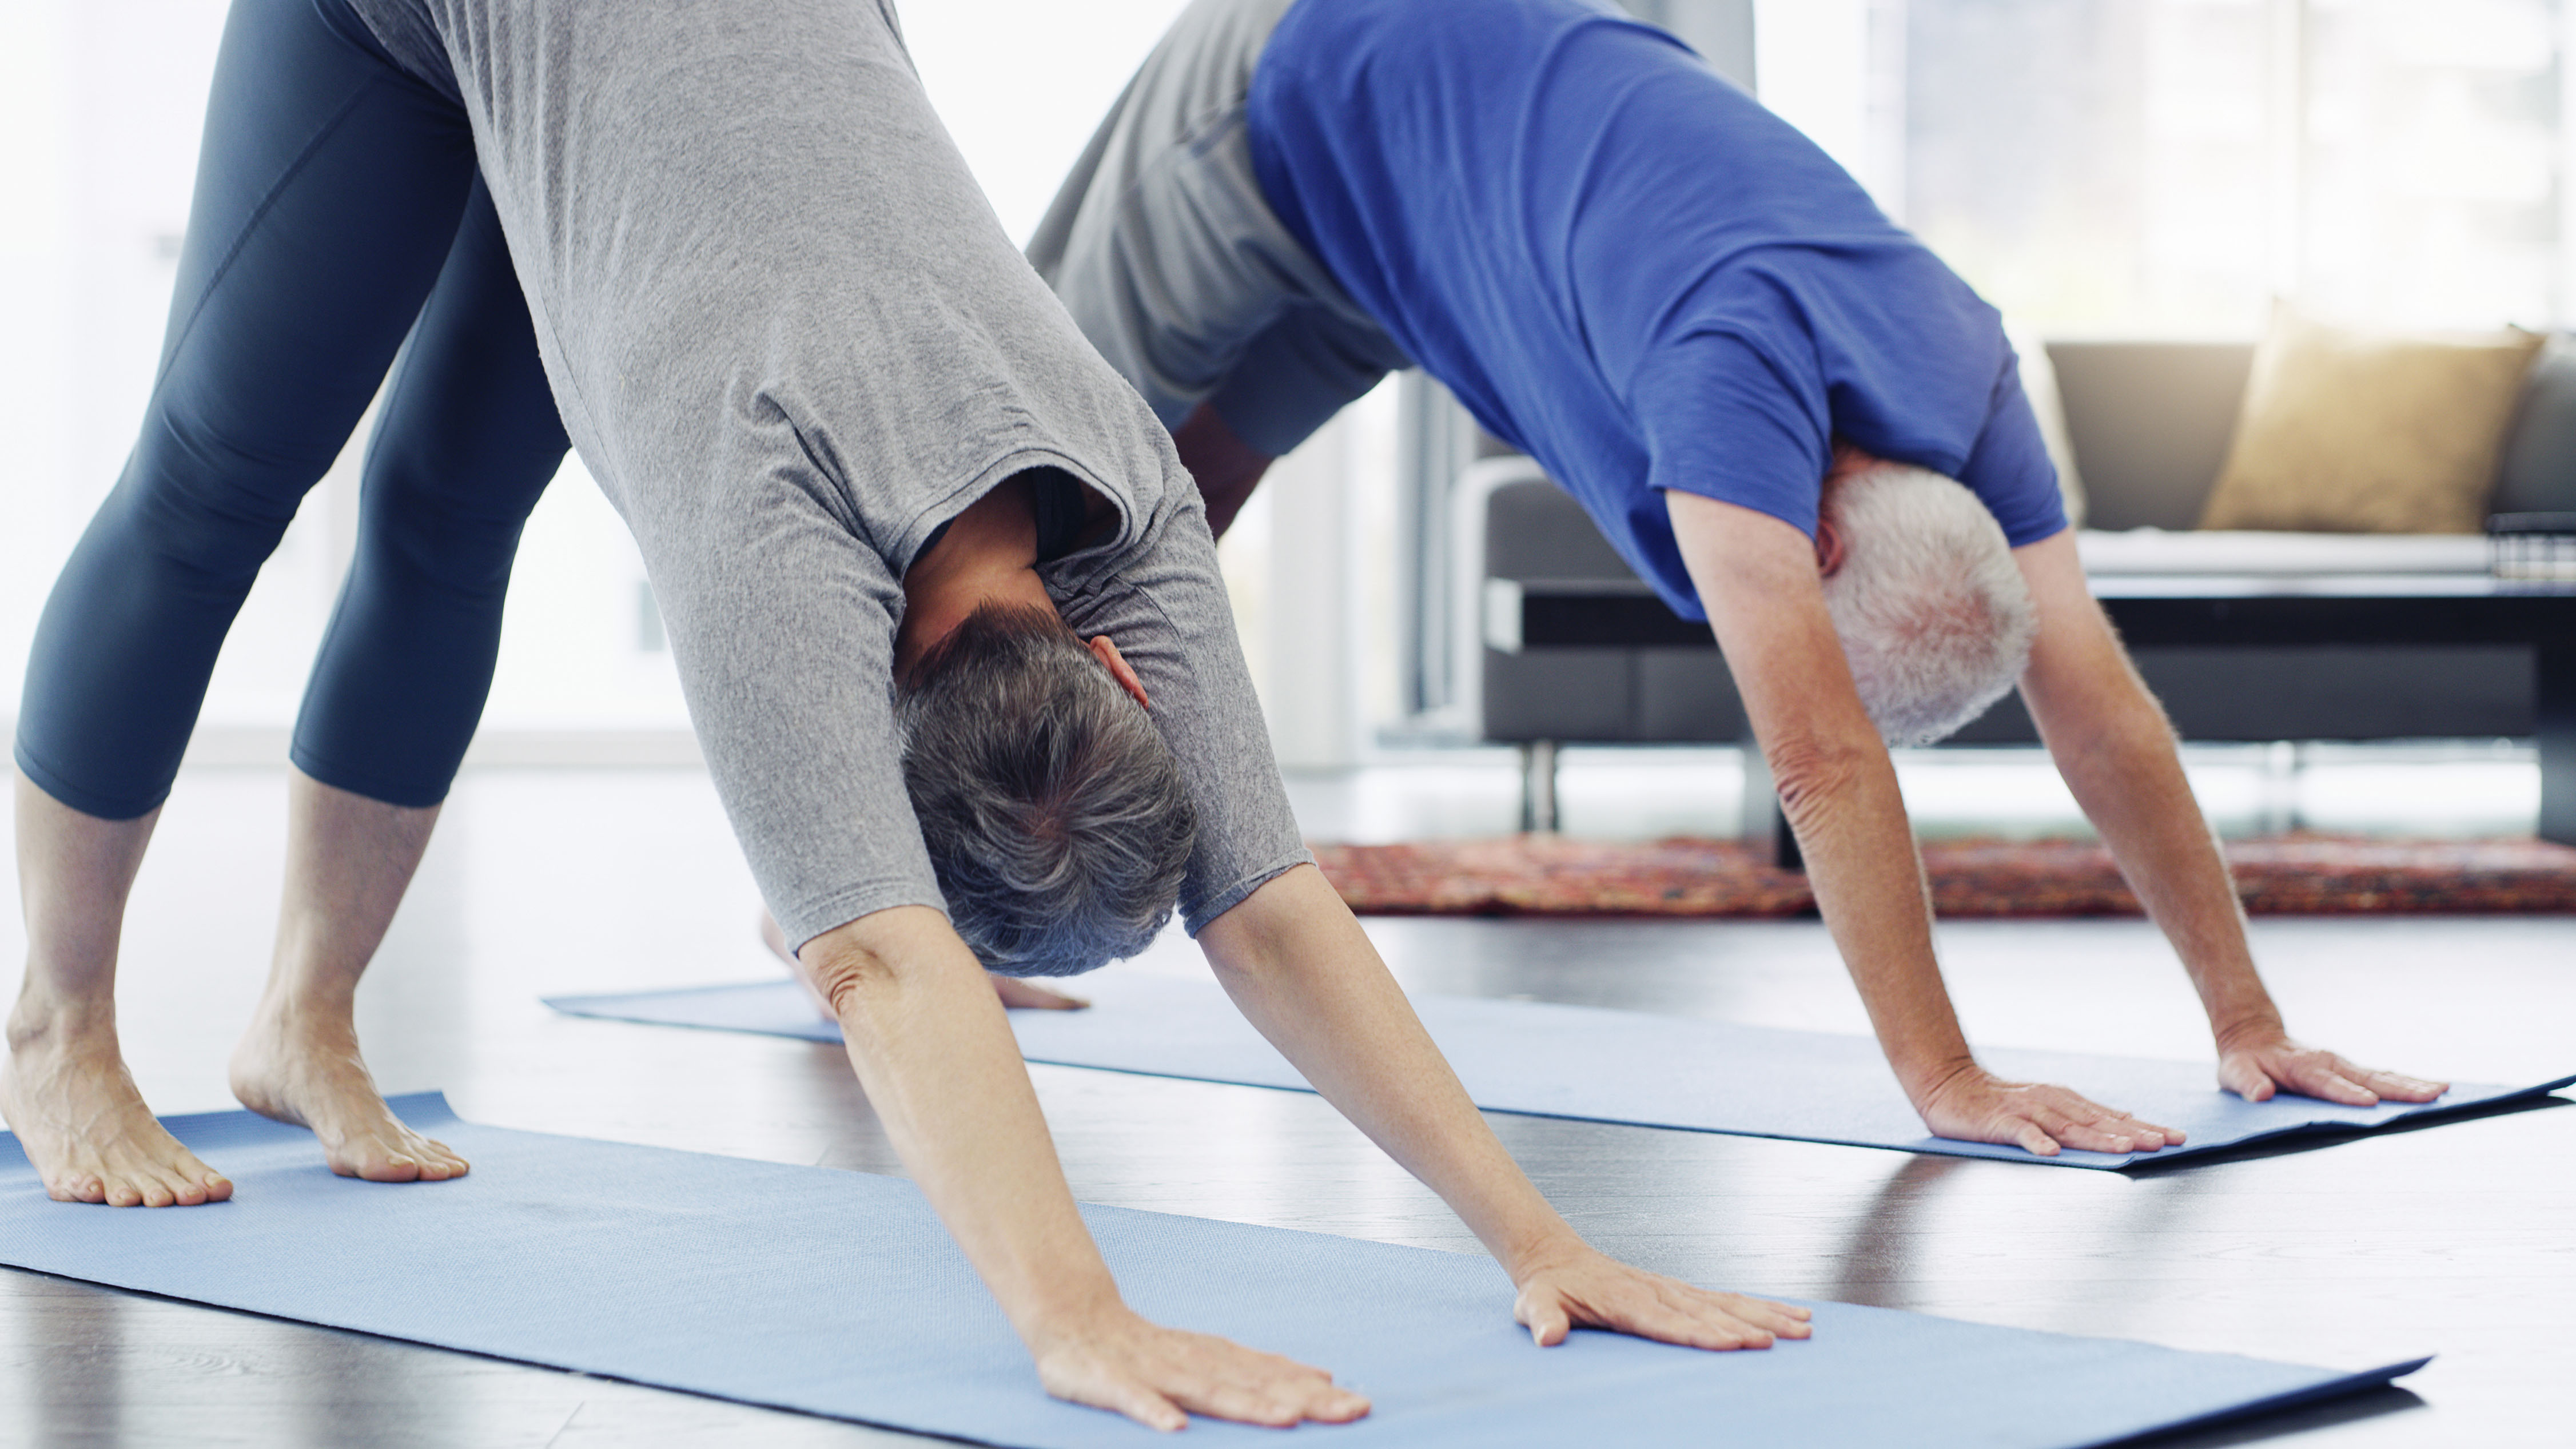
According to a study in the International Journal of Yoga Therapy in 2009 wrists are one of the most common injuries in yoga. The main reasons were poor technique and alignment, previous injury, excess effort, and improper instruction. Wrist injuries were most commonly linked to the adho mukha svanasana (downward dog) pose and variations of the plank.
However, there are many benefits of yoga, so preventing new injuries (or exacerbation of previous ones) is crucial for longevity in your practice. Regardless of how advanced your yoga routine is, you’ll need support from one of the best yoga mats.
We spoke to expert yoga practitioners on how wrist injuries occur and how to adapt.
Looking for more gentle yoga flow? Have a look at our guide on how to do yoga with knee pain, or try out this wrist-free yoga flow.
How does wrist pain occur in yoga?
“There are a variety of reasons why wrist pain may occur in yoga,” says Lucy McCarthy, a yoga instructor, and teacher at Movement For Modern Life. “Postures such as downward dog can cause discomfort in the early days of practice if there’s not requisite strength to sustain weight-bearing postures.”
Overextension of the wrist during poses puts strain on the soft tissue and when you couple this with powerful movements, such as jump backs, arm balances, or push-ups, you’re looking at the potential for injury.
Start your week with achievable workout ideas, health tips and wellbeing advice in your inbox.
“It could also come down to a pre-existing injury,” says McCarthy. “The wrist joint is made up of carpal bones and consists of eight small bones, held together by relatively small and delicate ligaments and muscles. A previous injury, such as a sprain or break, could cause pain in poses that require a significant degree of mobility in the joint.”
Laura Hopes, a Sydney-based yoga instructor, says “A lot of wrist pain originates from the alignment of your downward dog, particularly if you’re new to the practice. A lack of shoulder and core engagement can often result in people unknowingly dumping into their wrists. Hand placement is also important – particularly when hands should align with your shoulders,” she says.
The good news is that there are plenty of ways to ease and avoid wrist pain.

How to modify your yoga practice for wrist pain
Warm up
“Whether you’re new to yoga or not, it is important to warm up properly,” says Hopes.
“A great exercise I recommend is to hold your hands above your head, then begin scrunching your hands and spreading your fingers rapidly to build forearm and wrist strength.”
McCarthy recommends these wrist stretches before you move into your practice.
Adjust hand placement
“Often in poses like downward dog, the pads of your hands lift and you forget to press down with the whole hand,” says Hopes. “The area between your thumb and index finger should press down, along with your knuckles, so that you can push the earth away and reduce pressure on your wrists. Generally, this can come down to a lack of engagement in other areas.”
Using a yoga wedge is an option to reduce wrist extension and elevate the heel of the hand in poses such as downward dog, tabletop, and upward dog. “The blocks help shift more of the weight into the legs, which can ease the intensity on the wrists,” says McCarthy.
If you don’t have access to a wedge, rolling the top end of your mat can create a cushion. Spreading your fingers wide on the mat can also help to reduce pressure.
“If you’re experiencing wrist pain, focus on turning your hands outwards slightly – as if you’re opening a jam jar – as this can move pressure to your hands,” says Hopes.
Correct alignment
Correct alignment often comes from intelligent teaching cues and hands-on adjustments. Building strength in your core and shoulders can prevent other body parts from picking up the slack.
“A simple alignment correction you can make in downward dog is to wrap your triceps in towards each other, then push your shoulders up your back so that your wrists don't take all the weight,” says Hopes. “I would advise anyone to ask their teacher to look at their downward dog, as this is where many issues originate.”
Avoid your wrists
For some people avoiding their wrists altogether is the best option, though this doesn’t mean you also need to avoid the pose.
“Try using your fists,” says Hopes. “This engages your hands and protects your wrists by preventing bending.”
If this is still a no-go, McCarthy recommends using your forearms instead. “You can modify by lowering the whole forearm and hand to the floor into a pose known as dolphin. The same modification is perfect for plank pose as well and you still get many of the benefits of the pose when in a forearm plank, without putting undue stress on the wrists,” she says.
If you choose this option, it is crucial to keep your spine straight and place a block under your forearms to achieve the correct height in some poses.
Anything that reduces weight-bearing on your wrists will be helpful, so using your knees or a chair in certain poses can give your wrists a break. A study in The Journal of Hand Surgery in 2015 found that using knees in poses such as chaturanga and side plank shifted the center of gravity to the lower torso and decreased pressure and extension on the wrist. The same study found that elevating the hands during downward dog (like when using blocks or a chair) resulted in protective benefits.
Focus on strengthening wrists

“Working beyond your comfortable range of motion and mobility can exacerbate the pain,” says McCarthy. “Equally, holding weight-bearing poses for too long can exacerbate things. You want to slowly and progressively build wrist strength by using weight-bearing poses (like downward dog) and incrementally lengthening the time in these postures. If you are ever in doubt, I would always advise visiting a physiotherapist, who will be able to give you bespoke exercises to help strengthen the wrists.”
This joint-friendly yoga routine helps build strength and flexibility.
Modify exercises
Many yoga injuries occur through repetition and overuse, so giving certain poses a rest for a while can help to reduce any pain before it develops into something more serious.
McCarthy suggests making swaps if you’re still experiencing pain. “If you are doing a vinyasa style practice where you regularly flow from downward dog to plank, then I would replace this with moving from dolphin to forearm plank instead,” she says. “Yoga has a myriad of poses and sequencing that do not involve the wrists, so you can always do a wrist-free practice if need be.”
McCarthy also recommends purchasing a Cat’s Paw – a stretchy material with finger holes used to build hand, wrist, and forearm strength.
These anti-aging yoga moves can help keep your flow strong for years to come.
When to avoid yoga
If you’re dealing with chronic pain and injury, these awesome 15-minute yoga routines are a restorative alternative to try.
McCarthy also recommends visiting a physiotherapist for guidance on when to return to exercise. “I would then advise listening to your body and trust that it will give you intelligent feedback,” she says.

Sam Hopes is a level III fitness trainer, level II reiki practitioner, and resident fitness writer at Future PLC, the publisher of Fit&Well. Having trained to work with both the mind and body, Sam is a big advocate of using mindfulness techniques in sport and aims to bring mental wellbeing to the forefront of fitness. She’s also passionate about the fundamentals of training and how we can build more sustainable training methods. You’ll find her writing about the importance of habit-building, nutrition, sleep, recovery, and workouts.
