6 posture exercises to improve hunched shoulders and achieve natural alignment
Practice best posture with exercises to strengthen and loosen aching muscles

Start your week with achievable workout ideas, health tips and wellbeing advice in your inbox.
You are now subscribed
Your newsletter sign-up was successful
Incorporating a good exercise routine into your daily life is beneficial on a multitude of levels: from that mood-boosting post-workout endorphin buzz, to the positive effects on our physical wellbeing and weight management.
But did you know that adding certain posture correction exercises to your routine, which focus on strength and release, can work wonders on your posture over time?
Demand for posture correction aids and exercises has reached a new high, with many becoming more aware of bad posture habits formed during lockdown thanks to makeshift workspaces and less time spent moving.
- Best posture correctors to aid your alignment
- Best running shoes for women and best runnings shoes for men
- Browse our guide to the best resistance bands
With that in mind, we chatted to Fascial Stretch & Performance Specialist Niki Bird, who works private clients as well as at luxury Knightsbridge gym The Workshop Gymnasium. Lockdown put Niki’s hands-on one-to-one approach on hold, but as a result of the amount of people reaching out to her while trying to adapt to this new way of living, Niki was motivated to start her weekly online RESET classes. These combine self-assessment, breathing, fascial stretching and mobility work.
Niki explains how bad posture starts: ‘There are some people that are just born with conditions that can affect posture, but equally postural imbalances can develop as a result of repetitive patterns in daily activities.
'Everything from the way we sit, what shoes we wear, how we carry our bags and how we sleep all plays a role in the way we move and function.
'Over time, the way in which we move (or don’t move) can result in adaptive changes throughout our connective tissues, muscles and in particular, throughout our fascial system.’
Start your week with achievable workout ideas, health tips and wellbeing advice in your inbox.
On top of this, sometimes taking up a newfound love of running, gardening or Bikram yoga can actually do your body more damage than good, if you’re not properly prepared for the lifestyle change in question. As Niki puts it, ‘you have a perfect recipe for injuries waiting to happen.’
The following exercises and breathwork (breathing exercises) will not only promote better posture, but help you feel physically stronger.
Before you get started, a word of warning from Niki: ‘It’s really important to note that all of the movements should be guided by breath and none of them should be painful or causing discomfort. If you feel pain at any point, ease the movement off or stop all together.’
If you experience persistent or severe pain, be sure to consult your doctor.
Posture exercise 1: Breathwork to help ease neck and shoulder ache
‘When we are stressed or during strenuous exercise we breathe heavily into our chests,’ Niki explains. ‘In turn, this can create tension in the body – particularly in the neck and shoulders.
'Take some time each day to practice diaphragmatic (belly) breathing and give your body a chance to relax and recover.’
Niki also advises starting and finishing any stretch or exercise routine with some short breathwork.
- Find a comfortable place to lay flat. Place a pillow under your knees, one hand on your belly and one hand on your chest.
- With your eyes closed, start to inhale through your nose and exhale through your mouth. Give yourself a moment to get used to this.
- Once you have settled, start to focus on drawing your breath into your belly. You should feel your hand that is on your belly rise and the hand that is on your chest should barely move.
- Start to slow your breathing down and extend your exhale. The aim is to have a slightly longer exhale than inhale. This should feel comfortable and relaxing, not stressful, so take each step in your own time.
- In as little as 2-3 minutes your body can already start to benefit from its parasympathetic nervous system being activated. This encourages and promotes healing and relaxation. You can use this breathing tool in short intervals anytime you feel stressed or anxious, or as a daily practice for 15-20 minutes at a time.
Posture exercise 2: Release tension in the mid (thoracic) back
‘I would again suggest some breathwork as suggested above to start with but, this time, done in the child’s pose position,’ Niki continues. ‘The child’s pose position is a gentle way to ease breath into the posterior thorax, opening up a lot of the tension we may hold there.
After 2-3 minutes of breathing, a nice progression would be to move into a quadruped thoracic rotation.’ To do this, follow the steps below:
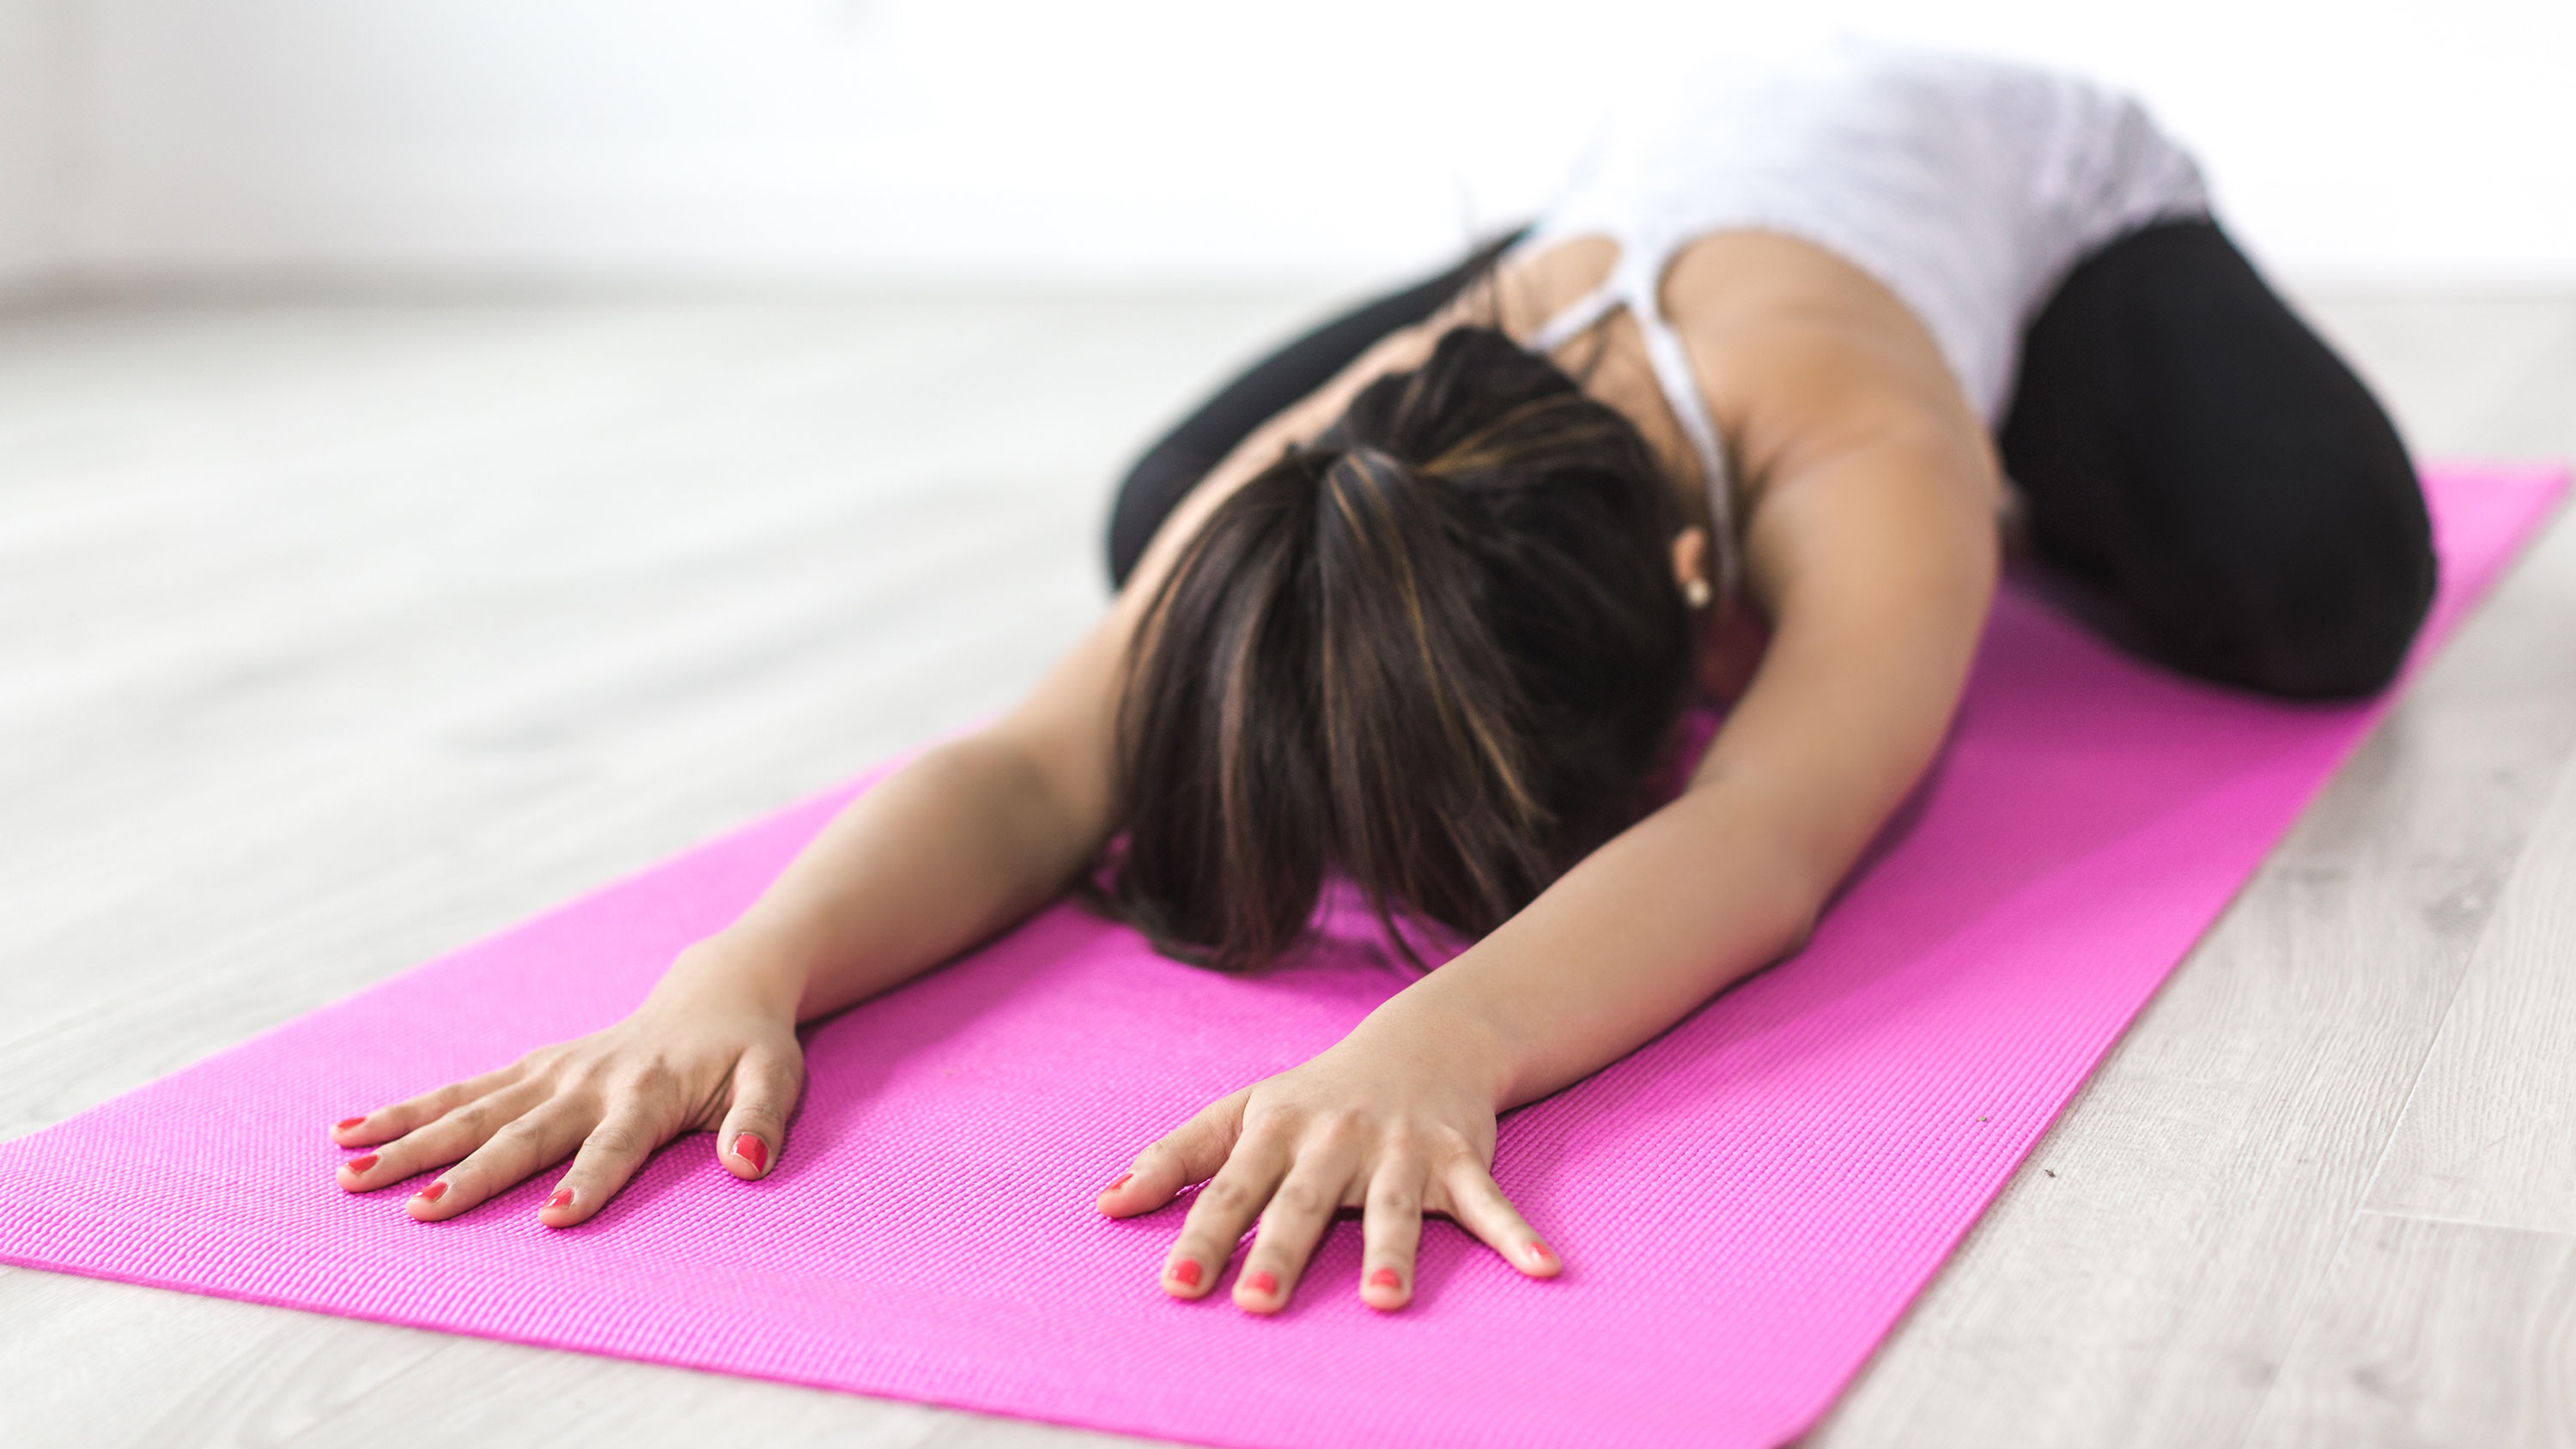
- From the child's pose position, bring yourself up into a quadruped or 'table top' position. You should be on all fours, with your knees stacked under your hips and your wrists stacked underneath your shoulders.
- Start the movement by placing your left hand behind your head. On the exhale, whilst keeping eye contact on your left elbow, let your chest open and aim to rotate your left elbow up towards the ceiling - rotation should be coming from your mid (thoracic) back.
- Hips should remain still and shoulders should remain as relaxed as possible.
- Continue for 10 breaths and repeat on the right side.
Posture exercise 3: Relieve tight hips and engage light glute activation
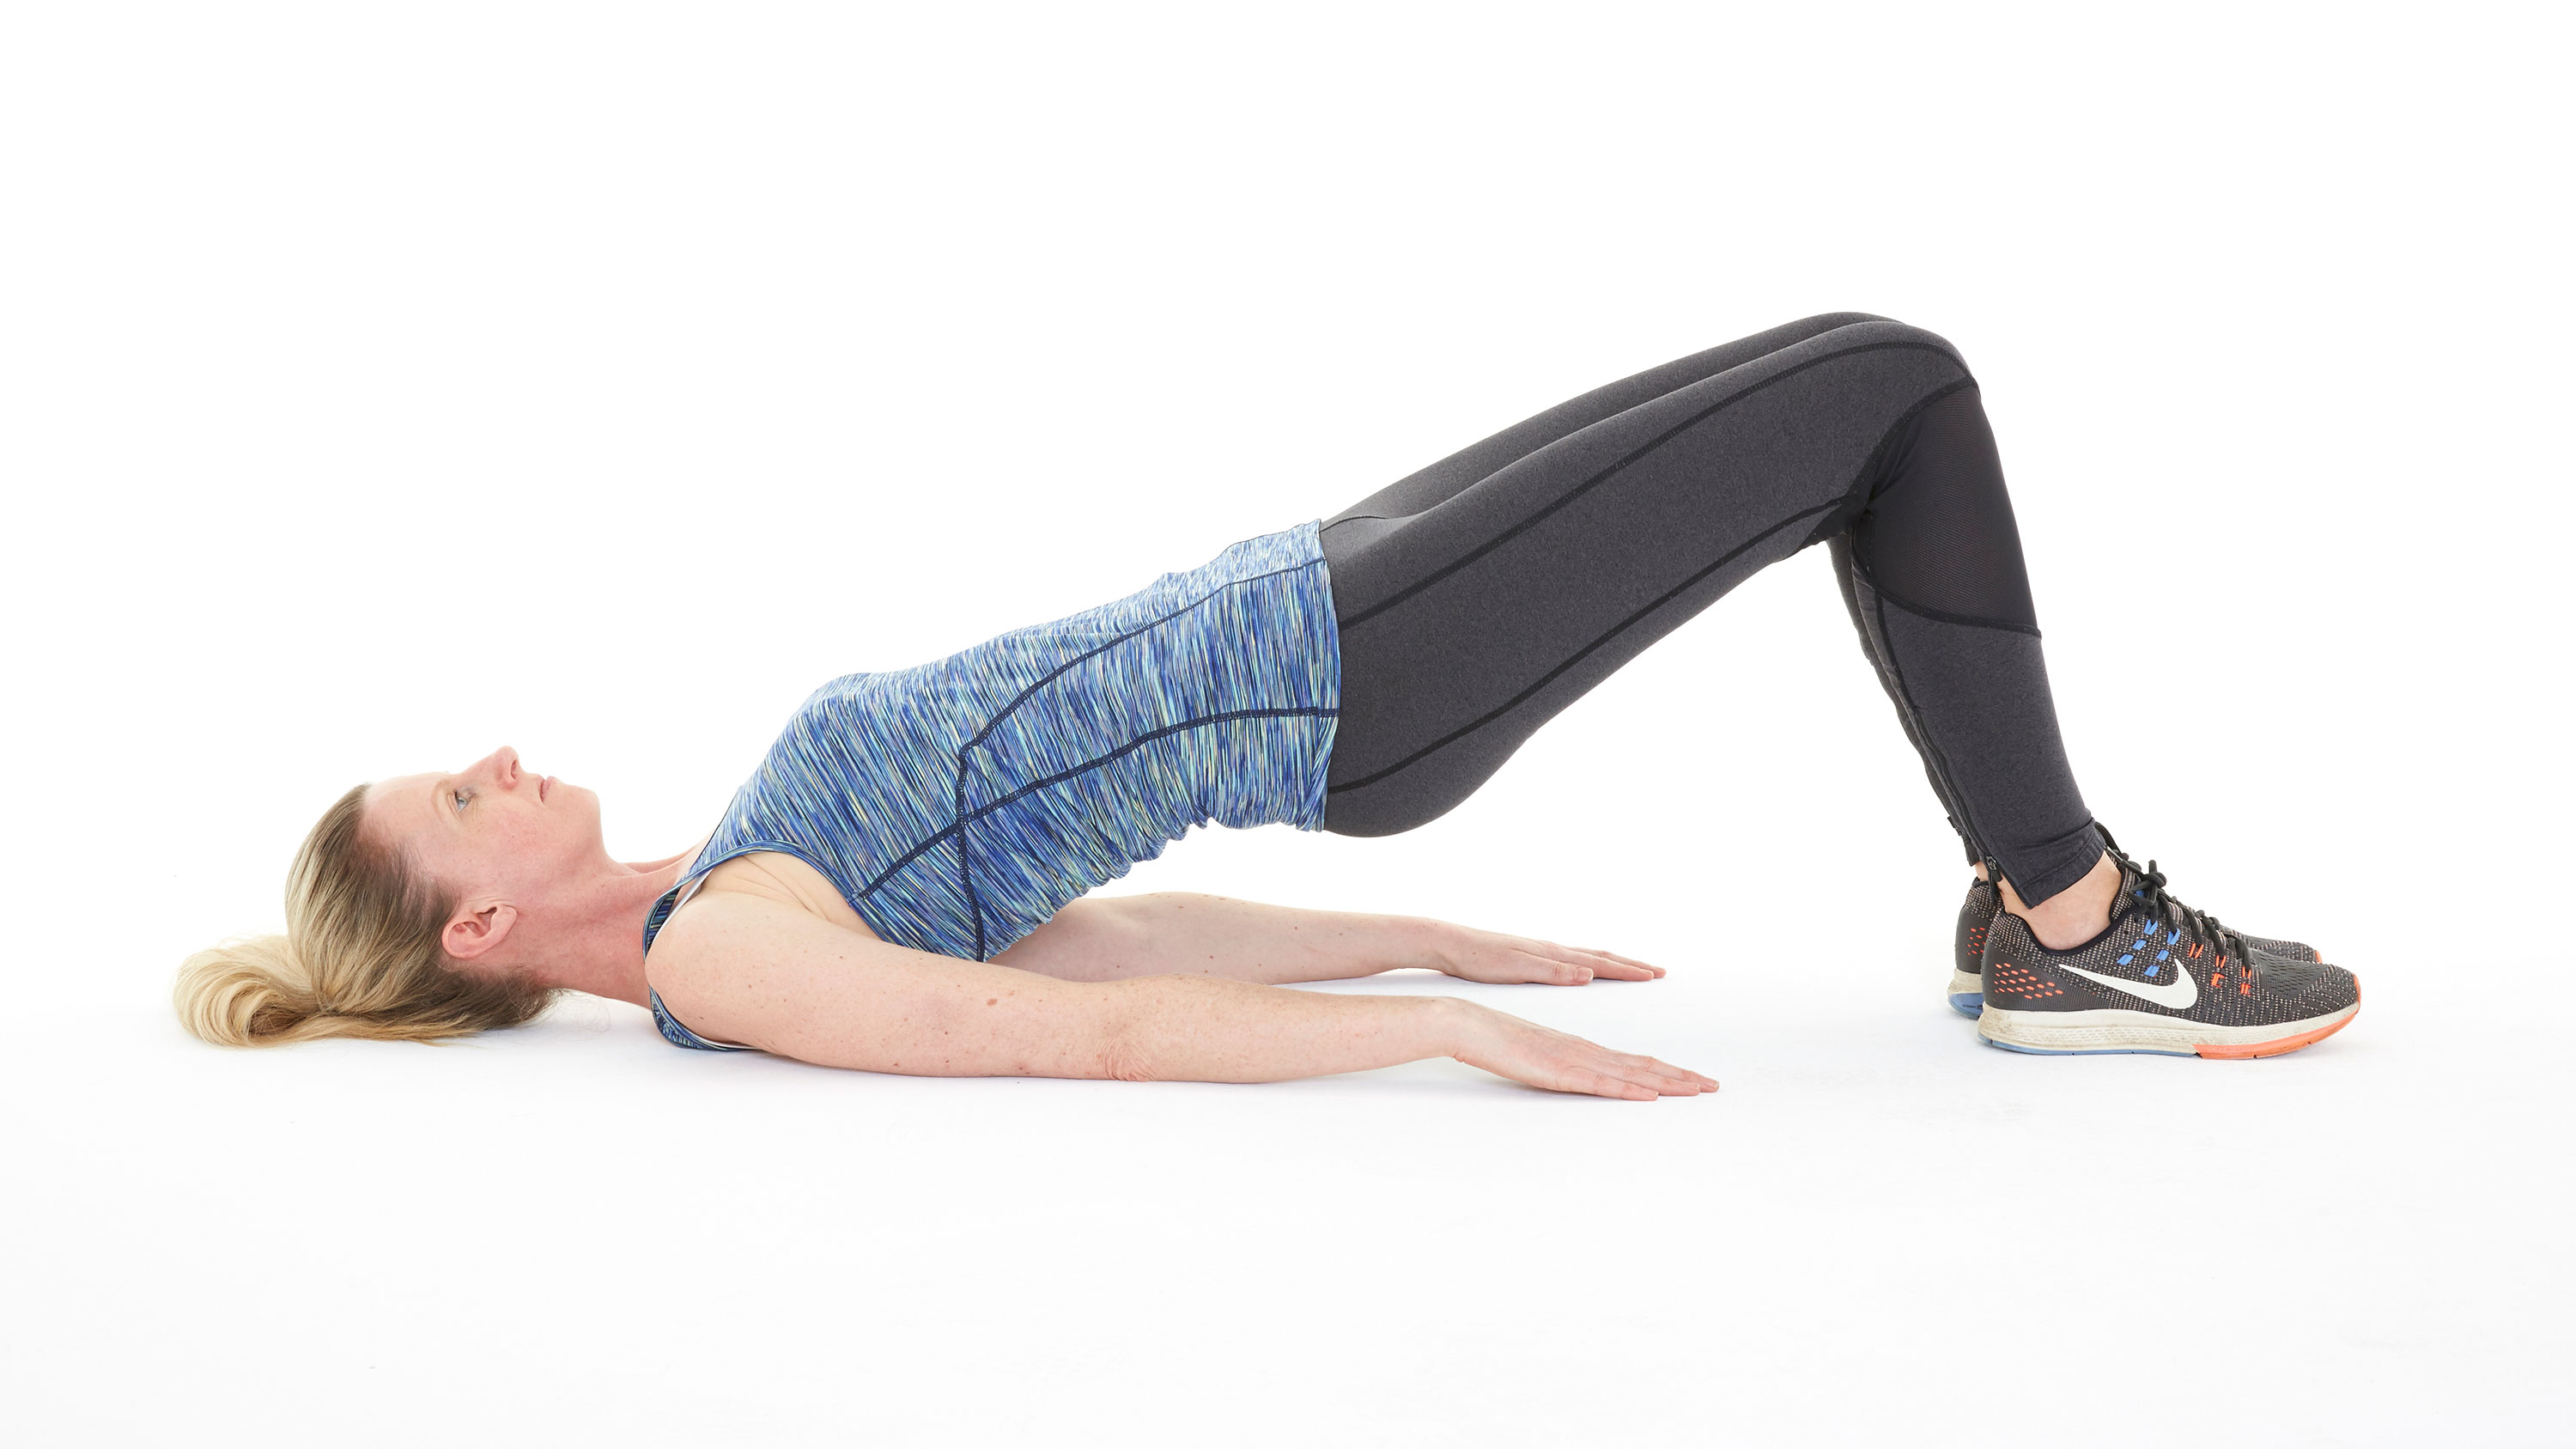
Sitting at a desk all day can often tighten hip flexors and weaken them as well as our glutes. Activating these areas, as well as promoting hip extension will do wonders for our structural health and posture, try the following:
- Begin by lying on your back with your knees bent and hip distance apart, feet forward ever so slightly and hands flat on the floor for extra support.
- Rise up to bridge position with your exhale, ensuring not to rise too high and drop back down gently on your exhale. Repeat 5 times.
Posture exercise 4: A full body activation exercise
A simple but effective exercise that targets three key areas at once. The key to the 'Bear Crawl' exercise is maintaining a neutral spine, which is essential to everyday movement patterns. If we are able to strengthen our core and maintain a neutral spine in our everyday movements, it can be a game changer in helping to prevent lower back pain - amongst a whole host of other benefits.
- Start in a quadruped position, with your knees under your hips and hip distance apart and hands placed directly under the shoulders.
- Engage lats (imagine squeezing your armpits to your hips), brace & lift knees off the floor ever so slightly.
- Back should remain neutral (no extreme arching or bending) and hips as still as possible whilst hovering off the floor, imagine trying to balance a tray on your back. Repeat 10 times - if you want to add this to your workout routine, try doing it for 3 sets.
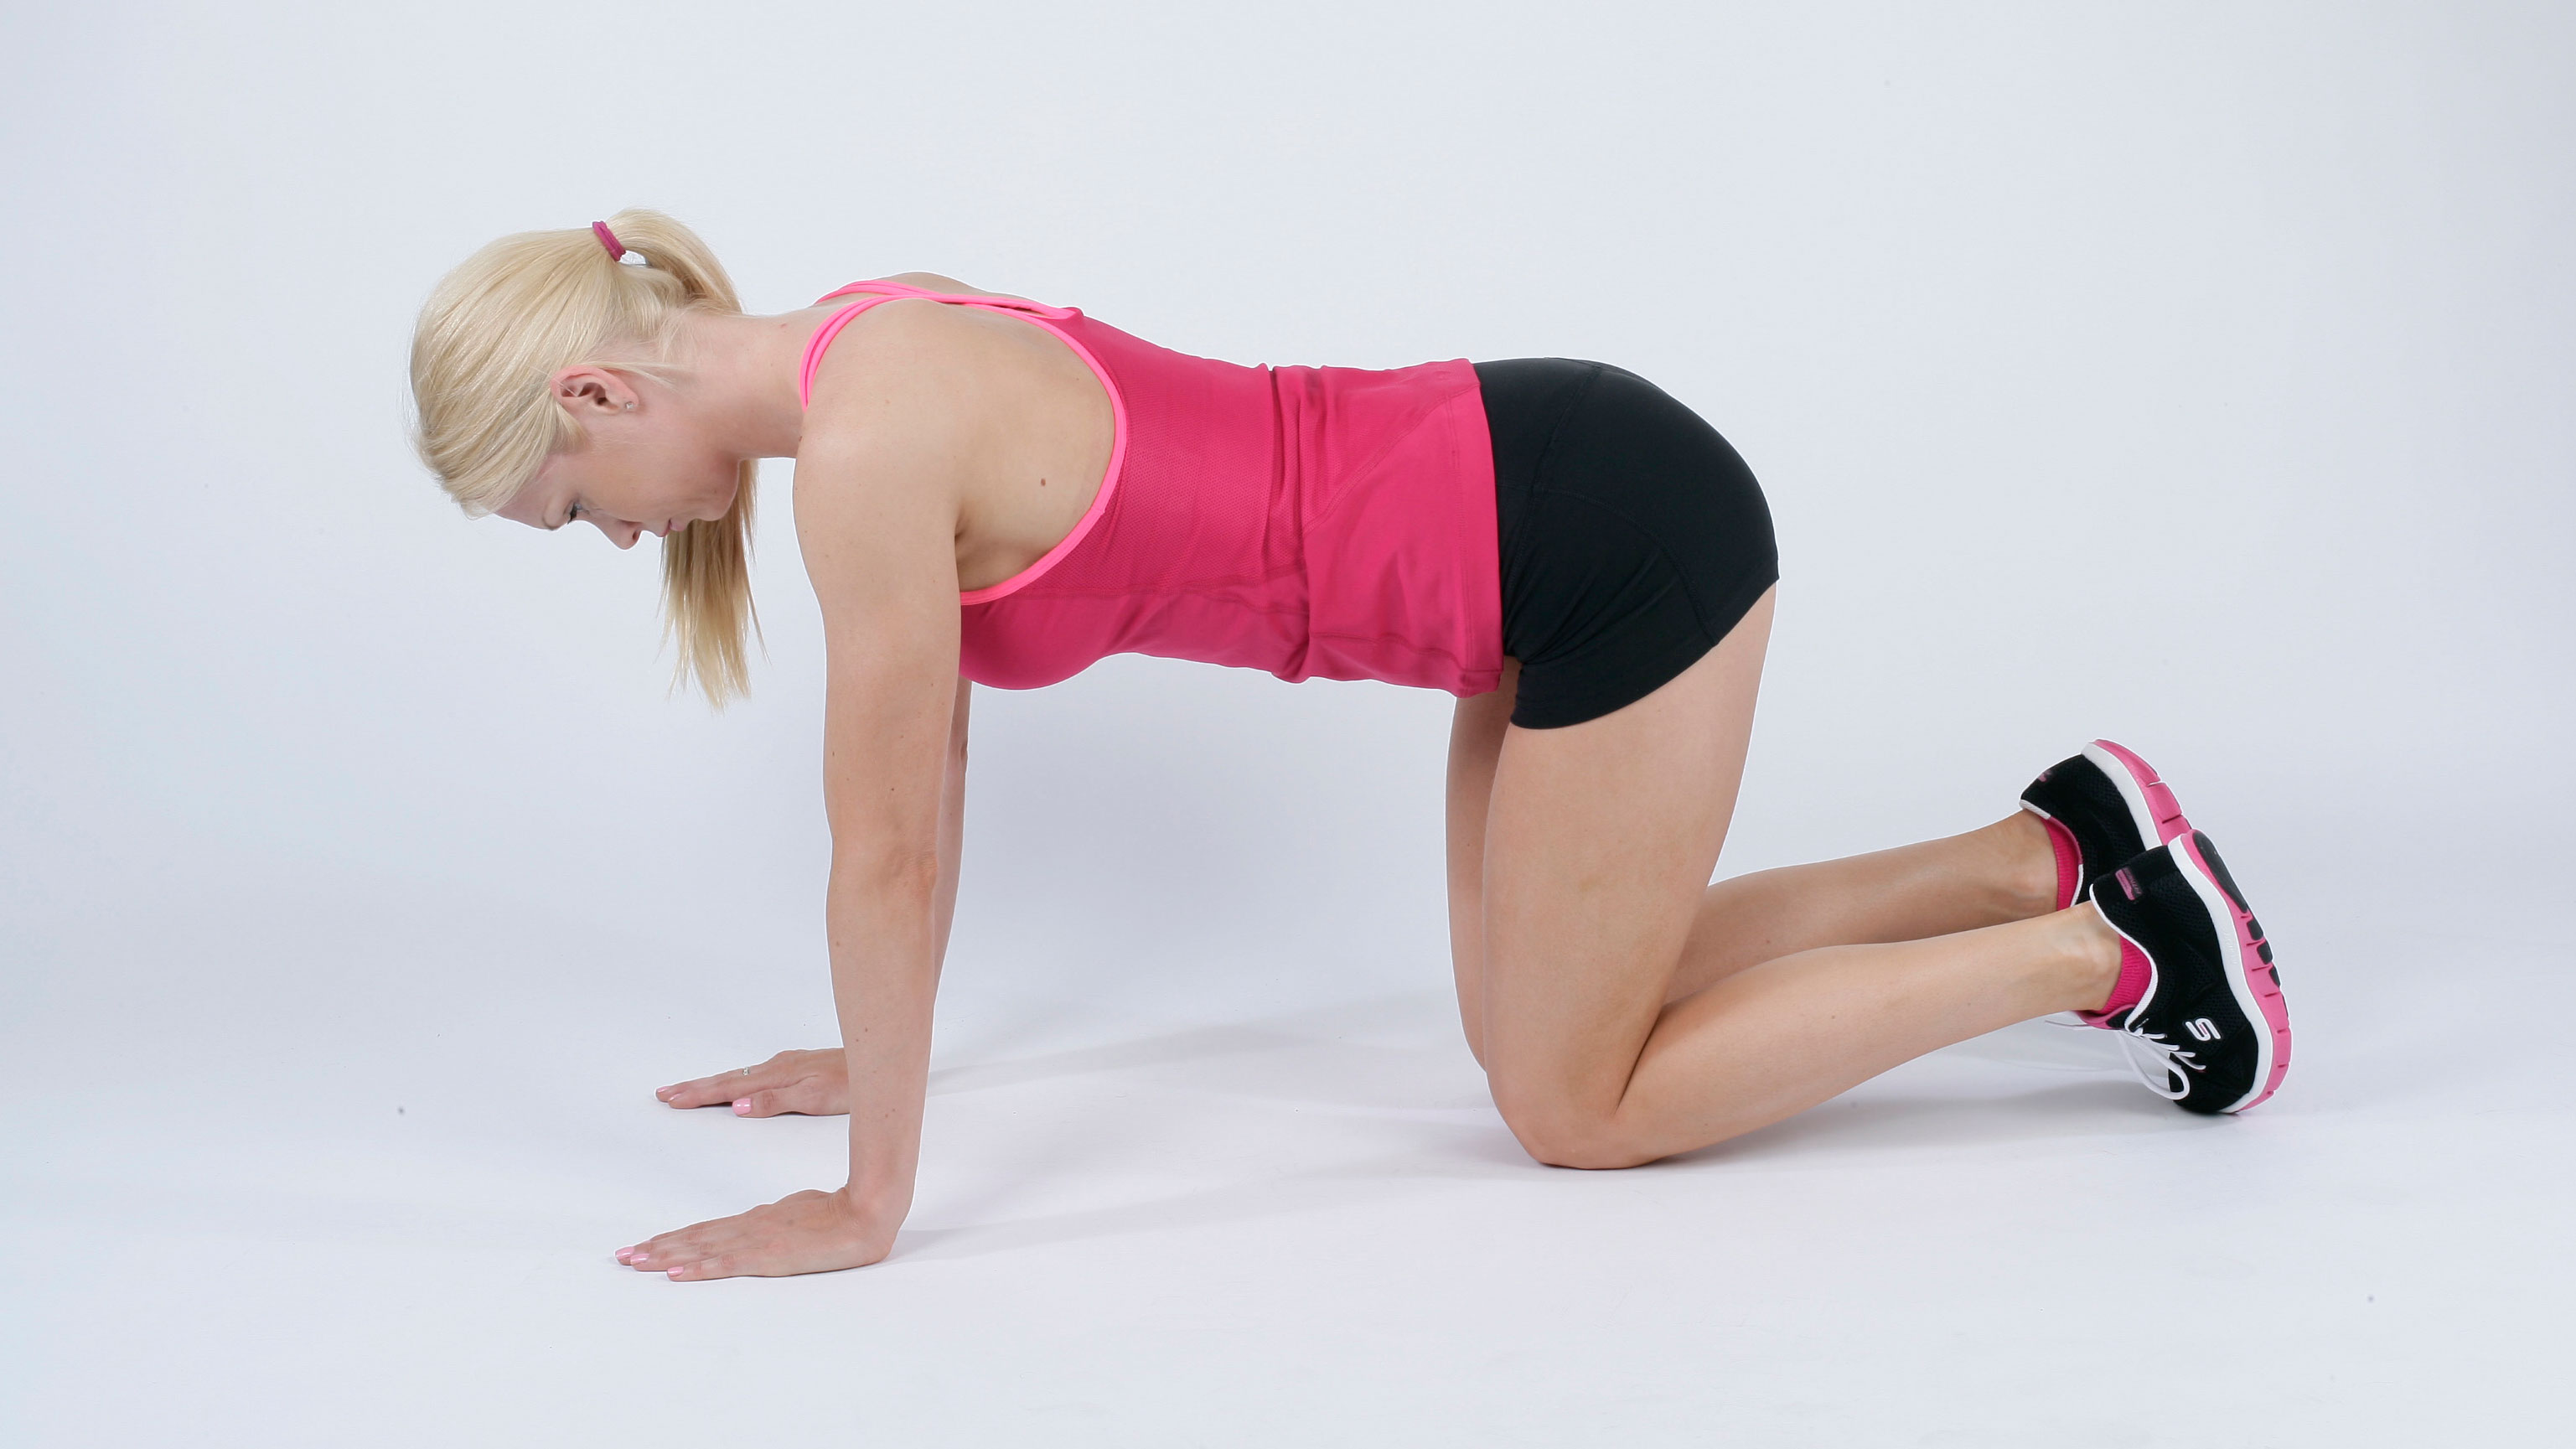
Start in box position, then raise your knees slightly off the ground
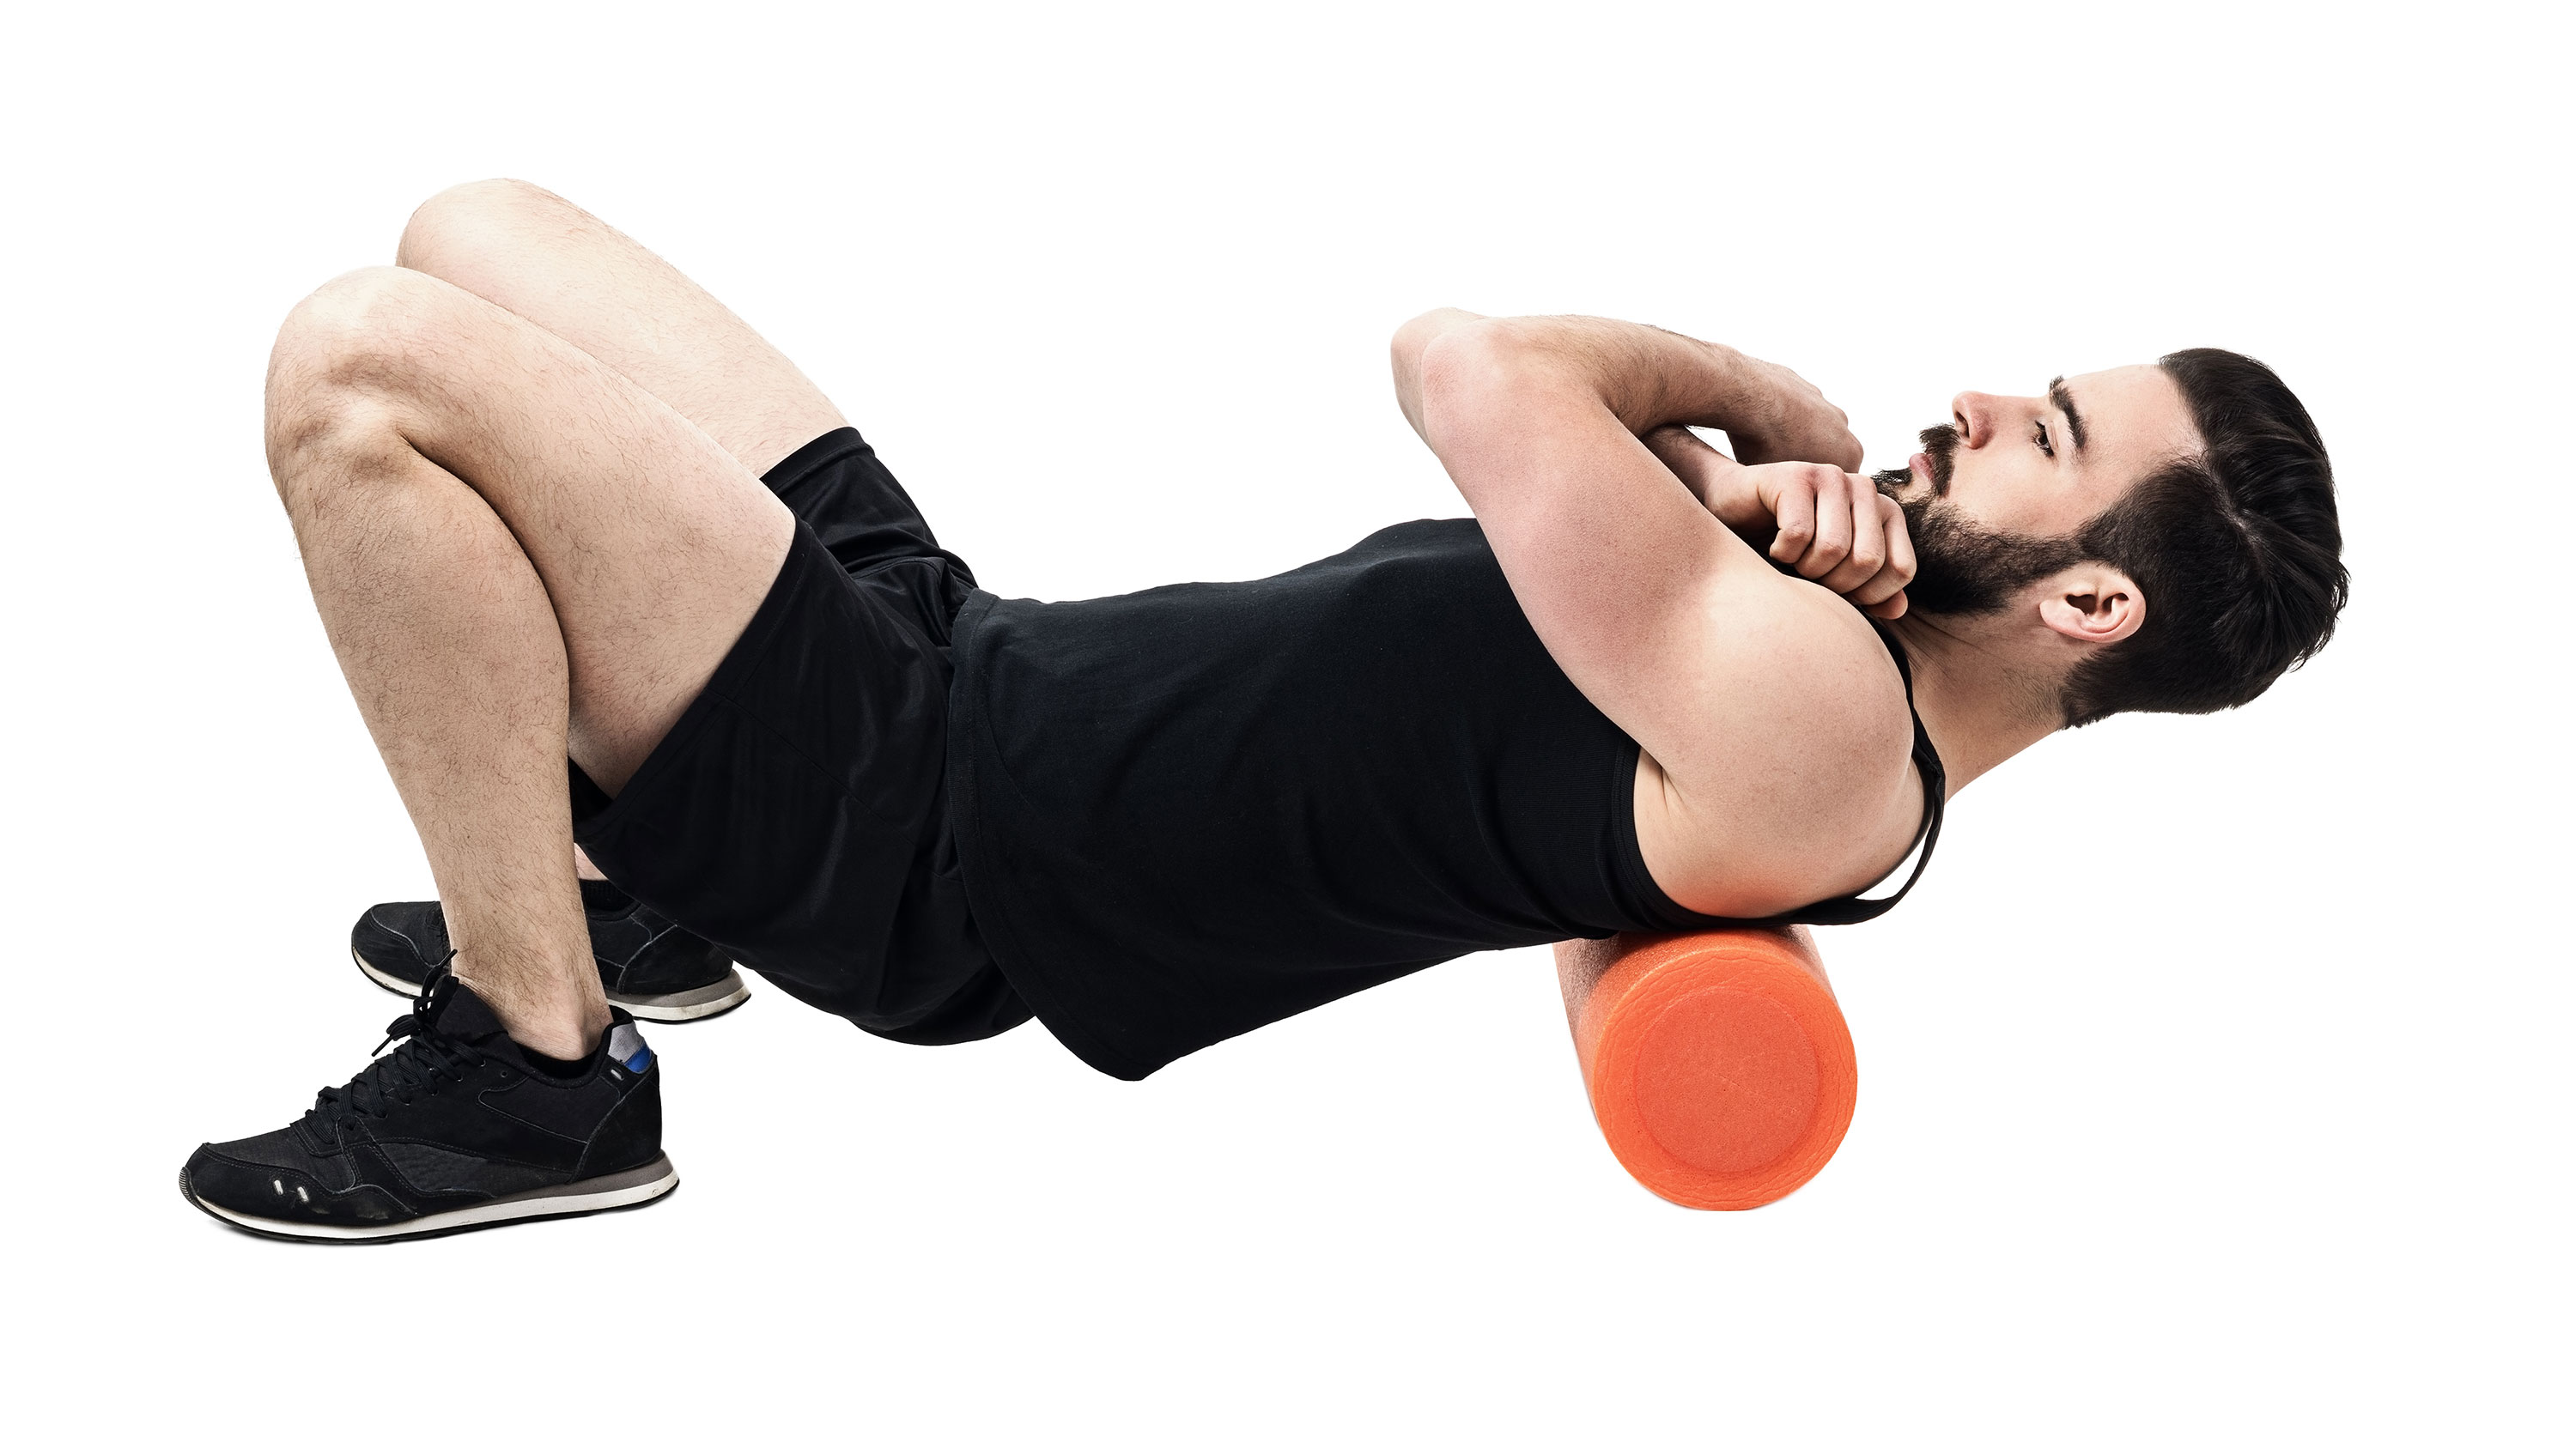
Posture exercise 5: Foam rolling
If you invest in one prop, let it be a foam roller. ‘Foam rolling and trigger point work are both forms of self-fascial release that I recommend to all my clients before and after exercise, or just after a long day,’ says Niki.
’It’s a great way to help break up and ease the kinks that develop between our fascia and muscles. It increases blood flow and helps to restore elasticity in the fascia, enabling better movement patterns.’
Posture exercise 6: The best neck stretch
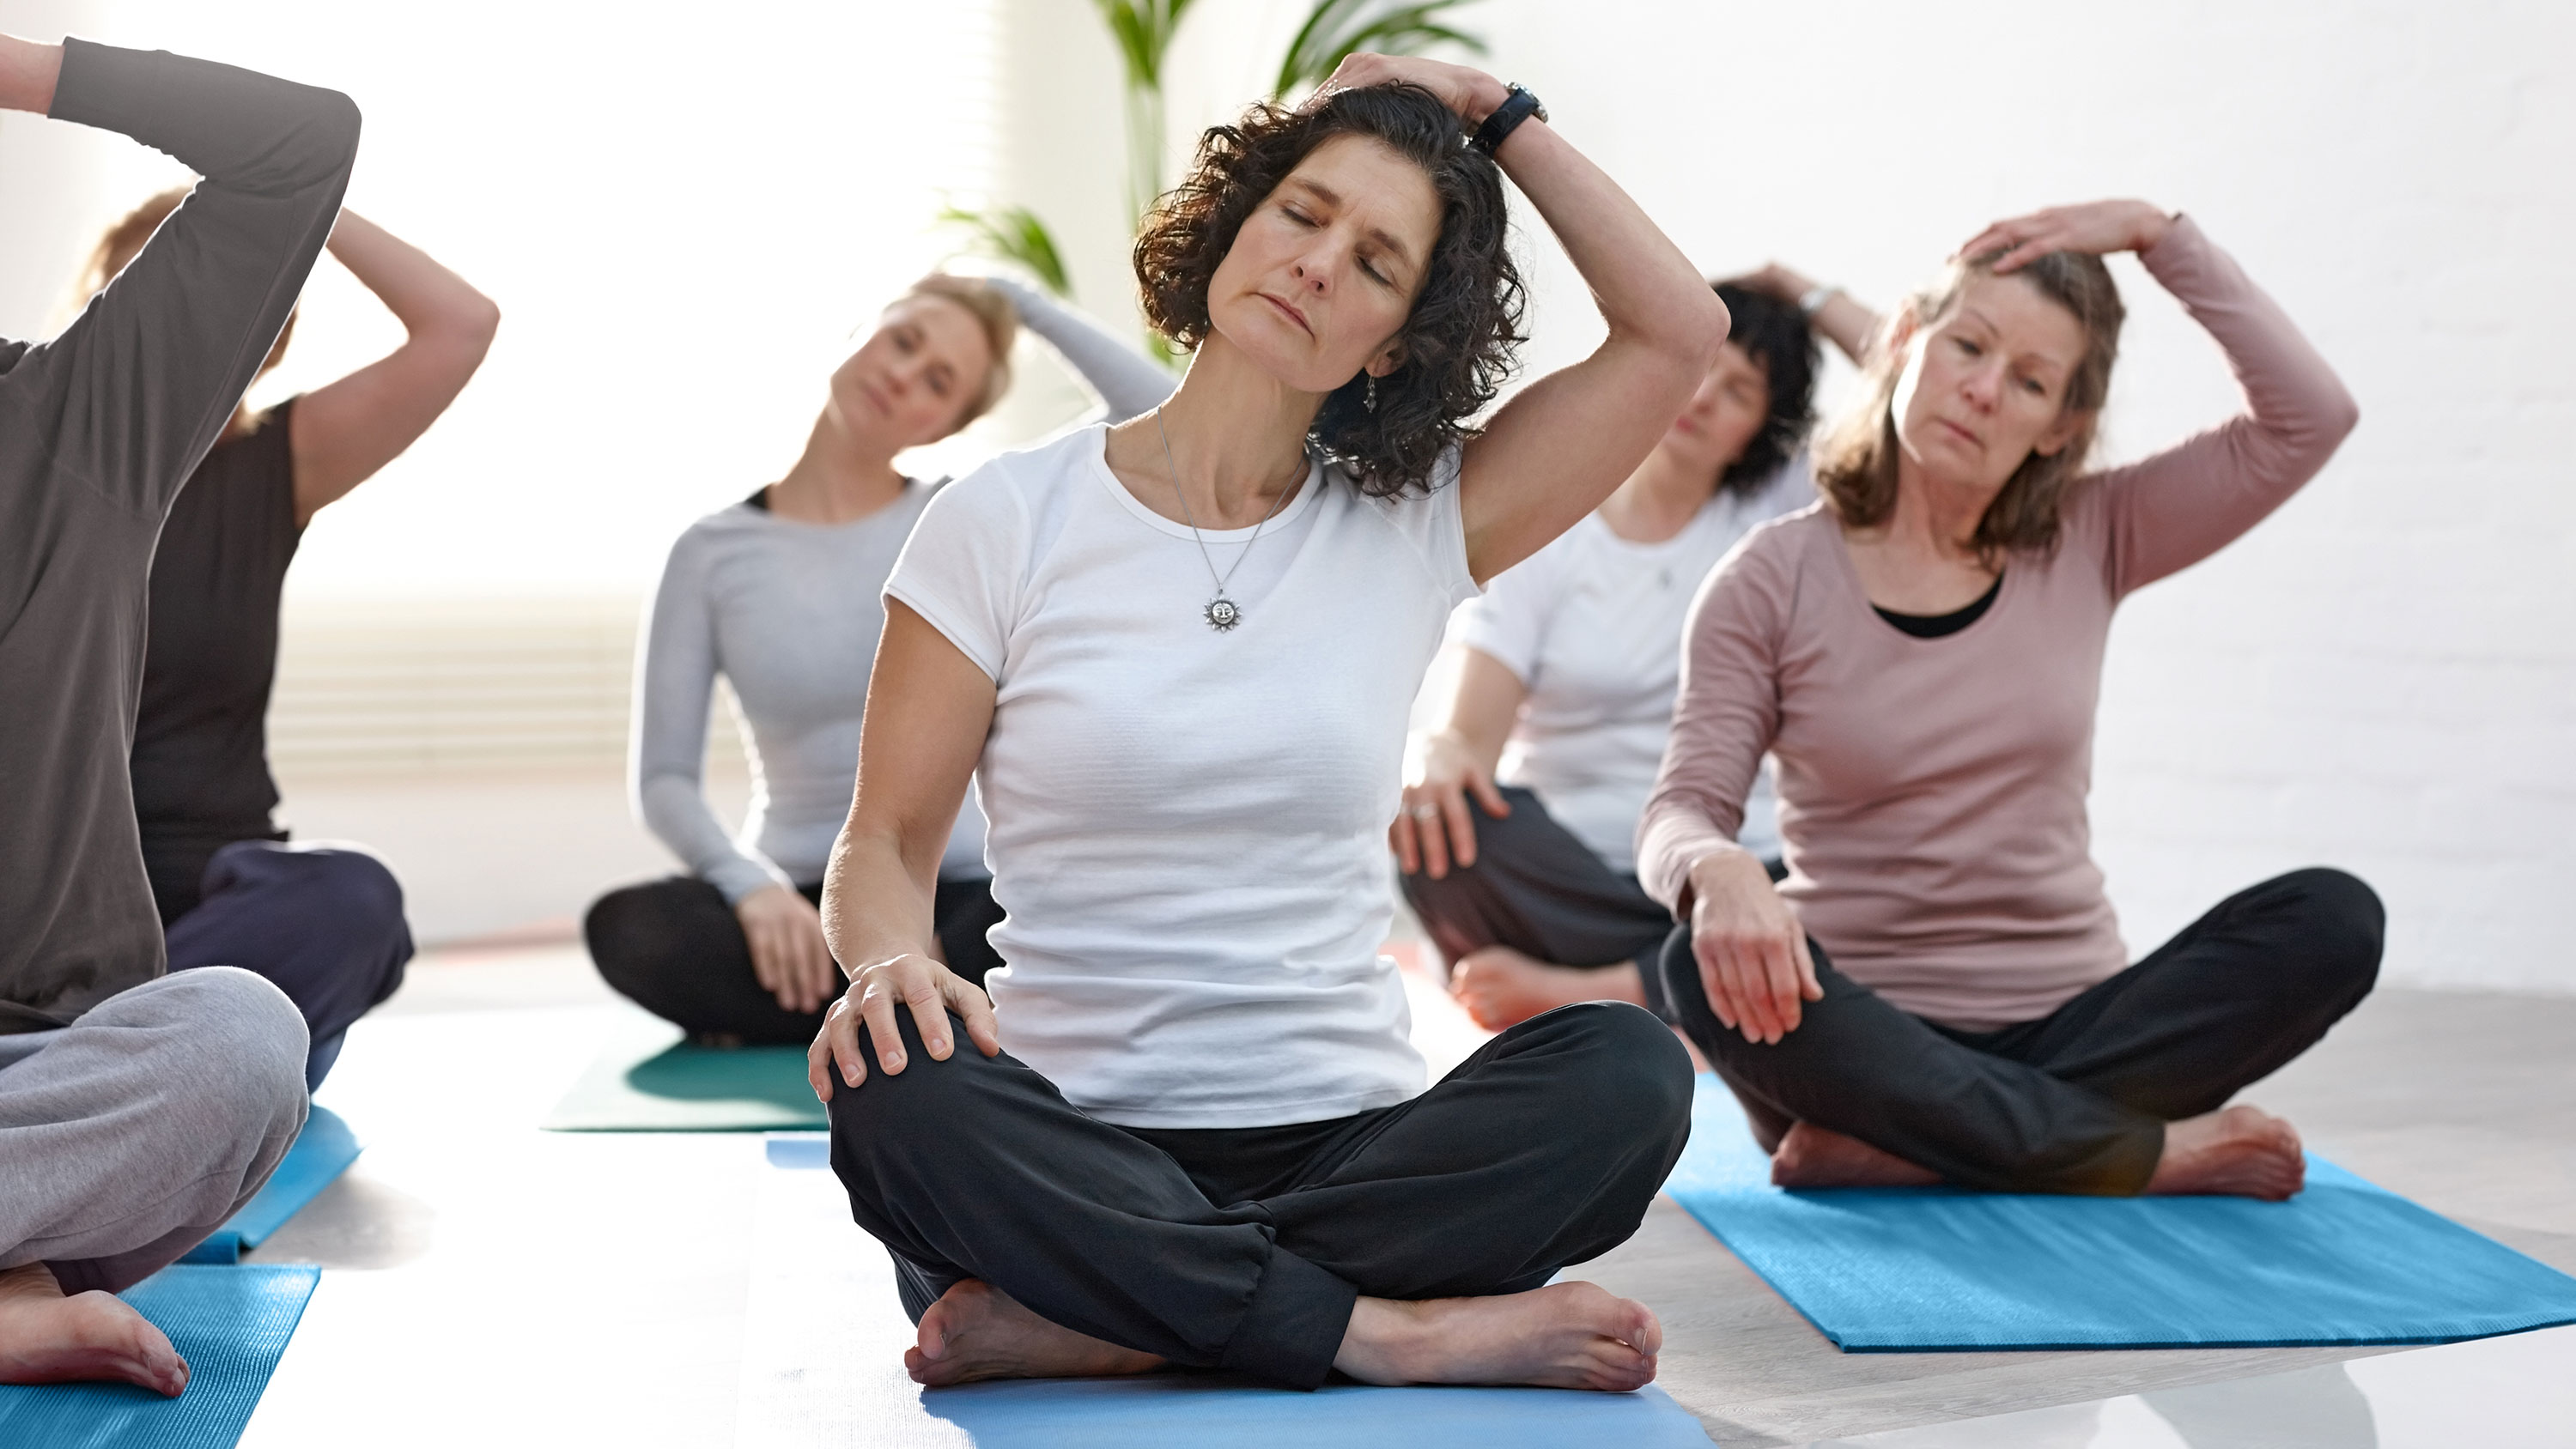
You hold so much tension in your neck and chest area, which impacts your health in more ways than you might think. This neck series will help prevent tension and open the fascia across the front of our necks ensuring you can help maintain good posture and strengthen the neck muscles.

- Sit in a comfortable seated position (cross-legged or kneeling) and start making a gentle assessment of the neck area by gently turning left to right and note any aches or pains from one side to the other. Repeat 4 times.
- See if you can gently look over one shoulder and then the other, ensuring you take your time over each movement to avoid any pain.
- Then, looking straight ahead, gently nod your head down to the floor and back upwards so that you’re looking towards the top of the ceiling.
- Start to draw circles from one side of your shoulder towards the ceiling, gently tilting your head back with your chin raised, and then downwards to the opposite shoulder. Repeat this sequence in each direction 4 times.
- Pick a side of the neck that has slightly less range of movement and then place the soft part of the opposite hand to the side of your neck you are working with on the collarbone area and pin the skin down. Use the other hand on top to anchor that hand down, e.g right hand on left collar bone and vice versa.
- Pin the skin down gently and place the other hand on top, to anchor that hand down.
- Once you have your hands in place take a deep breath in and let the shoulders go up. Then exhale, circle up to the opposite shoulder, inhale and then exhale as you move back the other way, following the same process as step 4 but with the hands pinned. Repeat this sequence twice on each side.
Kirsty is an accomplished journalist specialising in the wellness industry. She has previously written for titles including Grazia, Popsugar, Metro.co.uk, Elle UK and the Sunday Telegraph. You’ll find her running around Windsor Great Park at 6am most mornings (before her toddler, Clementine Lilac, wakes up), followed by a virtual barre class with the team at Psycle London – where that barre burn is just so addictive. Kirsty loves to stock up on new activewear; because, let’s face it, you can never have too many pairs of sculpting leggings. She's always keen to try/endure the latest workouts to come to London. Kirsty also enjoys rustling up nutritious family meals and indulging in her newfound hobby: flower pressing.
