I asked a pelvic physical therapist how to fix my hip pain and her answer surprised me
Stretching your tight hips may not be enough

It’s common to target sore or tight muscles with stretches to help relieve tension.
I do this for chronic soreness in my hips, but it turns out there's a more effective, longer-term solution.
Dr Caroline Packard, a physical therapist and founder of Connect Pelvic Floor Fitness, says stretching may only be a temporary, superficial solution.

“The hips don’t work in isolation. They’re part of the same system as the glutes, deep core, diaphragm and pelvic floor,” she says.
“When that system isn’t coordinating well, the hip muscles often have to work overtime.”
Packard, who is a pelvic floor specialist, tells Fit&Well that hip range of motion is impacted by pelvic position.
“If your pelvis is stuck, it will mechanically limit how far your hip joint can move, regardless of how much you stretch.”
“So the tightness you feel in your hip may not actually be a hip problem. It may be your pelvis blocking access to your range of motion,” she says.
She adds that hip flexor tightness I suffer from may also be due to overwork, which can’t simply be stretched out.
Packard recommends the following five exercises that go beyond stretching to ease hip soreness.
“The goal of this routine is to create space first, then teach your hips to feel supported through breath, better pelvic position, core coordination and glute activation,” she says.
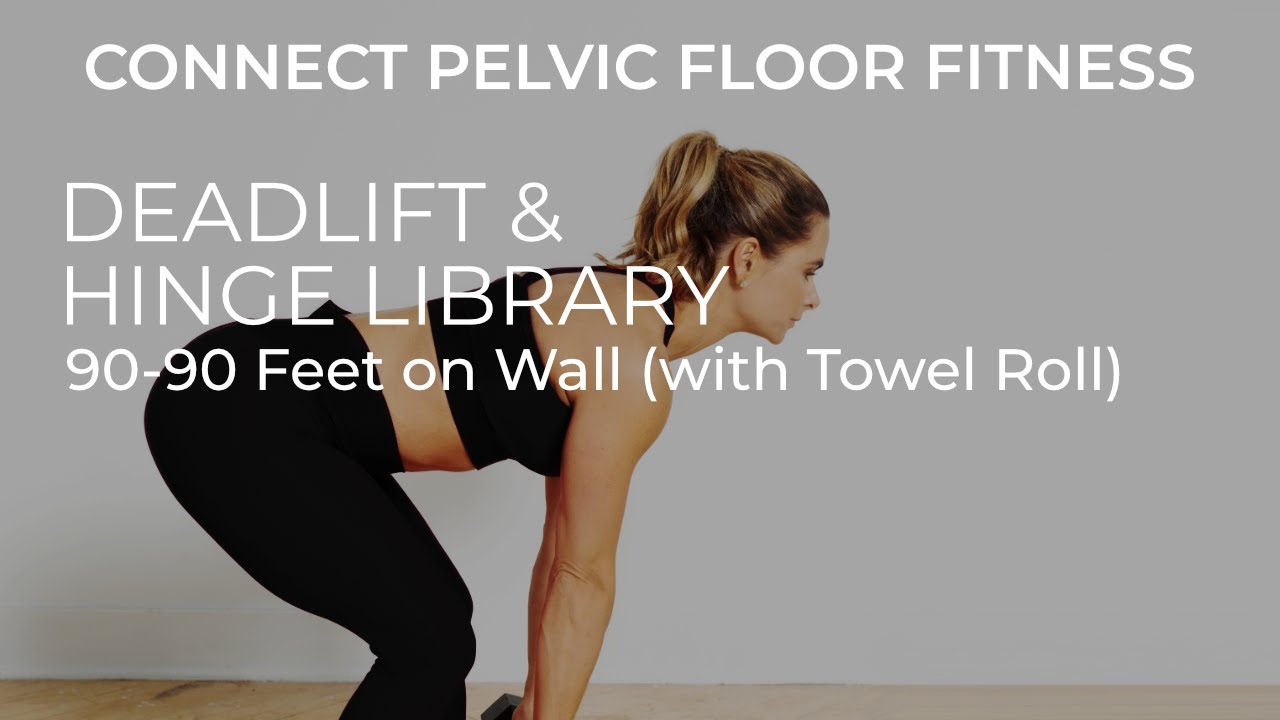
1. 90-90 hip lift
Sets: 2 Hold: 5 breaths Rest: 30sec
What it does: “Before we can ask the hips to move well, we need to address pelvic position first. If the pelvis is stuck—tilted too far forward or not moving freely—it will mechanically limit available hip range of motion regardless of how much stretching you do,” says Packard.
“It’s a reset, not a traditional core exercise and it’s why the rest of this routine works better when you start here.”
She explains that this position helps bring the pelvis into a more neutral position, aligns your ribs with your pelvis, and gently activates your hamstrings and deep core.
“When those pieces are in place, your hip flexors don't have to grip for stability anymore, and your hips suddenly have access to a range of motion that was being blocked.”
How to do it:
- Lie on your back with a wall in front of you.
- Bend your knees to 90° and raise them so they are over your hips.
- Shuffle forward so your feet are flat on the wall.
- Support yourself with folded towels under your head, shoulder blades and lower back.
- Place a small Pilates ball between your knees to prevent your knees from falling outward.
- Press your heels into the wall, feeling the tops of your hamstrings engage.
- Let your ribs soften down toward the floor without excessively crunching your abdominals.
- Inhale through your nose and feel the breath expand into the back of your ribs.
- Exhale slowly through your mouth and feel your ribs settle down and your lower belly gently draw in.
Form tips:
- Keep your glutes relaxed throughout.
- This is not a bridge or difficult core exercise.
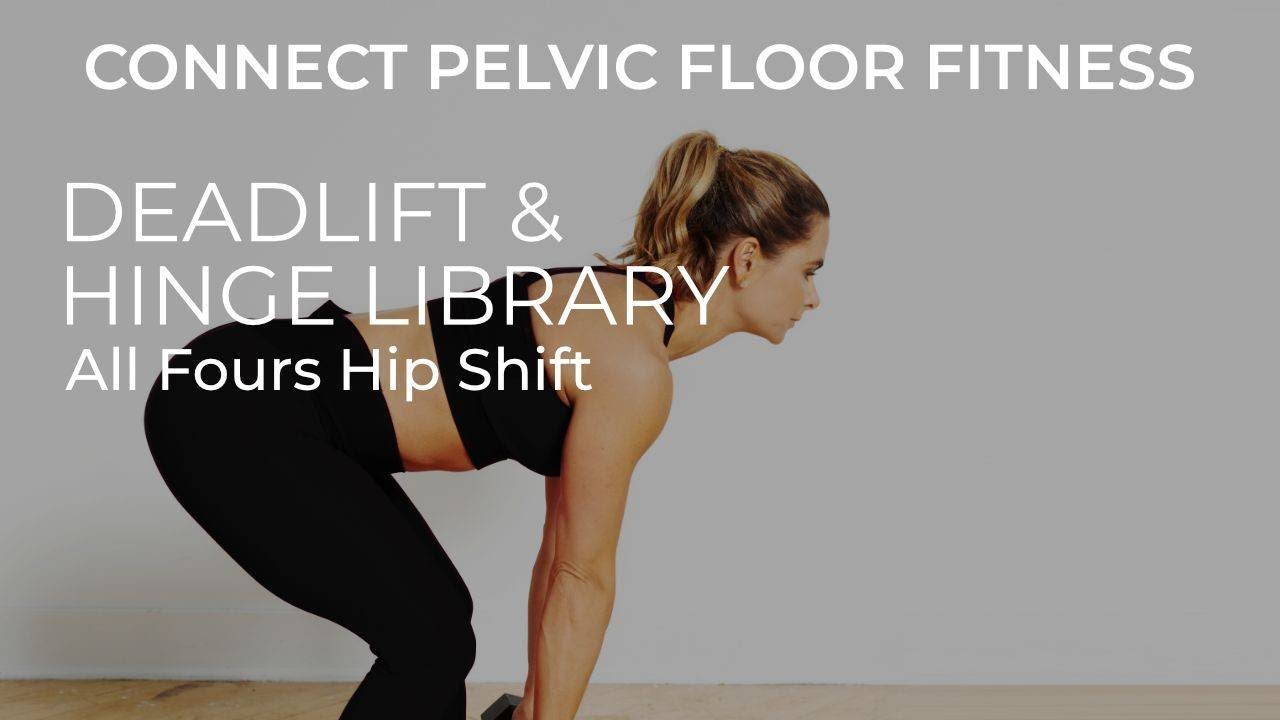
2. All-fours hip shift
Sets: 2 Hold: 5-8 breaths Rest: 20-30sec
What it does: “Once your pelvis is in a better position from the first exercise, we can start asking the hip joint itself to open,” says Packard.
“This exercise helps the ball of the ball-and-socket joint slide back into the hip capsule, which opens the back of the hip. Most stretches miss this entirely because they pull on the surrounding muscles without addressing what's happening inside the joint itself.”
How to do it:
- Start on your hands and knees with a yoga block placed under one knee, aligned under your hip.
- Gently press your elevated knee into the block and hold that gentle pressure throughout the movement.
- Inhale deeply through your nose and out through your mouth five to eight times.
- Repeat on the other side.
Form tips:
- Keep your pelvis neutral, avoiding tilting it forward or tucking it under.
- Keep your non-elevated hip relaxed.
- The downward pressure from your knee encourages the head of the femur to glide back into the hip socket so you are not forcing a stretch, but creating space.
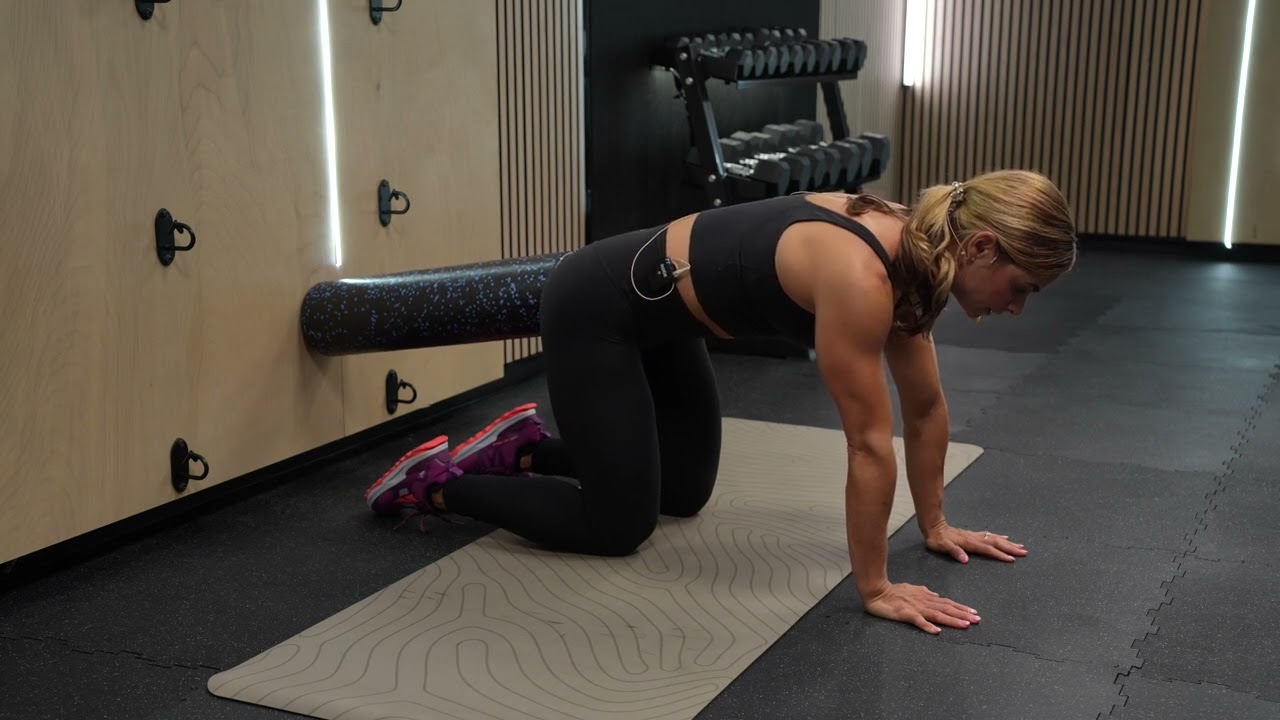
3. Hands and knees pelvic tilt
Sets: 2 Reps: 6-8 Rest: 30sec
What it does: “Your pelvis needs to move freely in both directions for your hips to function well,” says Packard.
“When your pelvis is stuck, either gripped forward or locked in a tuck, your hip joint pays the price.
“This exercise isolates pelvic movement specifically, without the rest of the spine taking over. The result is genuine mobility through the base of your spine and tailbone area, rather than just the upper and mid back moving.”
How to do it:
- Start on your hands and knees with your toes against a wall. Ensure your shoulders are over your wrists and your hips are over your knees.
- Gently push the floor away with your toes and hands, feeling your hamstrings lightly engage and your ribcage shift toward your shoulder blades.
- Keeping your upper body and ribs stable, gently rock your pelvis forward so your lower back gently arches.
- Take a full, slow inhale and exhale here, then tuck your pelvis under, rounding your spine upward.
- Move slowly between the two positions aligned with your breath.
Form tips:
- The wall gives your hamstrings something to work against, which keeps your lower back stable and forces the movement to come purely from the pelvis.
- The range of motion should be small and controlled in your pelvis, tailbone area and base of your spine, without moving your back. If your ribcage tilts with your pelvis, you are moving too much.
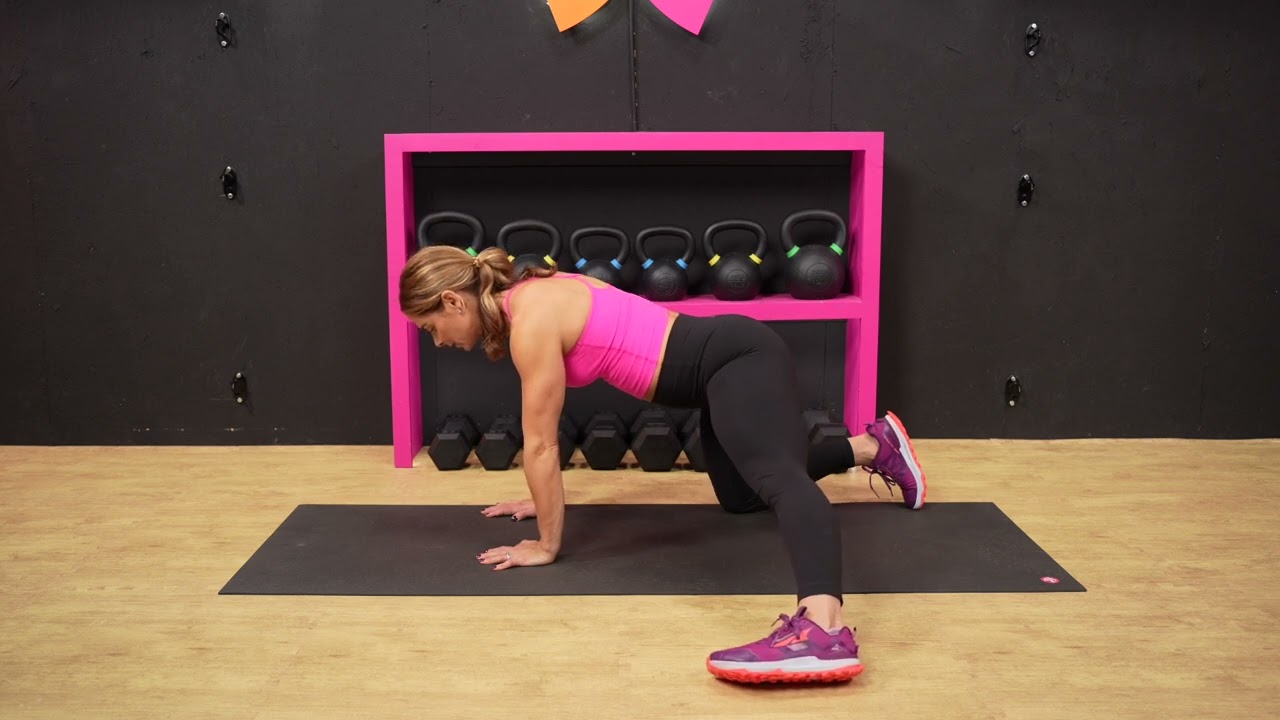
4. Adductor rock back
Sets: 2 Reps: 6-8 each side Rest: 20-30sec
What it does: “Your inner thigh muscles [adductors] attach directly to your pelvis and play a bigger role in hip mobility than most people realize,” says Packard.
“When they’re restricted, they pull on your pelvis and limit how freely your hip can move, particularly into external rotation and abduction.
“This exercise opens your inner thigh and groin while encouraging your sit bones to spread and the hip to rotate outward to gain more movement that the previous exercises have been building toward.
“It also reinforces the neutral pelvis position we’ve been working on throughout the routine.”
How to do it:
- Start on your hands and knees with your shoulders over your wrists and your hips over your knees.
- Extend one leg out to your side in line with your hip, keeping your toes pointing forward and the inner side of your foot on the floor, without rotating it.
- Maintain a neutral spine and inhale, using your arms to help you slowly shift your hips backward, feeling a stretch in the inner thigh of your extended leg.
- Exhale as you return to the starting position.
- Do all your reps on one side, then switch sides.
Form tip:
- Move slowly and with control—these are small movements.
- If you feel pinching at the front of your hip in the starting position, angle your leg slightly back until there’s no discomfort.
- Avoid your pelvis tucking under as you rock back. If this happens, you've gone too far back.
5. Hip shift variations
Sets: 2 Reps: 6-8 each side Rest: 20-30sec
What it does: “This is where everything comes together. The first four exercises created space in your hip joint, freed up the pelvis, opened the inner thigh and posterior hip, and established a neutral pelvic position. This exercise takes all of that and puts it into motion,” says Packard.
“The hip shift moves your thigh bone gently within the hip socket from side to side, which naturally creates alternating internal and external rotation at the hip joint. This is the same motion the hip uses constantly in daily life when walking, climbing stairs or stepping off a curb.”
“There are three positions here, so you can start where your body is today and progress as your hips open up.”
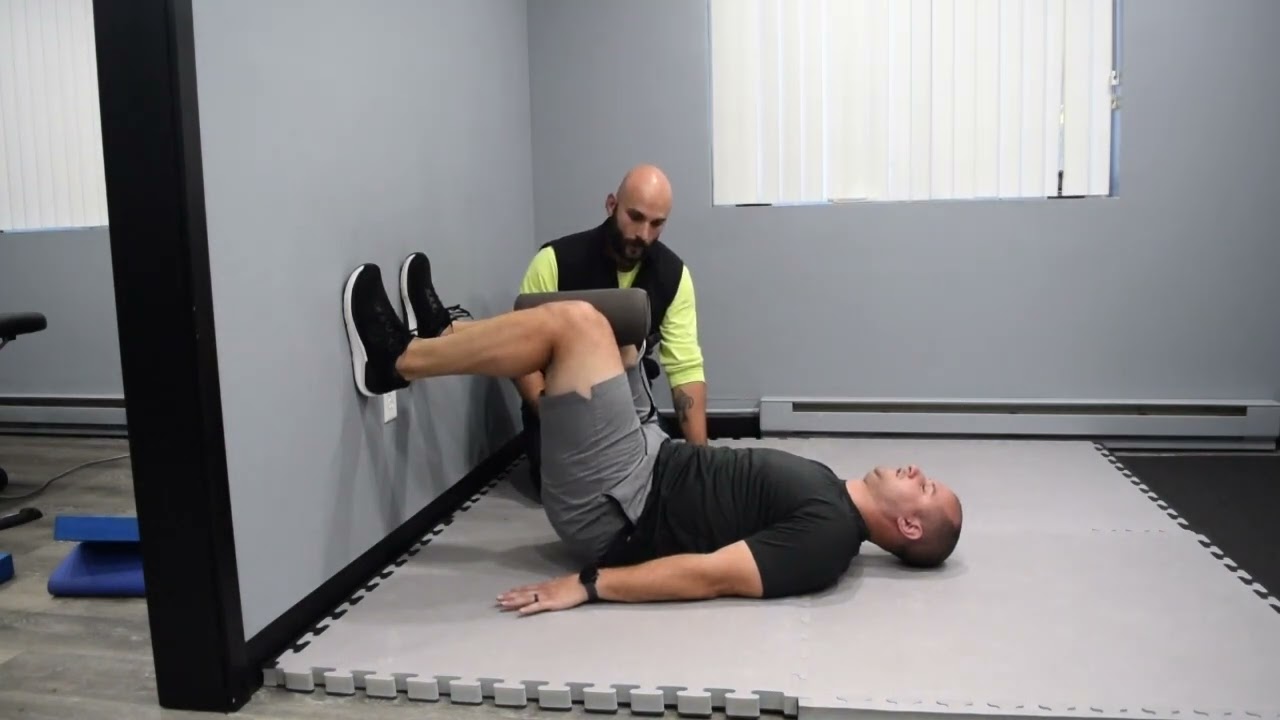
5a. Side-lying hip shift
This option is the easiest entry point for beginners.
How to do it:
- Lie on your side with a wall in front of your feet.
- Bend your knees and hips to 90° with a small ball or foam roller between your knees and your feet flat on the wall.
- Inhale as you lightly press your top knee into the ball and shift your hips back, internally rotating slightly.
- Pause and take a full inhale, keeping your pelvis neutral.
- Exhale as you roll your top knee forward, opening your top hip into a more externally rotated position.
- Complete all reps on one side then switch sides.
Form tips:
- Move slowly and with control focusing on rolling your pelvis not your back.
- If your hips pinch in a 90° angle, widen the angle slightly.
5b. 90-90 seated hip shift
Progress to this option when you are confident with the side-lying hip shift.
How to do it:
- Lie on your back with a wall in front of you.
- Bend your knees to 90° and raise them so they are over your hips.
- Shuffle forward so your feet are flat on the wall.
- Support yourself with folded towels under your head, shoulder blades and lower back.
- Place a small Pilates ball between your knees to prevent your knees from falling outward.
- Without moving your feet, use downward pressure in your heels to isometrically activate your hamstrings and pull your pelvis back.
- Squeeze your knees into the ball as you take a full inhale.
- Exhale to shift one knee forward so the opposite hip drags back, allowing the hip joint to move freely in the socket.
- Repeat on the other side, alternating sides with each rep.
Form tips:
- Aim for fluid and continuous movement in the hip joint socket.
- Alternate between external and internal rotation with each movement.
- Think of the knees as scissoring forward and back.
5c. Half-kneeling hip shift
This position is closest to real-life demand, as it is a single-leg loaded position.
- Start in a half-kneeling position with your left knee on the floor and your right foot forward with both knees bent at 90°.
- Inhale as you shift your right leg back into the hip socket, reaching your left arm toward your right leg to open the back of your hip. Pause here and inhale deeply.
- Exhale as you shift forward, letting your hip open and inner thigh lengthen as you reach your right arm forward.
- Complete all reps on one side, then switch sides.
Form tips:
- Keep your pelvis neutral and your spine straight.

Packard is a board-certified doctor of physical therapy, certified yoga instructor, lifelong athlete, and founder of Connect Pelvic Floor Fitness, an online platform combining pelvic floor education with progressive strength training for women. She has more than 15 years of clinical experience and has helped over 100,000 women address pelvic floor dysfunction and rebuild functional strength.
