




Correctly performing the movement pattern of an exercise is important for ensuring you don’t injure yourself, but it’s also crucial for getting the benefit from the exercise.
“Sometimes, people believe that Pilates is simply too easy, but often, with a simple tweak to an exercise, we suddenly feel the whole exercise change—and we notice we are working much harder,” Helen O’Leary, Pilates instructor at Complete Pilates.
“There are certain ways of doing exercises that might mean you move a little more efficiently, or with less pain, or you just get more out of doing an exercise.”
That’s why in-person instruction can be so valuable, because a trained practitioner can spot a mistake and make the right correction.
But with so many of us practicing at home using follow-along videos, I asked O’Leary to pick the five Pilates exercises that she sees people struggle the most with. As well as detailed instructions on how to do them properly, O’Leary explains the biggest mistakes most people make with each move, so you can avoid making the same errors.
1. Femur arc
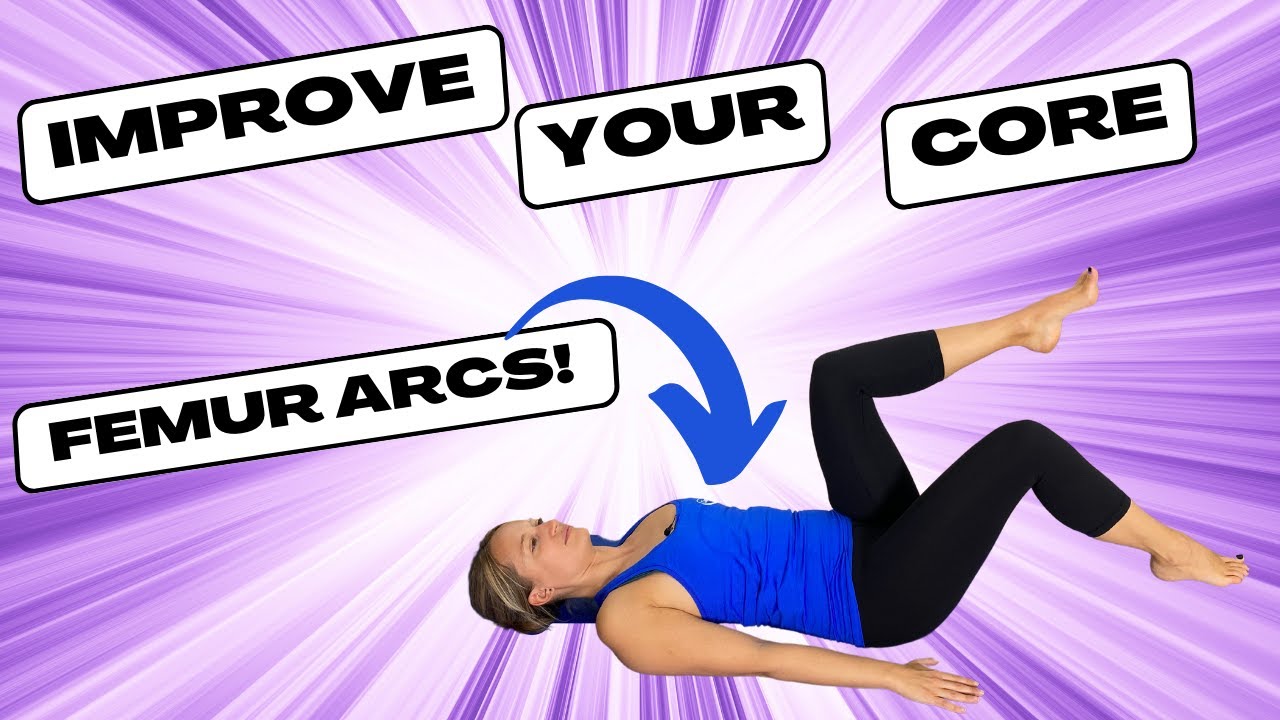
Set: 1 Reps: 5 each side
How to do it:
- Lie on your back with your feet flat on the floor.
- Slowly lift one leg, keeping your knee bent, until your knee is directly above the hip and your shin is parallel to the floor.
- Repeat the movement with your other leg—this is called the double tabletop position.
- Slowly lower one leg, keeping your knee bent, until your toes tap the floor.
- Lift your leg back up to tabletop position.
- Repeat on the other side, alternating sides with each rep.
The most common mistake to avoid:
“Holding the breath,” says O'Leary. “Ever wondered why fitness instructors of all types are always telling you to breathe? Well, one of the reasons is that we can use breath holding instead of using our abdominal muscles. When you breathe in and hold it, the positive pressure in your lungs creates rigidity in your torso, which feels like stability, but is not the same thing.
“This type of pressure, if habitually overused, can create a lot of stress on your abdominal wall and your pelvic floor, so it could potentially aggravate problems such as hernias and piles. Instead, if you exhale, whilst lowering your legs in the exercise, your deep abdominals engage and your stomach slightly draws in, and this creates stability and strength but without rigidity.”
2. Chest lift
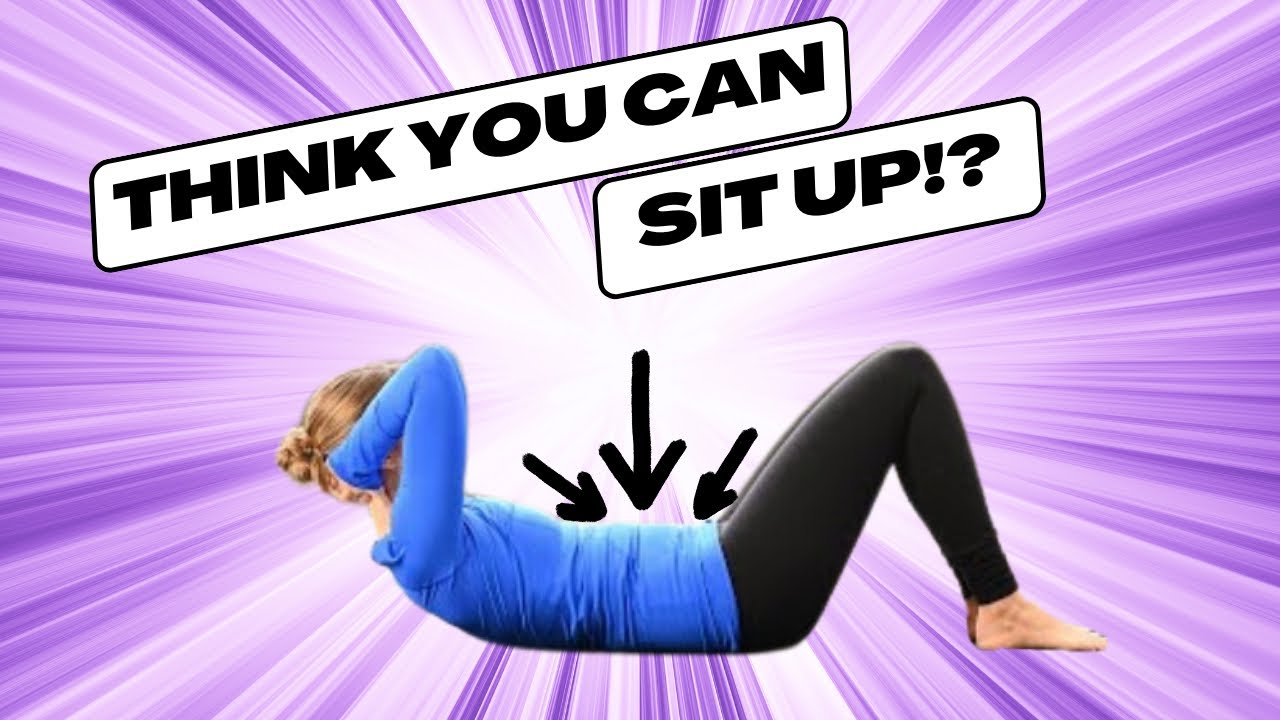
Set: 1 Reps: 5
How to do it:
- Lie on your back with your feet flat on the floor.
- Place your hands behind your head with your elbows pointing out to the sides.
- Curl your spine up, starting from your neck, lifting your head until your shoulders blades come off the floor, directing your gaze to your belly button.
- Hold for a few seconds and then slowly reverse the movement to the starting position.
The most common mistake to avoid:
“Pulling on the neck,” says O’Leary. “This goes for any exercise that is a form of crunch or curl up. When we are not able to curl the upper body effectively away from the floor, the next easiest thing that we can do is simply nod the head forward more—and many people then pull on the head in an effort to get higher.
“Unfortunately, this doesn’t really work the abs. Our top tip for getting a good curl is to think about lengthening the back of the neck and creating space between the chin and the chest. If you gently press your hands into your head, at the same time as pressing the back of your head into your hands, this will keep this position really stable.
“Take a breath in, and as you exhale, your front ribs will start to sink. Gently allow your elbows to reach forward; this will help to curl your upper body while keeping length through the upper body.”
3. Glute bridge
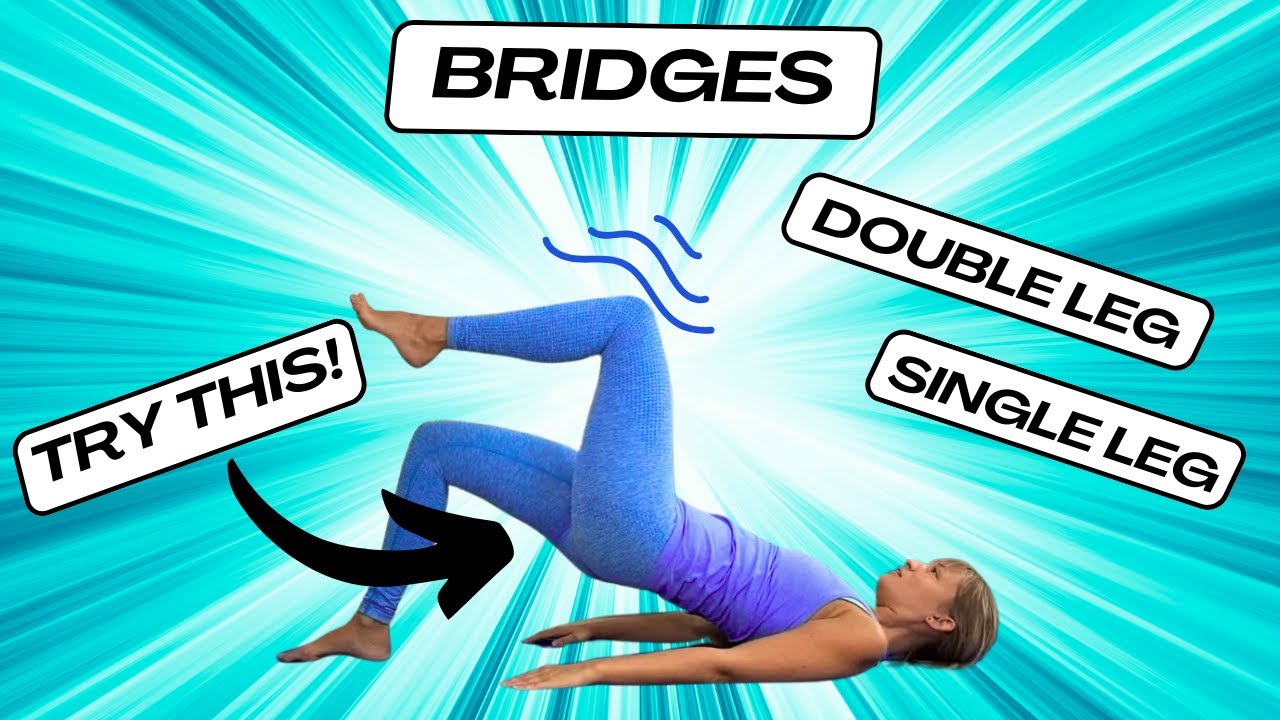
Set: 1 Reps: 12
How to do it:
- Lie on your back, with your legs bent and feet flat on the floor. Bring your heels as close to your bottom as you comfortably can.
- Place your hands on the floor next to your body. Reach your fingertips down towards the heels, as if you were trying to touch them.
- Press your feet into the floor to lift your hips. As you do so, try to push the knees forward.
- Take a breath in at the top, ensuring your back is flat and your body is in a straight line from your shoulders to your knees.
- Start to breathe out, making a sighing sound, as you lower your body. The sighing helps you to effectively breathe out, and this helps your body soften, and will help you work on your spinal mobility.
The most common mistake to avoid:
“Lifting the front ribs up too high,” says O'Leary. “This is sometimes known in social media as rib flare. The rib flare is not universally wrong, but sometimes when the front ribs lift up, we may arch the lower back more and may experience more discomfort through overworking the low back muscles, or irritating the small joints of the spine.
“Softening the front of the ribs down, as if you were gently sliding them to your hips can help. You may then find that you get less discomfort in the lower back and feel more work in your legs.”
4. Superman

Set: 1 Reps: 6 each side
How to do it:
- Get onto your hands and knees with your knees directly below your hips and your wrists directly under your shoulders.
- Slowly extend your right leg behind you, sliding the toes of your right foot along the floor.
- Once your right leg is fully extended, lift your right leg behind you and your left arm in front of you, until your body forms a straight line from your right heel to your left fingertips.
- Do not let your lower back sag or your pelvis rotate.
- Return to hands and knees and repeat with the opposite arm and leg.
- Continue, alternating sides with each rep.
The most common mistake to avoid:
“Letting your lower back sag,” O’Leary says. “During these exercises, the idea is that you maintain the neutral, natural S curve of the spine. As you lift your leg, the movement should come mainly from the glutes, and not from your lower back arching.
“Think of reaching the leg along the floor before you lift it. Then, lift the leg, continuing to feel like the leg is lengthening. You want to maintain your lower back in the same gentle inward curve that you started with. If it is difficult to perform this exercise without your lower back arching a lot, or you are feeling discomfort in the lower back, try placing a small gym ball under the stomach."
5. Side-lying leg lift
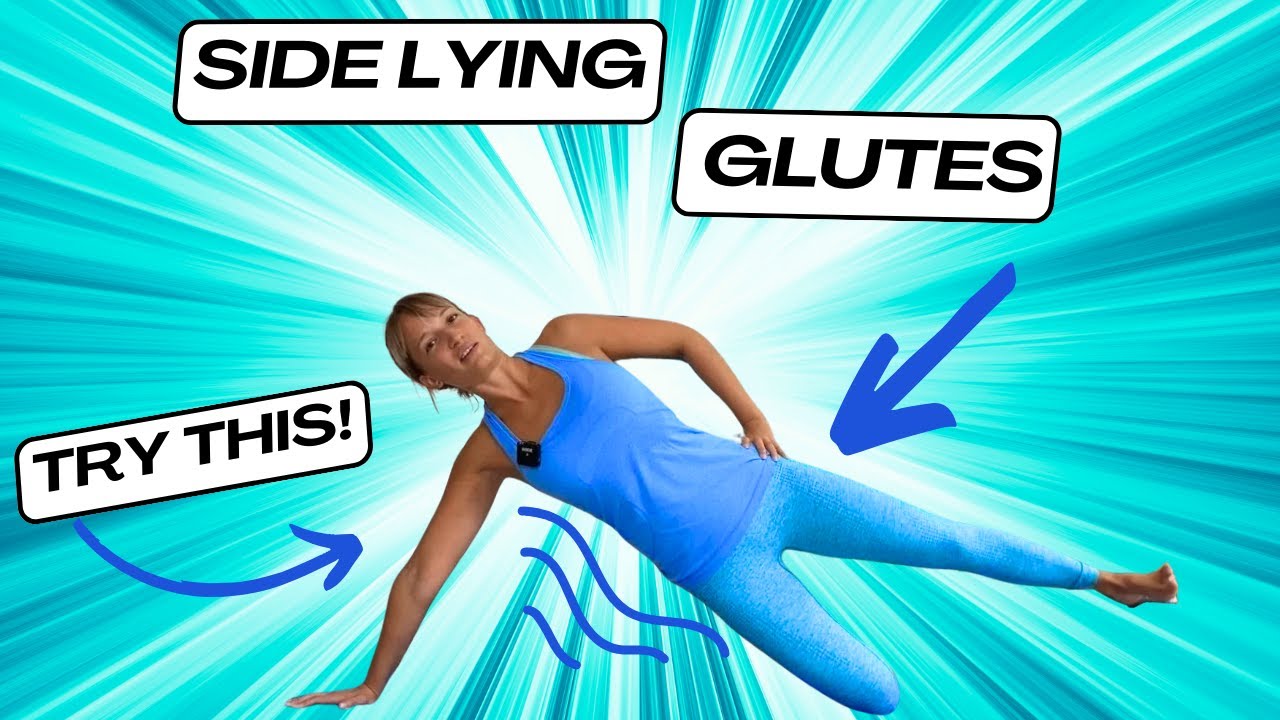
Set: 1 Reps: 6 each side
How to do it:
- Sit on a mat with your legs together to the right side, knees bent.
- Place your left hand on the mat to the left of you, with your fingertips pointing towards the top of the mat.
- Lift your hips so your body is in a straight line from knees to head.
- Extend your right leg.
- Lift your right leg to hip height.
- Slowly lower your right leg, tapping your right foot lightly on the floor, then going straight into the next rep.
- Do all your reps on one side, then switch sides.
The most common mistake to avoid:
“Thinking that bigger and faster equals better,” O’Leary says. “A common issue with this exercise is flinging the leg into the air using a lot of momentum. This exercise should engage the lateral gluteal muscles (the side of your buttock) but if you are flinging your leg into the air, you often end up rolling the pelvis backwards, working the hip flexor muscles, which means you don’t work the lateral glutes.
“Instead of this, try focusing on keeping the leg in line with the body, and lifting to just above hip height, and then slowly lowering. Imagine a glass is balanced on your top hip so that you don’t let your pelvis roll back.”